
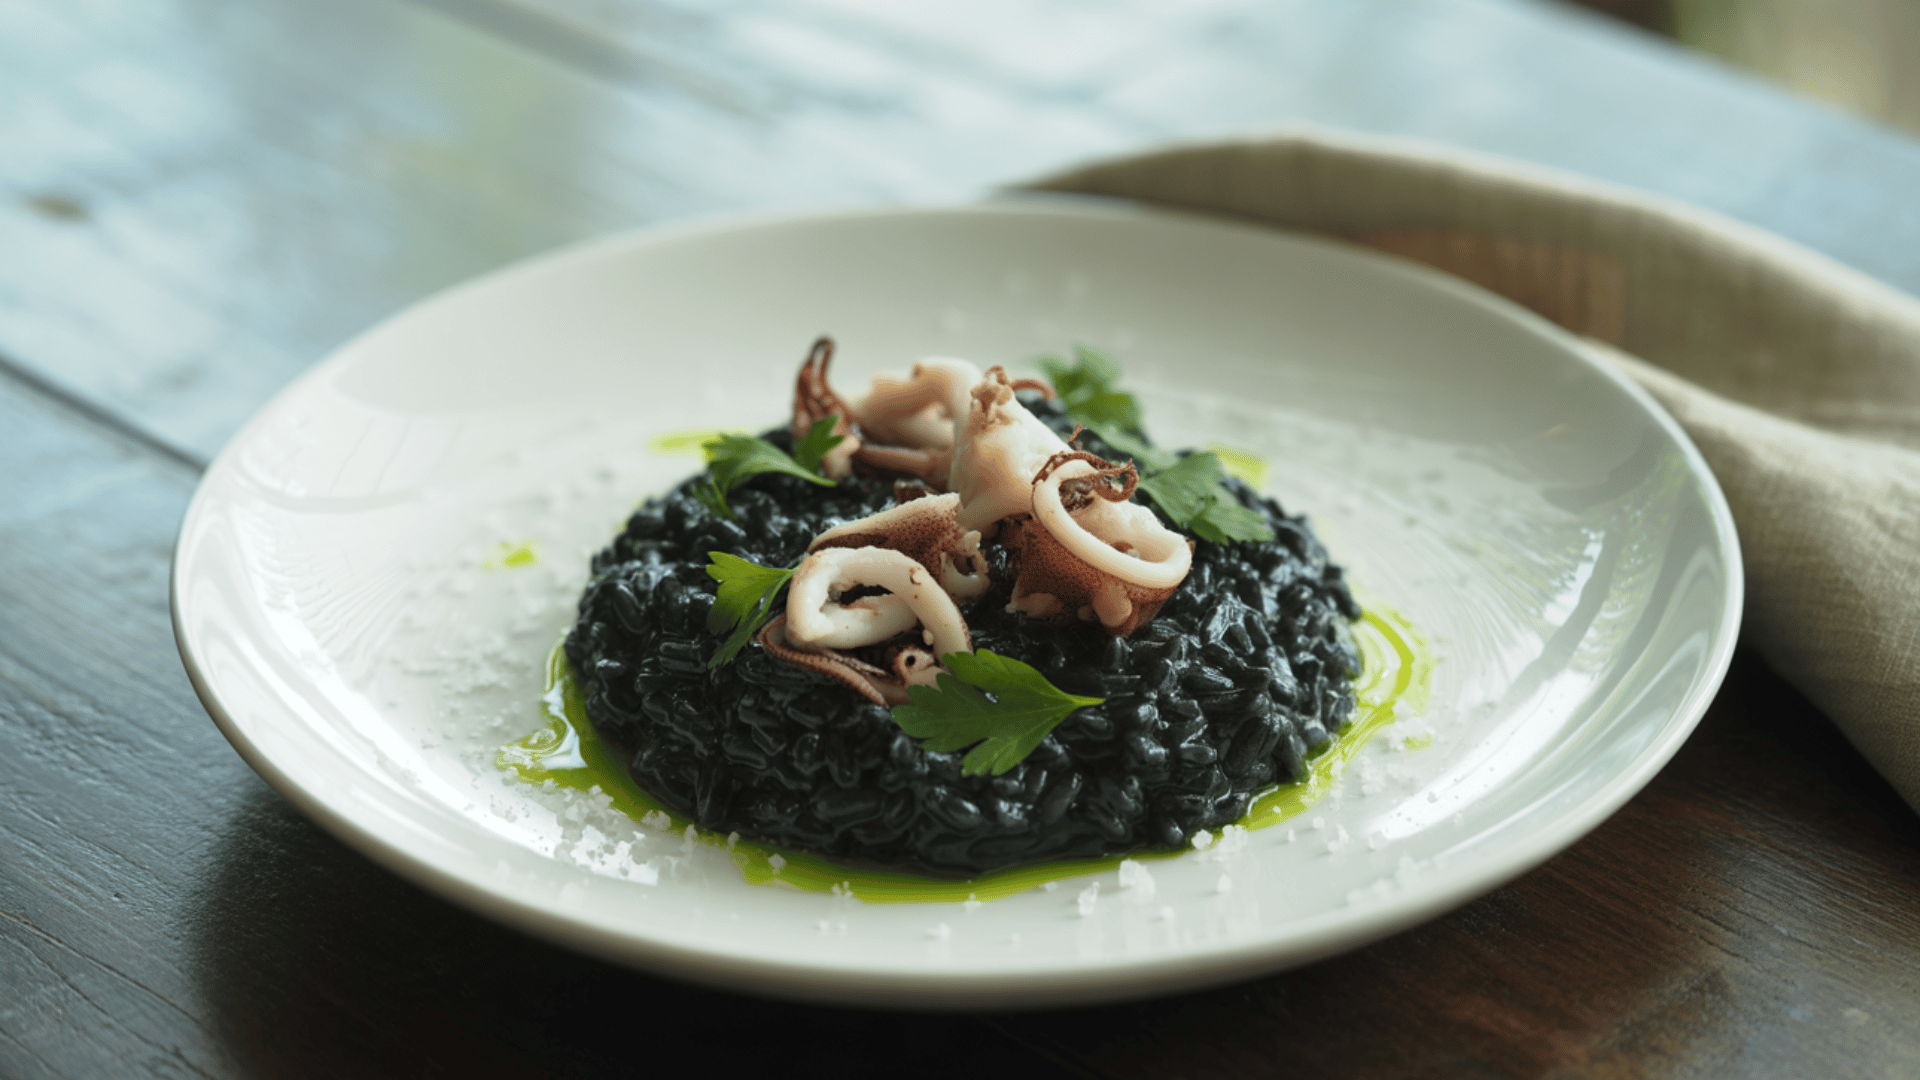
Black risotto turns heads at dinner parties like no other dish. This striking Italian classic gets its dramatic color from squid ink, creating a plate that looks as bold as it tastes.
I used to think cooking squid ink risotto was too fancy, just like many Italian dishes, or complicated for my kitchen. The reality is much simpler than you might expect.
This blog breaks down every step so you can master this perfect meal at home.
Cultural Roots and Flavor Identity of Risotto al Nero di Seppia
I love sharing with people how this incredible dish came to be.
Back in Venice, fishermen needed creative ways to use every part of their catch. Nothing could go to waste, especially the precious squid ink.
So they started adding it to their rice dishes. What began as a practical solution became one of Venice’s most celebrated recipes.
The story goes that Venetian cooks were amazed by how the ink changed ordinary risotto. It didn’t just change the color, it added something magical.
The ink brings this deep, oceanic flavor that tastes like the sea itself. But it’s not fishy or overwhelming.
You get three distinct layers of taste. First, there’s that briny ocean depth from the squid ink. Then comes the creamy richness from slowly stirred Arborio rice.
Finally, you taste the savory notes from garlic, onions, and white wine.
Key Ingredients and Their Role
| Ingredient | Purpose in the Dish |
|---|---|
| Rice (Arborio, Carnaroli, or Vialone Nano) | Provides the creamy base of the risotto. The starch released during cooking creates the rich texture. |
| Cuttlefish Ink | Gives the dish its deep black color and delivers a bold, briny flavor of the sea. |
| Broth (Fish or Vegetable) | Keeps the rice moist and adds layers of savory depth throughout the cooking process. |
| White Wine | Adds acidity to balance the richness and lifts the seafood flavors. |
| Aromatics (Onion, Garlic, Olive Oil) | Build the base flavor and fragrance that carry through the dish. |
| Seafood (Cuttlefish, Squid, or Shellfish) | Provides tender bites and enhances the ocean taste profile. |
Step-by-Step Cooking Process of Risotto al Nero di Seppia
I’ll walk you through making this amazing dish from start to finish.
Step 1: Preparing the Base with Onion, Garlic, and Oil
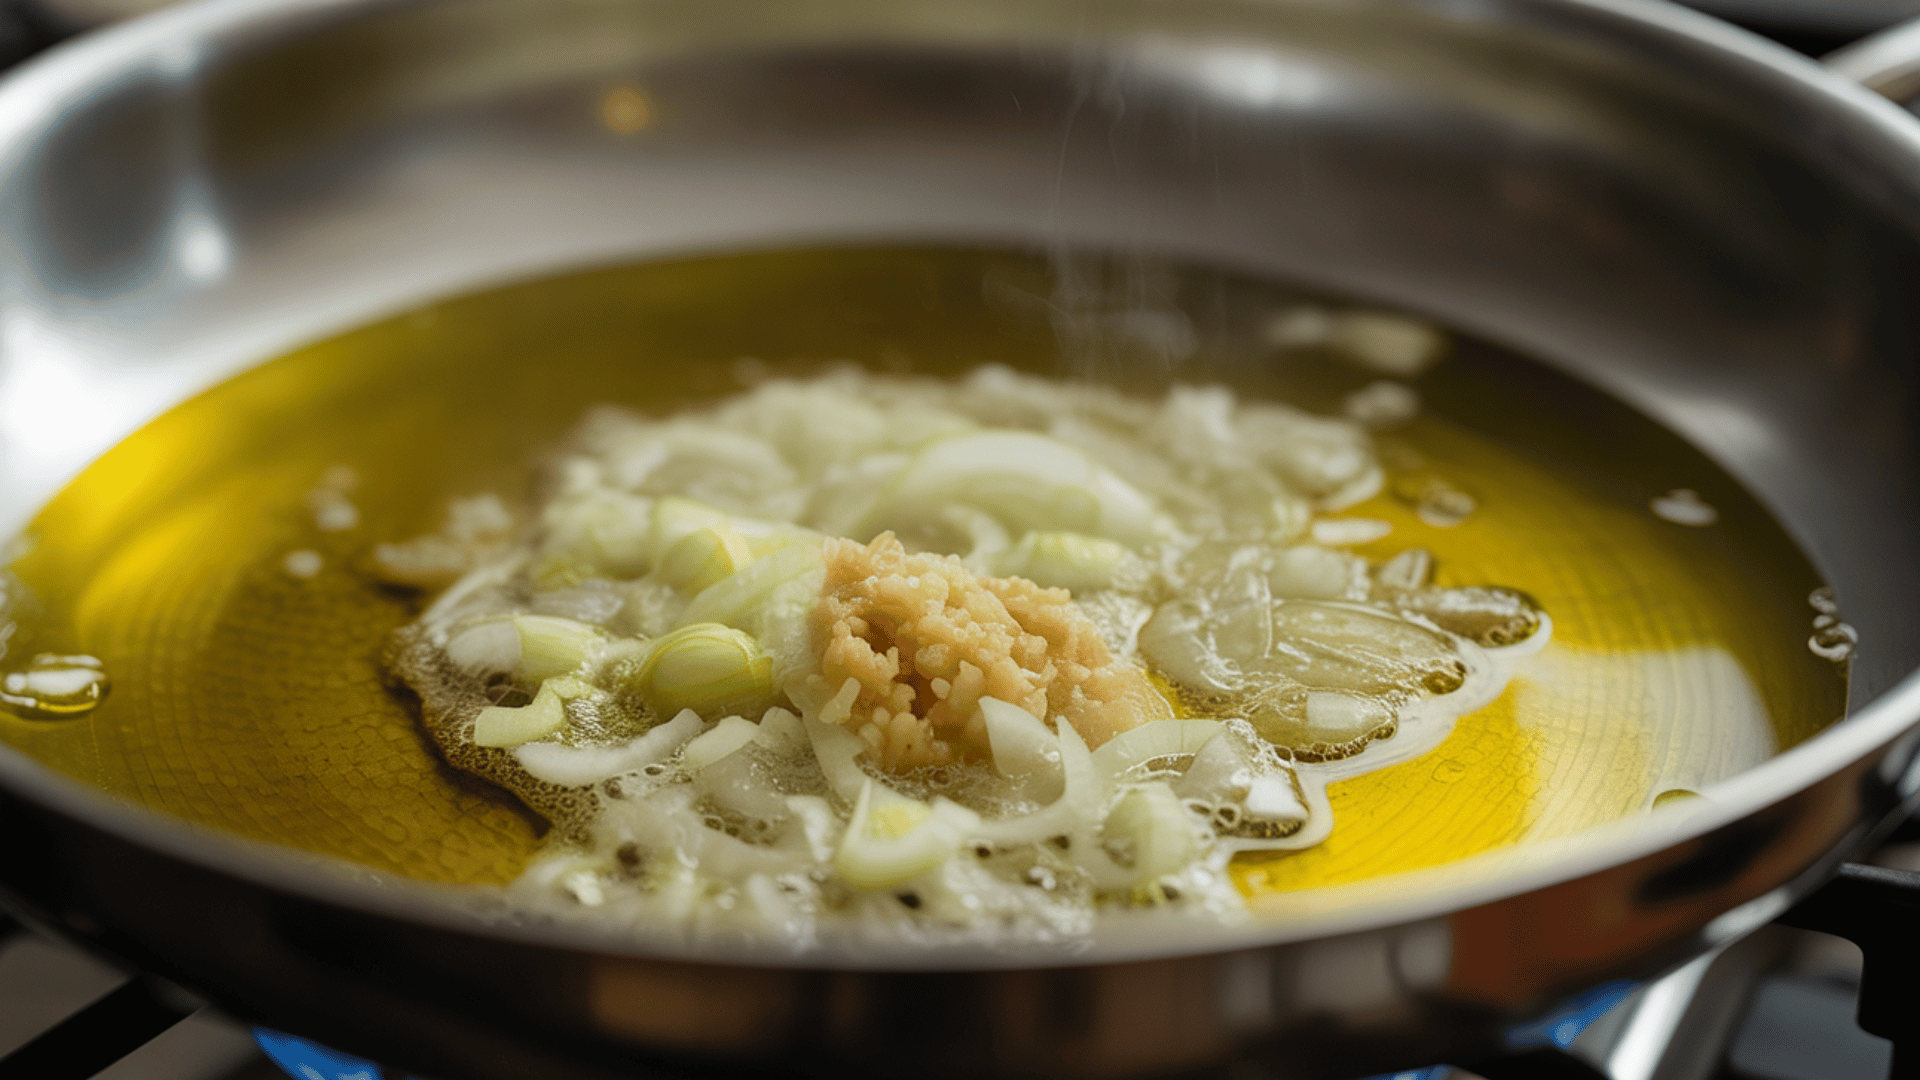
Set a wide, heavy pan over medium heat. Warm olive oil until it shimmers. Add finely chopped onion with a pinch of salt. Stir often and cook until the onion turns soft and translucent.
Avoid browning, which can add harsh notes. Add minced garlic and cook for 30 seconds. The garlic should smell fragrant, not toasted.
Step 2: Toasting Rice for Flavor and Structure
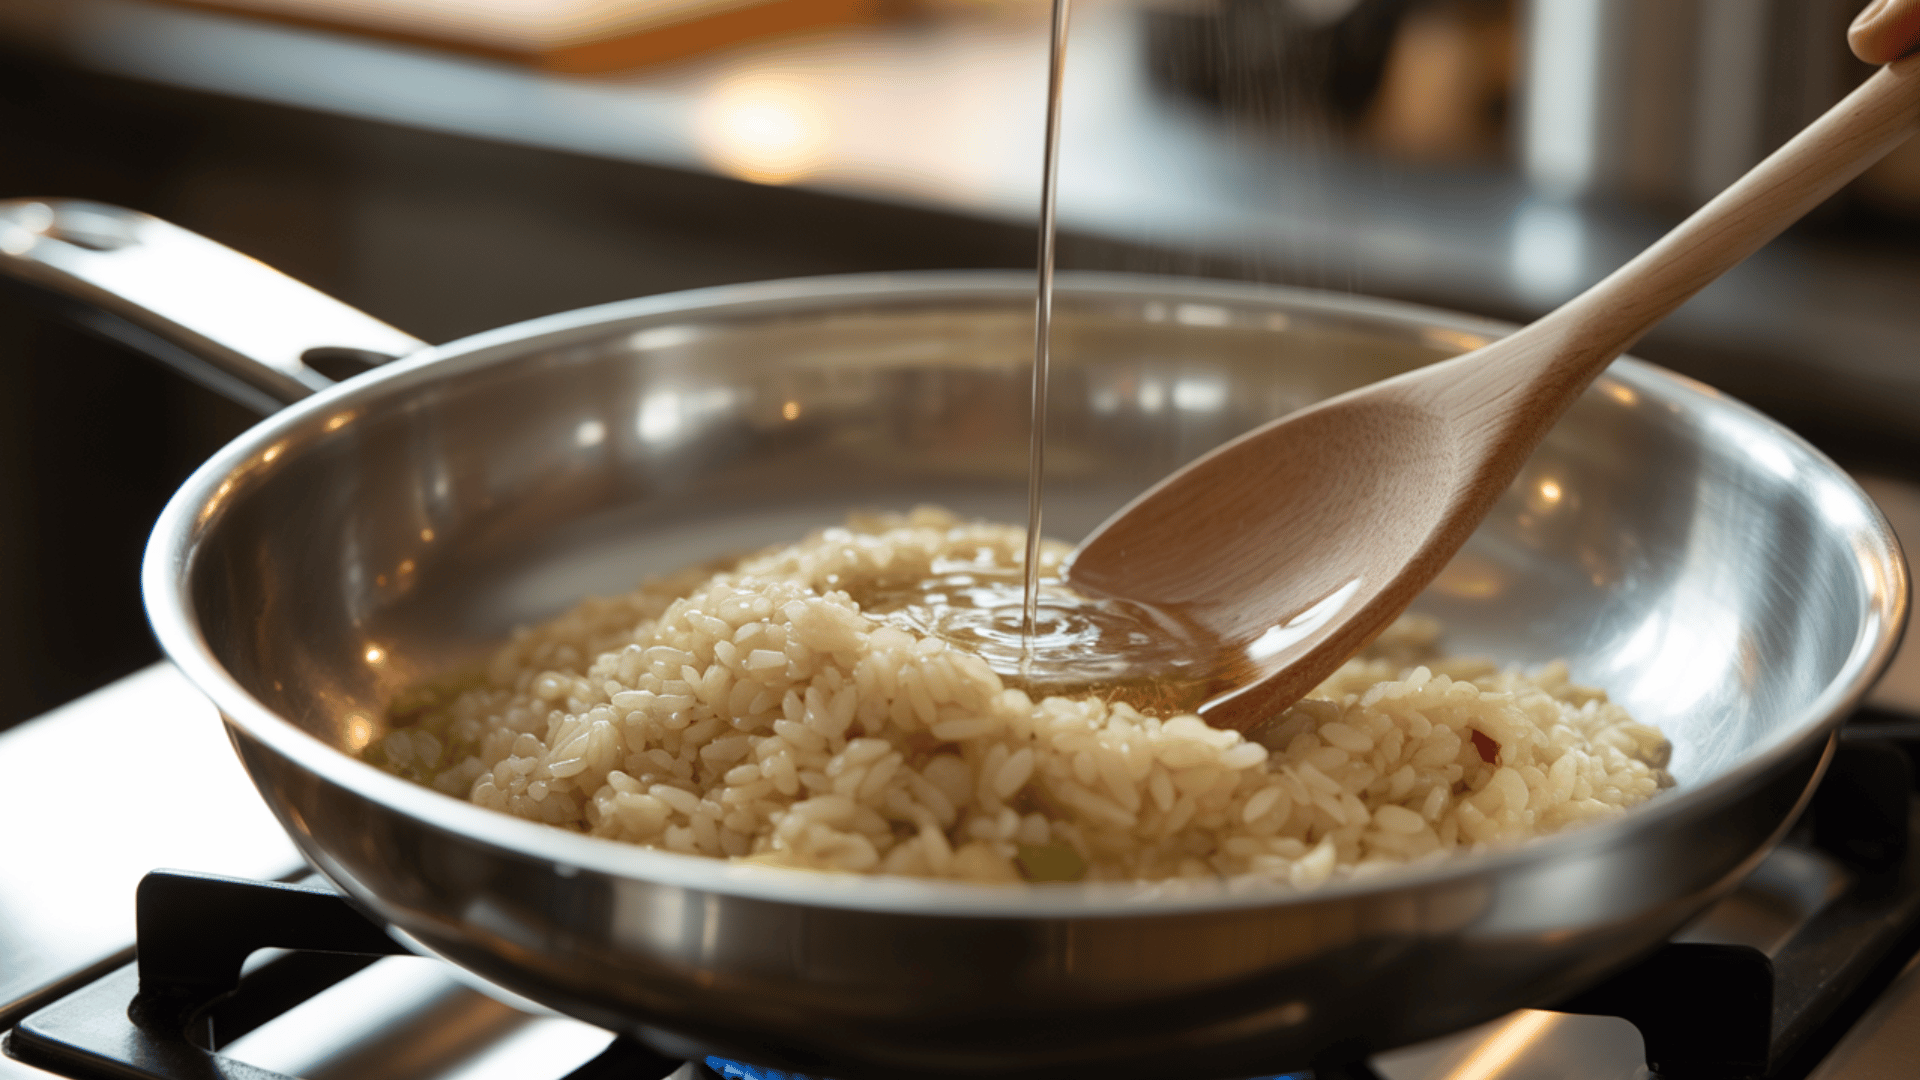
Add the risotto rice to the pan. Stir to coat every grain in the hot oil. Toast the rice for two to three minutes. Look for edges that turn slightly translucent.
Keep the heat moderate to prevent color. Pour in dry white wine and stir. Let the wine simmer until it has almost completely reduced.
Step 3: Adding Broth Gradually and Stirring to Creaminess
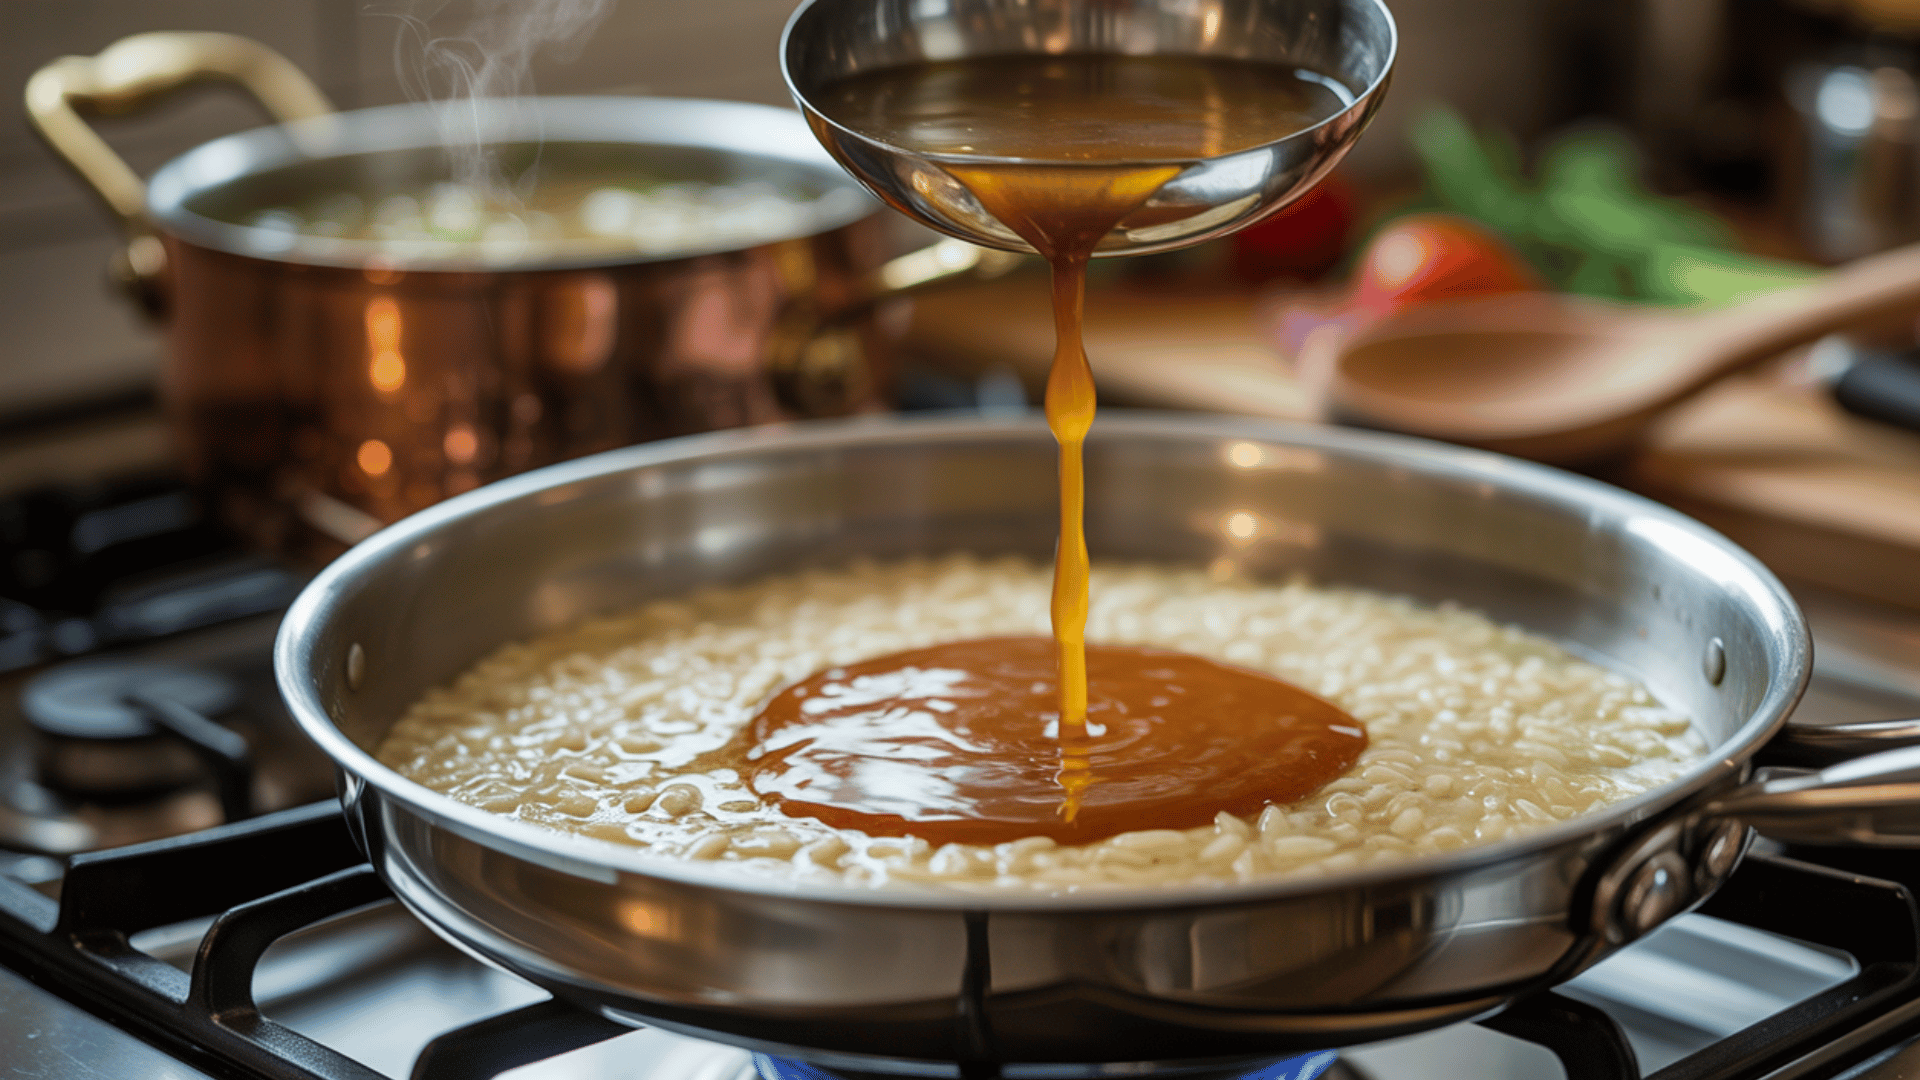
Keep a pot of hot broth on a gentle simmer. Add one ladle of broth to the rice. Stir and keep the rice at a mild bubble. When the liquid nearly absorbs, add another ladle.
Repeat this steady cycle. Stir often to release starch and build a creamy texture. Season lightly as you go. This phase usually takes 16 to 18 minutes.
Step 4: Blending in the Ink and Seafood for Depth
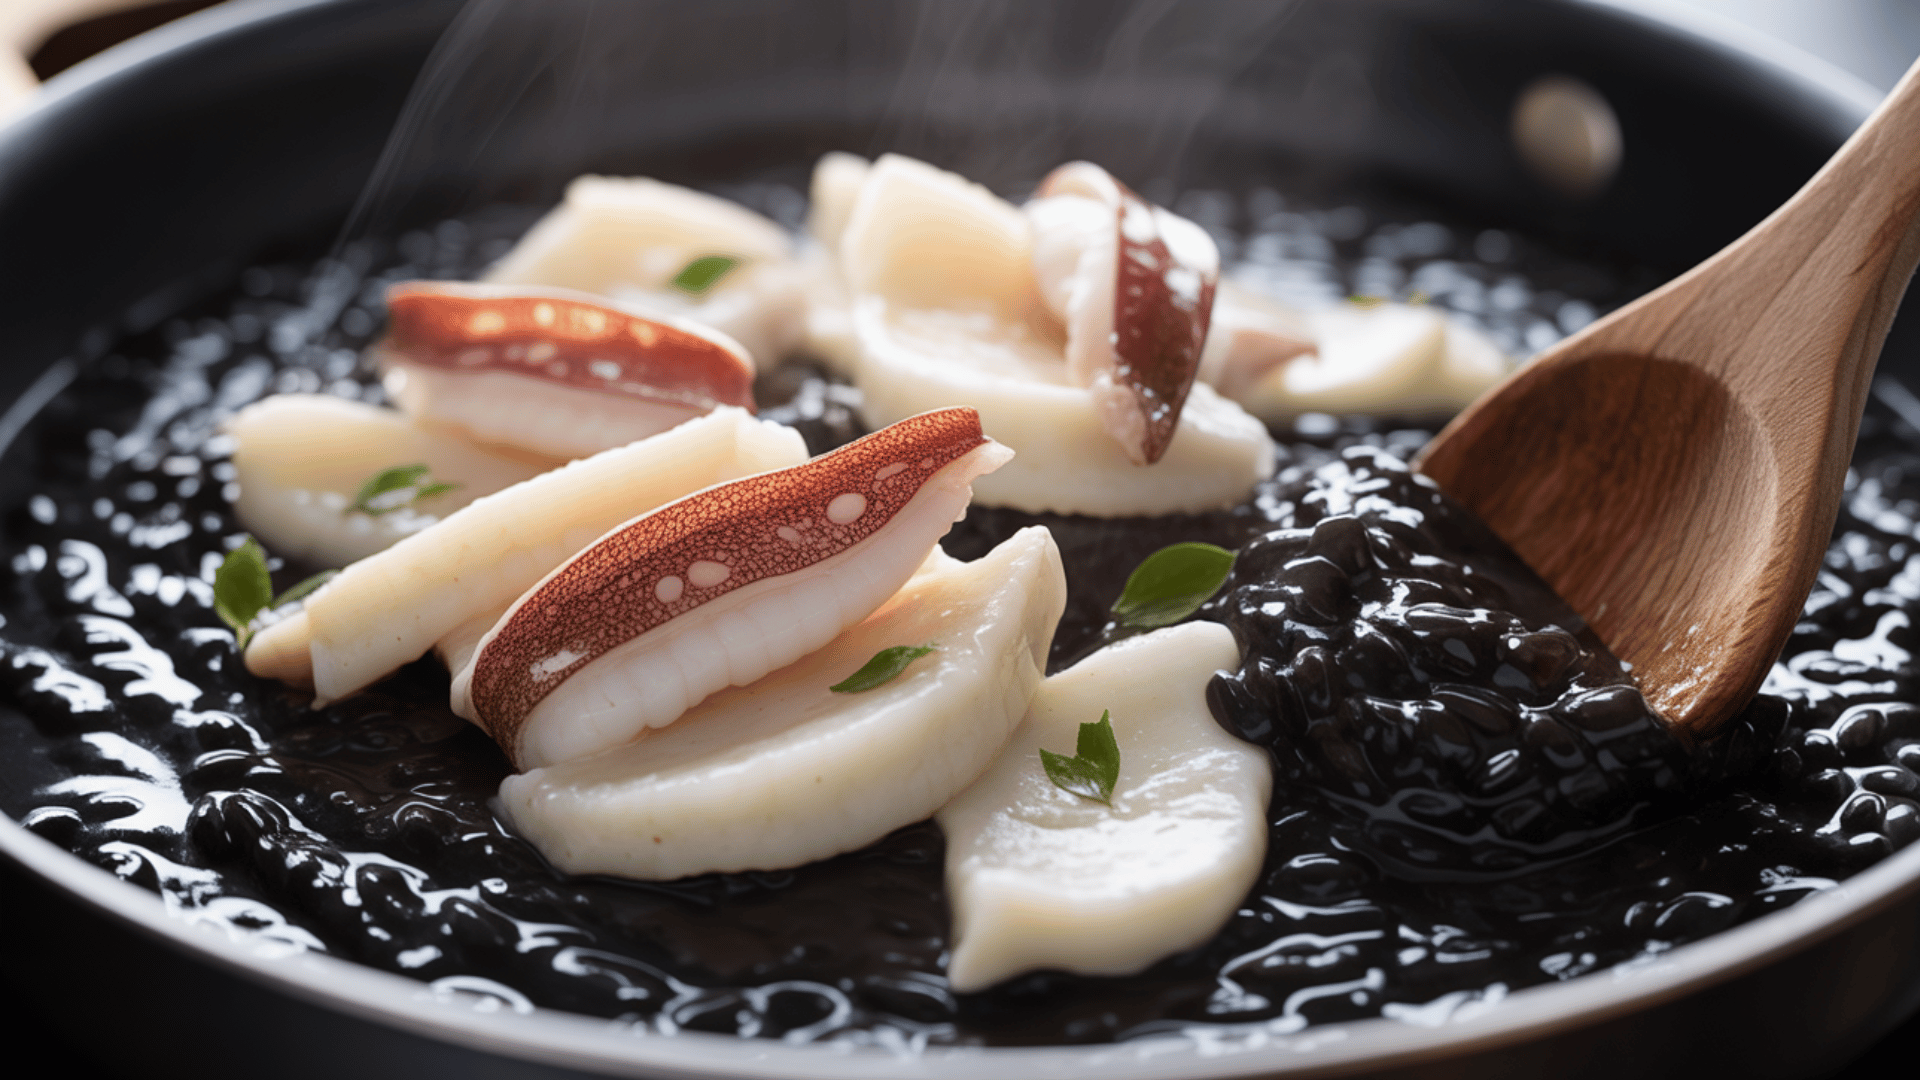
Loosen the cuttlefish ink with a small amount of hot broth. Stir the mixture into the rice when the grains are just shy of tender. Add sliced cuttlefish or squid to the pan.
Cook until the seafood turns opaque and tender. Avoid overcooking, which makes it chewy. Adjust the broth as needed to keep a soft, flowing texture.
Step 5: Final Touches for Balance and Shine
Remove the pan from the heat. Stir in a knob of butter and a drizzle of olive oil. Fold gently until the surface looks glossy. Add chopped parsley or a hint of lemon zest, if desired.
Taste and adjust salt. Let the risotto rest for one minute. Serve while it still flows softly on the plate.
Variations and Serving Suggestions
I’ve experimented with this recipe countless times, and here are my favorite ways to make it even better.
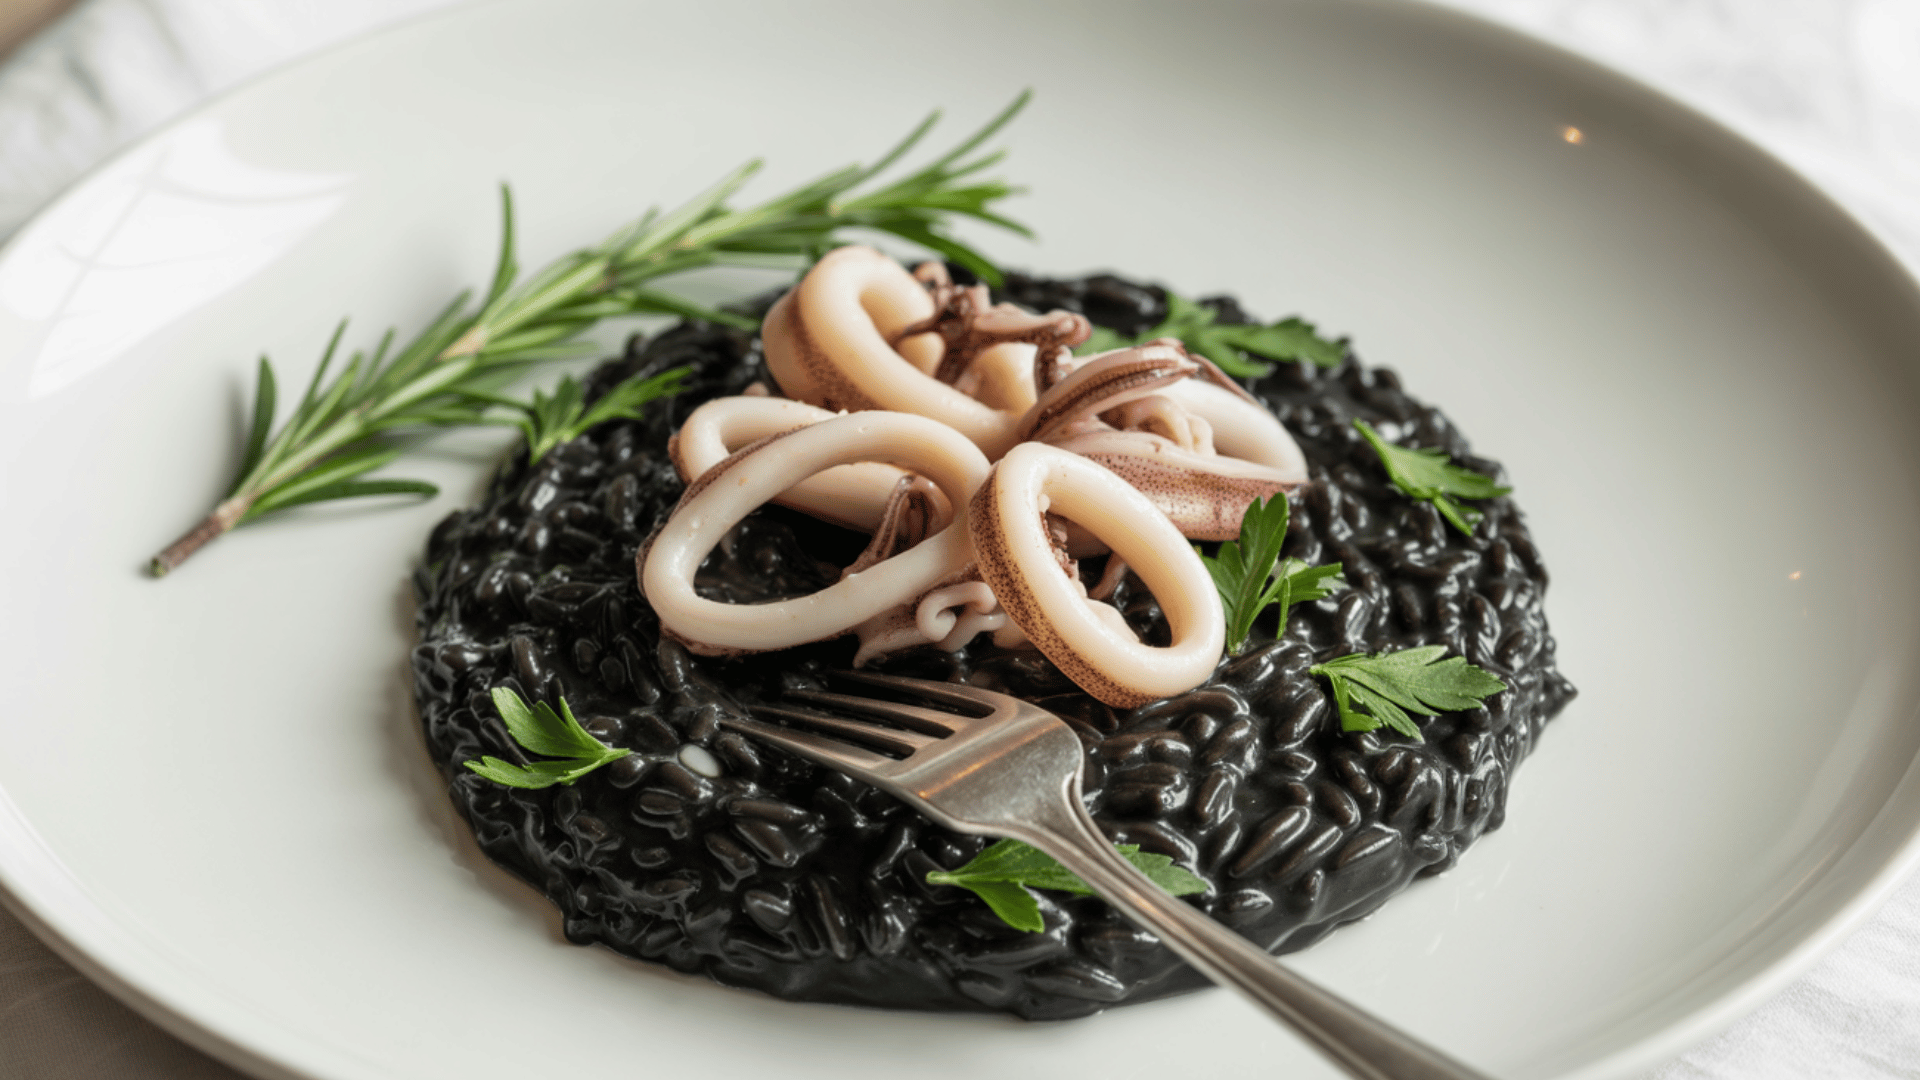
Seafood Additions

Try adding fresh mussels or clams during the last few minutes of cooking. They steam open beautifully and add extra seafood flavor. Small shrimp work wonderfully too – just fold them in at the very end.
Fresh Herb Combinations

A sprinkle of fresh parsley adds a bright touch to everything. Chives add a gentle onion note that complements the dish perfectly. Fresh thyme gives it an earthy touch that pairs beautifully with the ocean flavors.
Citrus Additions
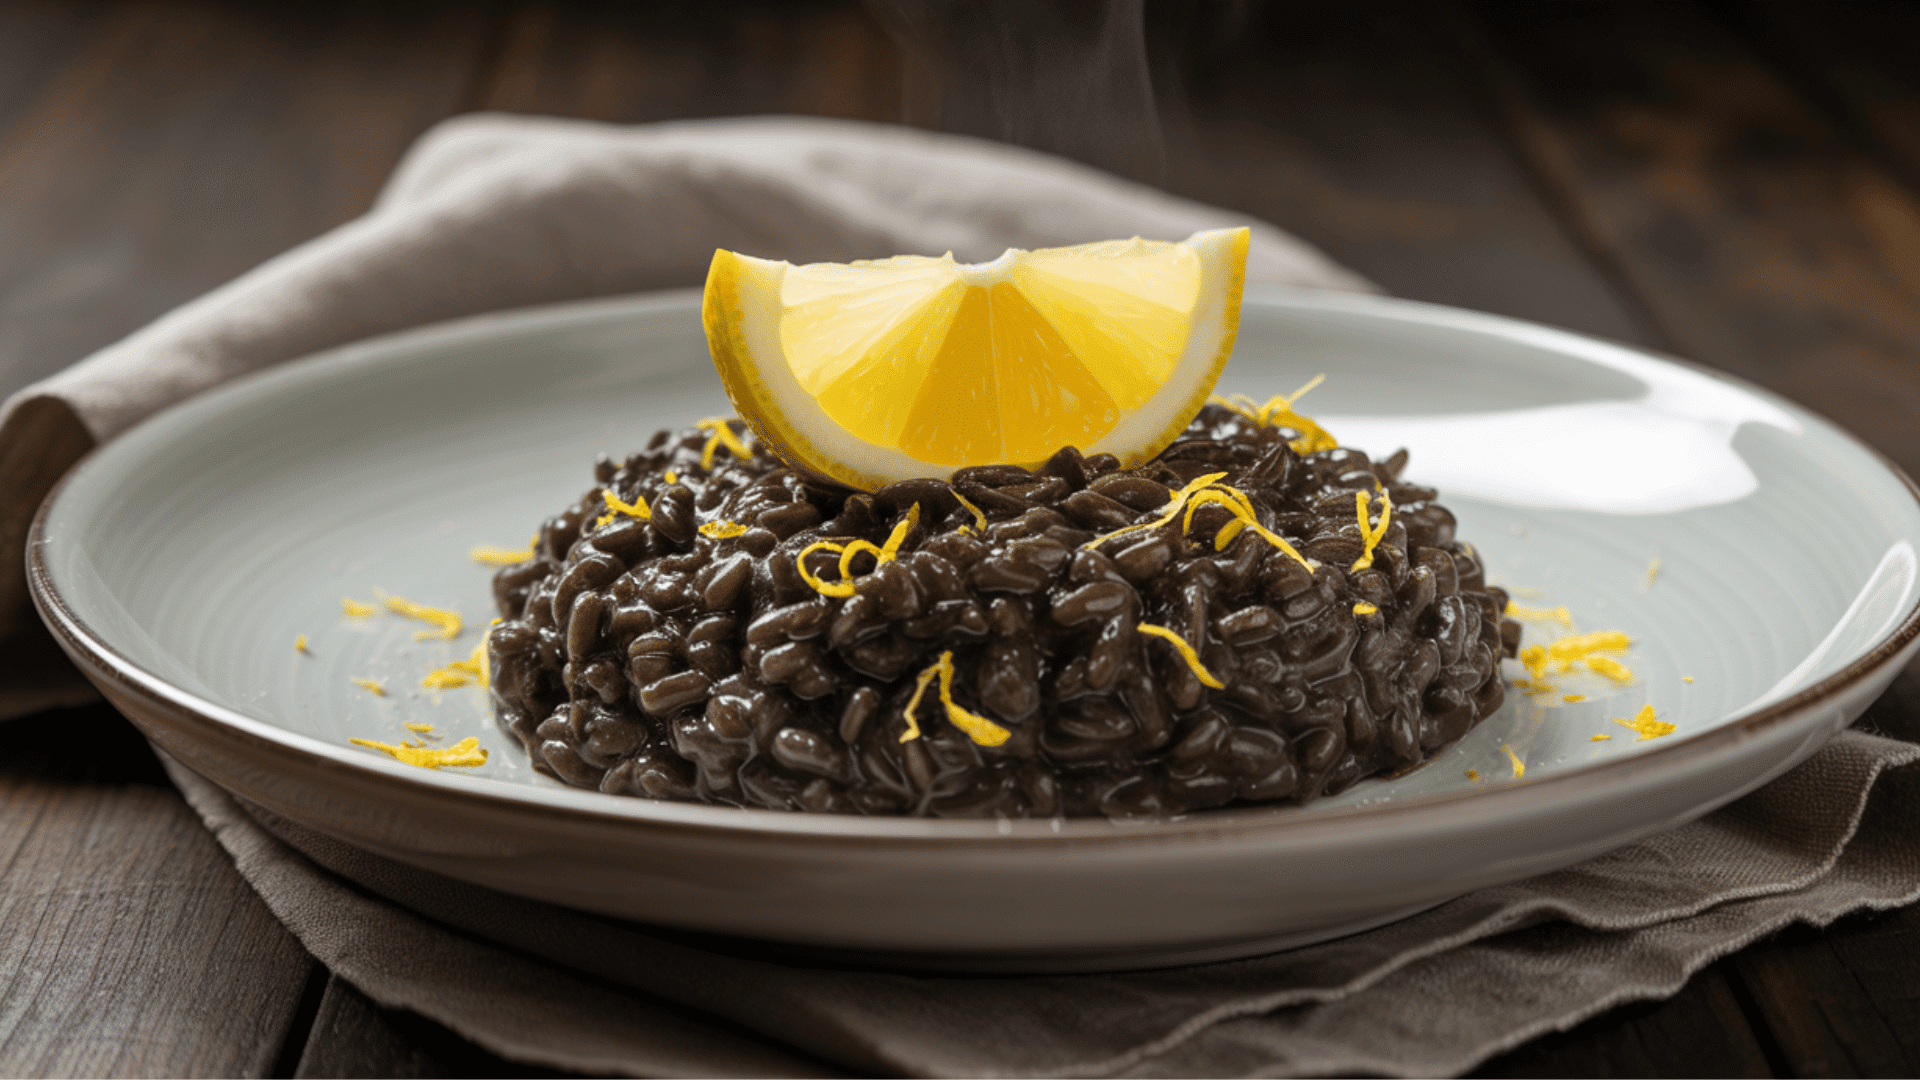
Lemon zest is pure magic; just a tiny bit makes the whole dish sing. Orange zest creates a more notable note. I sometimes add a squeeze of fresh lemon juice right before serving.
Wine Pairings

Wine pairing is crucial here. I always opt for a crisp white wine, such as Pinot Grigio or Soave, both of which are from the Veneto region, just like this dish.
The acidity cuts through the richness perfectly. If you want something bolder, try a light red like Bardolino
Conclusion
Making Risotto al Nero di Seppia at home isn’t just about following a recipe; it’s about embracing the art of cooking.
It’s about connecting with centuries of Venetian tradition. Every time I stir that creamy rice and watch it turn jet-black, I feel a connection to those resourceful fishermen who created this masterpiece.
So grab your ingredients and give it a try. Do share how it goes!