
I still remember the first time I caught a fish. I was so excited until I had to gut it.
My hands froze. I had no idea where to start.
Gutting a fish is not as scary as it looks. Once you know the steps, it takes less than five minutes.
And if you skip this step? Your fish will taste off. No one wants that after a good catch.
Let me walk you through exactly how to gut a fish the right way, the tools you will need, and different techniques.
By the end, you’ll feel confident doing it on your own every single time.
What Does Gutting Fish Mean?
Gutting a fish means removing its internal organs.
When you catch a fish, the organs inside start to break down fast. This affects the taste and smell of the meat. So, you remove them to keep the fish fresh and clean.
It also makes the fish safer to eat. No bacteria. No bad smell. Just clean, fresh meat ready to cook.
It is the first and most important step before any fish ends up on your plate.
Why Gutting a Fish Properly Matters
Gutting a fish the right way makes a big difference both in taste and safety. Here’s why it matters:
Keeps the Meat Fresh:
Once a fish dies, its organs break down quickly.
Gutting it fast stops that process and keeps the meat tasting clean and fresh.
Removes Harmful Bacteria:
The gut area holds bacteria that can spread to the meat.
Removing the organs early lowers the risk of contamination and keeps your meal safe to eat.
Improves the Taste:
Leaving the organs inside can make the fish taste bitter.
A properly gutted fish always tastes better, cleaner, lighter, and more natural on the plate.
Makes Cooking Easier:
A gutted fish is much easier to prep and cook.
You save time in the kitchen and get better, more even results every time you cook.
Tips I Wish Someone Had Told Me Early On
Before starting out, keep these simple things in mind:
- A dull blade makes the job harder and messier. A sharp one gives you clean, smooth cuts every single time.
- A stable cutting board keeps the fish steady, which is something I wish someone had told me after a few close calls.
- Curl your fingers inward while cutting. It’s the most basic safety habit, but it genuinely protects you while working with the fish.
- A quick rinse removes slime and dirt. It also gives you a better grip, which matters more than most beginners expect.
Prepare the Fish Before Gutting
Before you gut a fish, a little prep goes a long way. It makes the whole process cleaner and quicker.
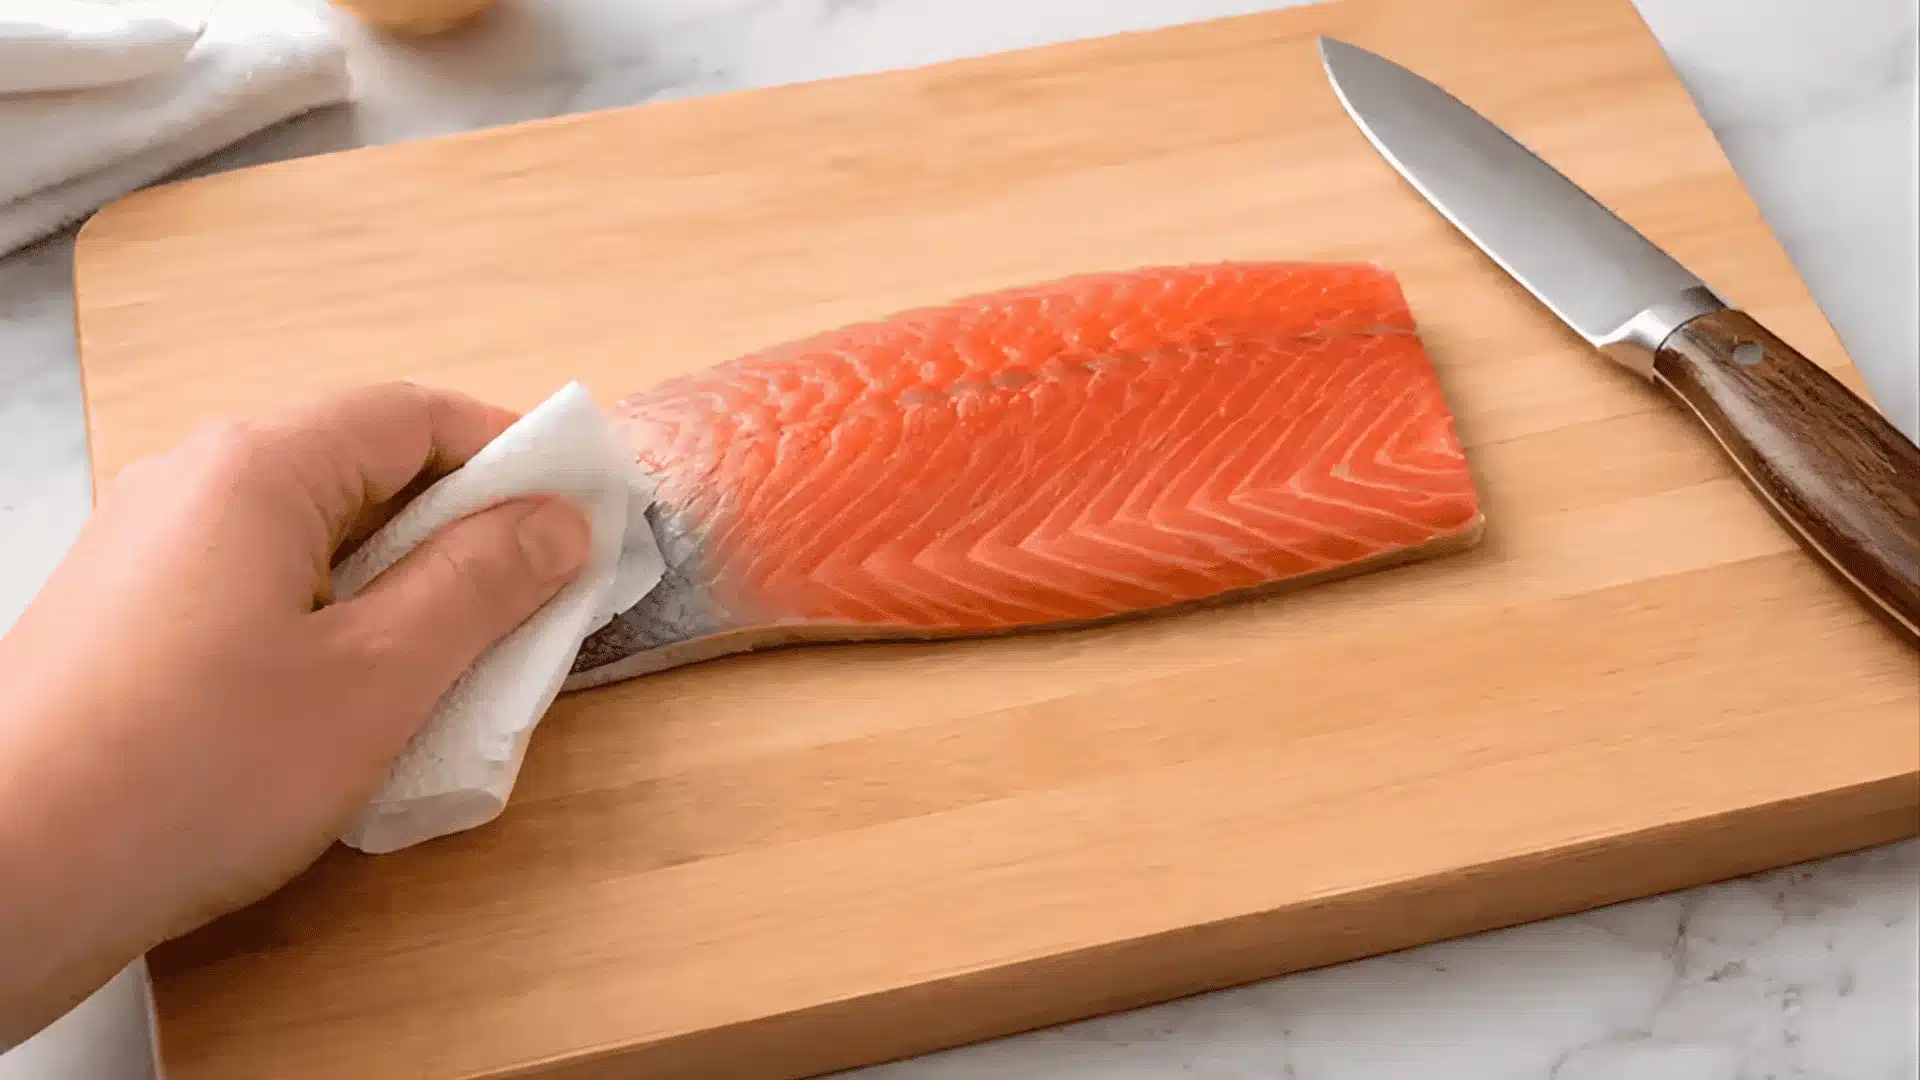
How to Prepare Fish:
Rinse the fish under cold running water. Pat it dry with a clean cloth or paper towel. Proper handling keeps seafood safe. Pat it dry with a clean cloth or paper towel.
Place it flat on a sturdy cutting board. Have your sharp knife and a bowl ready nearby
This takes less than two minutes. But it sets you up for a much smoother gutting process from start to finish.
Things You Need Before You Start
Before you start, make sure you have these tools ready:
| Tool | Why You Need It |
|---|---|
| Sharp knife | Makes clean cuts through the fish with ease |
| Cutting board | Keeps the fish steady and your surface safe |
| Bowl or bin | Holds the removed organs and keeps things tidy |
| Cold water | Rinse the fish before and after gutting |
| Paper towels | Dries the fish and cleans up the mess quickly |
| Gloves | Protects your hands from smell and bacteria |
Step-By-Step: How to Gut a Fish
Follow these steps carefully, and you’ll have a clean, gutted fish in no time.
Step 1: Lay the Fish Flat
Place the fish on your cutting board with its belly facing up.
Press it down firmly so it doesn’t slide around. If it feels slippery, use a paper towel for a better grip. A steady fish makes every step that follows much easier and safer.
Step 2: Make the Cut
Insert the tip of your knife near the tail end. Slowly slide it up toward the head along the belly line. Keep your cut shallow, just deep enough to open the skin.
Cutting too deeply risks hitting the organs, which can make a mess and affect the taste.
Step 3: Open the Belly
Use both hands to gently pull the belly apart. It should open up easily after your cut.
Take a good look inside before you start removing anything.
Knowing what you’re looking at helps you work faster and keeps the process clean from this point on.
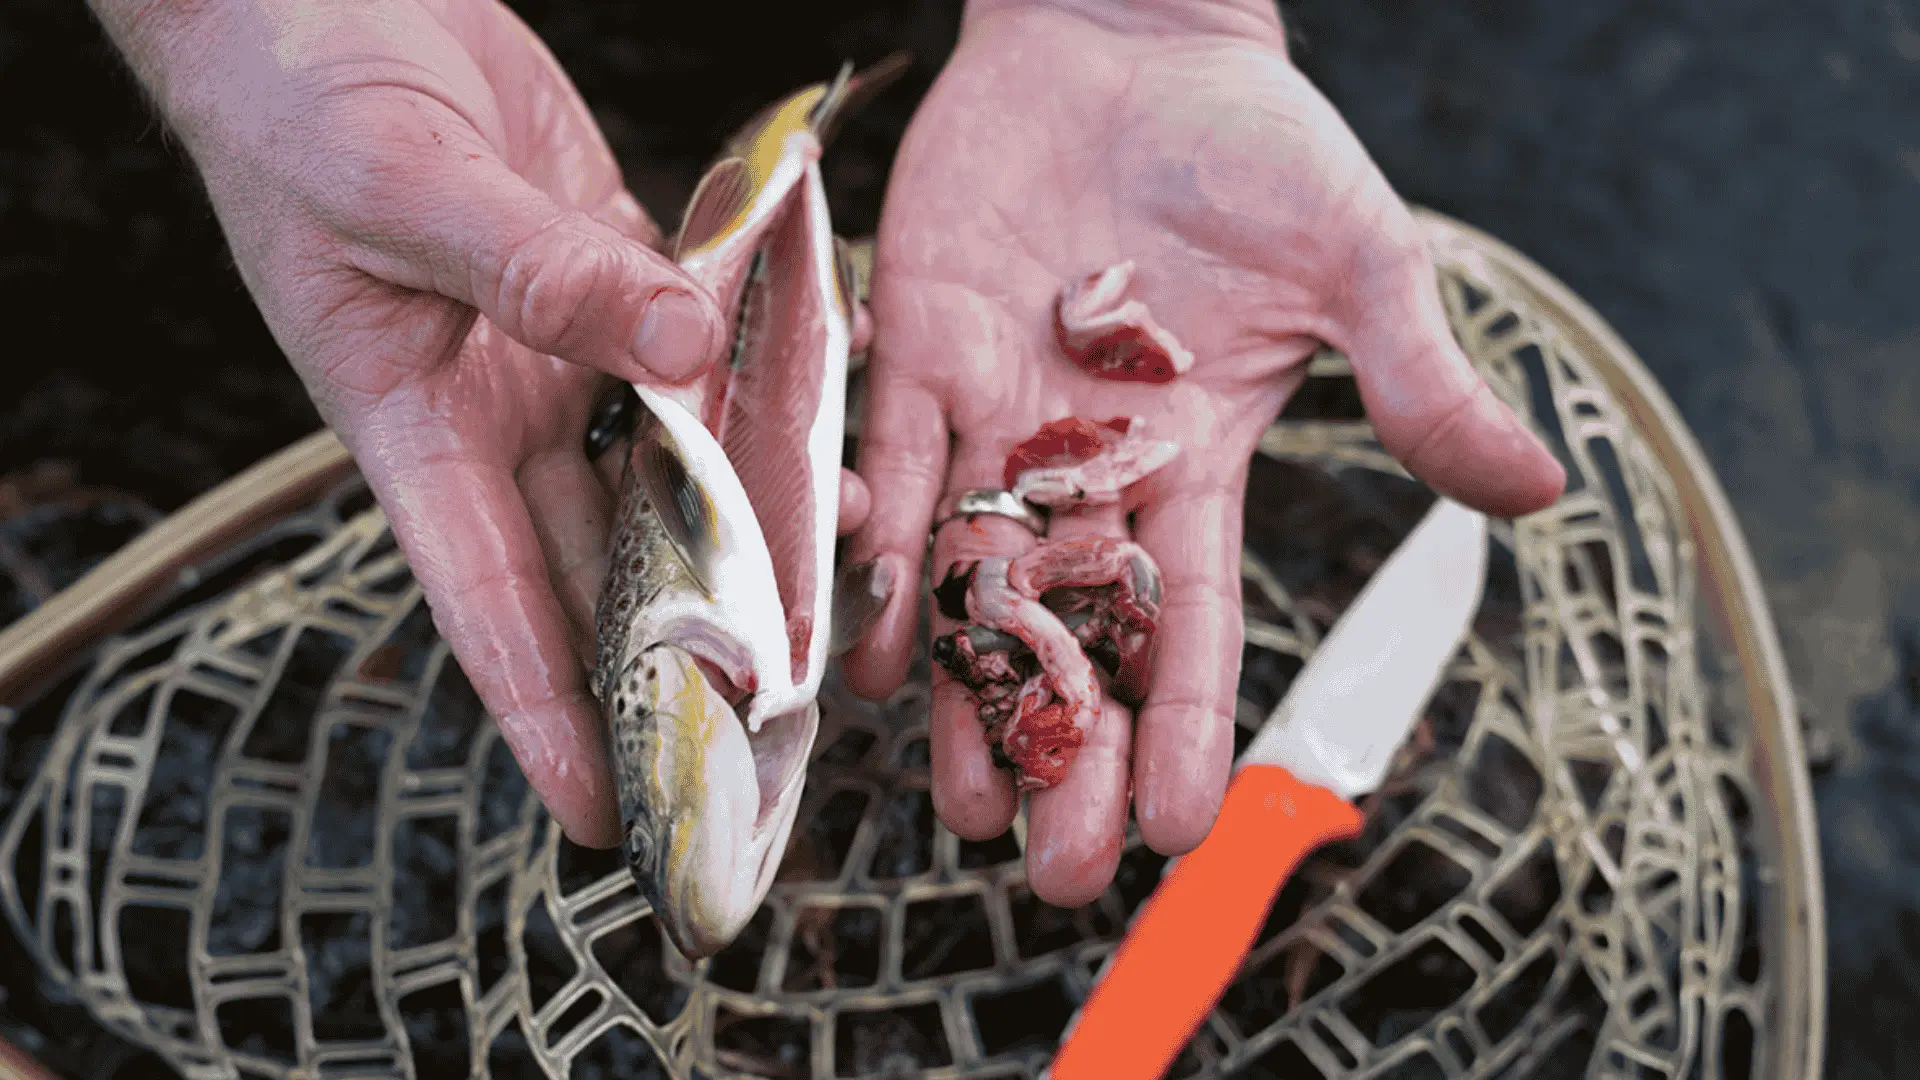
Step 4: Remove the Organs
Reach inside and scoop the organs out in one smooth motion. Use your fingers to loosen anything still attached to the cavity walls. Don’t leave any bits behind.
Drop everything straight into your bowl or bin to keep your workspace clean and free of mess.
Step 5: Scrape and Clean
Run your thumb firmly along the spine inside the fish. This removes the dark blood line that sits there.
It’s a small step, but it really improves the final taste.
Once done, rinse the whole fish thoroughly under cold running water until the water runs completely clear. Below I have explained how to clean the fish after gutting thoroughly.
How I Clean the Fish After Gutting
Once the gutting is done, cleaning properly is just as important.
It removes any leftover bits and keeps the meat fresh and ready to cook.
- Rinse the fish thoroughly under cold running water
- Use your fingers to remove any remaining organ bits
- Scrape out the dark blood line along the spine (this one step made a noticeable difference in taste for me).
- Pat the fish dry with a clean paper towel
Takes a minute or two but seriously improves the final flavour.
How to Fillet the Fish After Gutting
Filleting comes right after gutting. It’s how you get those clean, boneless pieces of fish ready for cooking.
Start by placing the fish flat on your cutting board. Cut just behind the gills straight down to the spine.
Then slowly slide your knife along the spine all the way toward the tail. Keep the blade as close to the bone as possible. This gives you more meat and less waste. Flip the fish over and repeat the same steps on the other side.
Once done, trim off any remaining bones or skin for a clean finish
Different Techniques for Gutting a Fish
There are a few ways to gut a fish depending on its size and type.
Here is what I have found works best for each.
The Basic Belly Cut
This works best for medium to large fish.
You cut along the belly from tail to head, open it up, and remove the organs by hand.
It is the technique I started with, and most beginners do too.
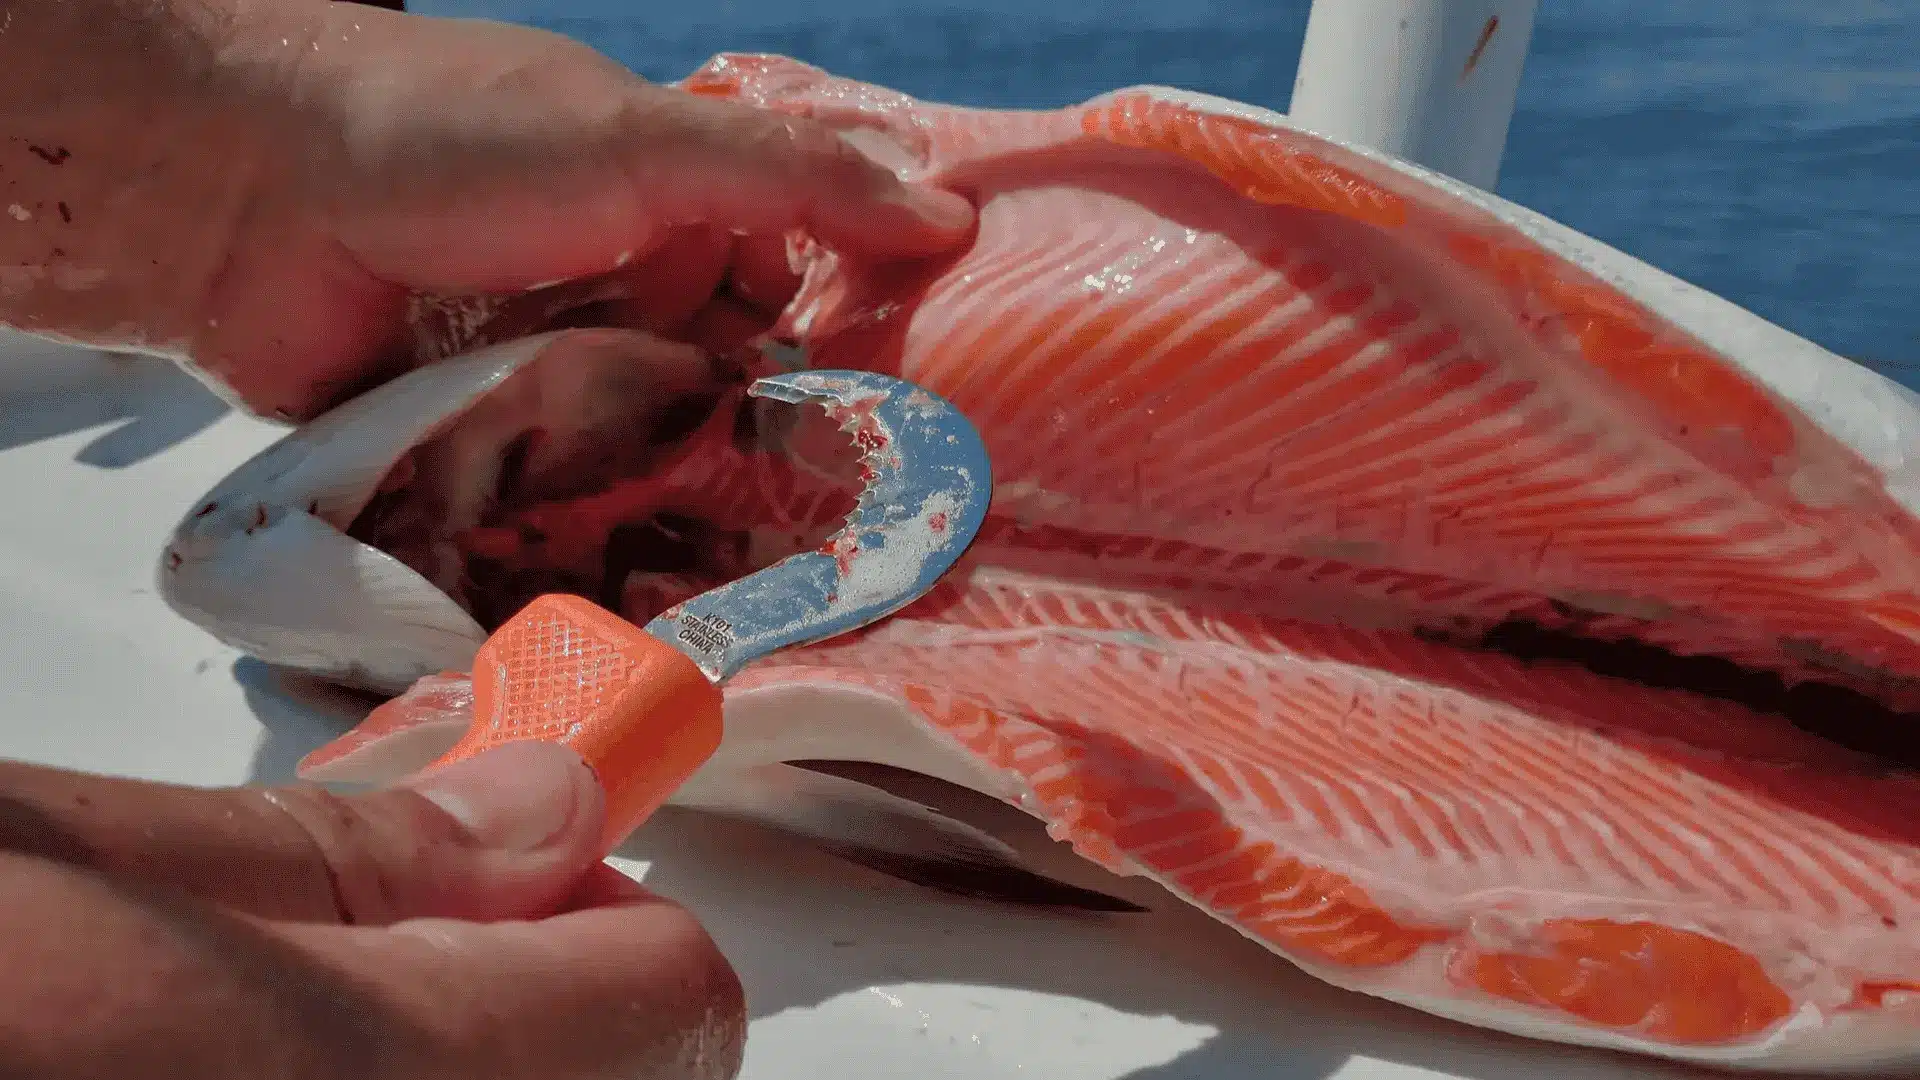
The Spoon Method
This one works well for smaller fish.
After a shallow belly cut, use a spoon to scoop the organs out instead of your fingers.
It keeps things cleaner and gives you better control.
The Gill Pull Method
You skip the belly cut completely here.
Instead, reach in through the gills and pull the organs out directly.
It works best for very small fish like sardines or trout.
The Field Gutting Method
A quick, no-fuss approach for outdoor use when you have no tools handy. Make a small cut, squeeze the belly firmly, and push the organs out with your thumb.
I keep this one in mind for fishing trips.
How Fish is Different from Meat
Here’s a quick breakdown:
| Factor | Fish | Meat |
|---|---|---|
| Texture | Soft and flaky when cooked | Firm and chewy when cooked |
| Cooking Time | Cooks fast, usually in minutes | Takes longer to cook through |
| Gutting Required | Yes, organs must be removed before cooking | Usually pre-cleaned before purchase |
| Smell | Strong smell if not cleaned quickly | Milder smell when fresh |
| Shelf Life | Spoils faster, needs quick refrigeration | Lasts longer in the fridge |
| Knife Required | Thin, flexible blade works best | Thicker, heavier blade needed |
| Bones | Many small bones throughout the flesh | Larger bones are easier to remove |
| Handling | Needs gentle handling to keep flesh intact | Can handle firmer handling during prep |
Tips for People Who Feel Squeamish
Still feeling a little uneasy about gutting a fish?
That’s completely normal. Many people feel the same way the first time. Here are a few tips that can really help:
- Wear gloves to avoid direct contact with the fish.
- Start with a small fish to build your confidence first.
- Take it slow and work through each step at your own pace.
- Focus on the knife and the cut rather than the organs.
- Keep a bowl nearby so you can dispose of organs quickly.
- Ask someone experienced to direct you through the first time.
Key Takeaway
Gutting a fish might seem like a tough job at first. But once you try it, you’ll realise it’s really not that bad.
I have shared the right tools to use, the steps to follow, and the mistakes to avoid.
You even know what to do if you feel a little squeamish. That’s a solid starting point. The more you practice, the faster and cleaner you’ll get at it.
There’s nothing quite like cooking a fish you caught and prepped entirely on your own.
Grab your knife, set up your cutting board, and give it a go. Every expert out there was once a beginner, too.
Frequently Asked Questions (FAQ’s)
1. How Soon After Catching a Fish Should You Gut It?
Gut the fish within one to two hours of catching it.
2. What is the 10 Min Rule for a Fish?
Cook fish for ten minutes per inch of its thickness.
3. Is it Okay to Freeze Fish without Gutting Them?
Yes, but gutting before freezing gives you better taste and quality.
4. How to Store a Fish After Catching it?
Place it on ice or refrigerate it as soon as possible.