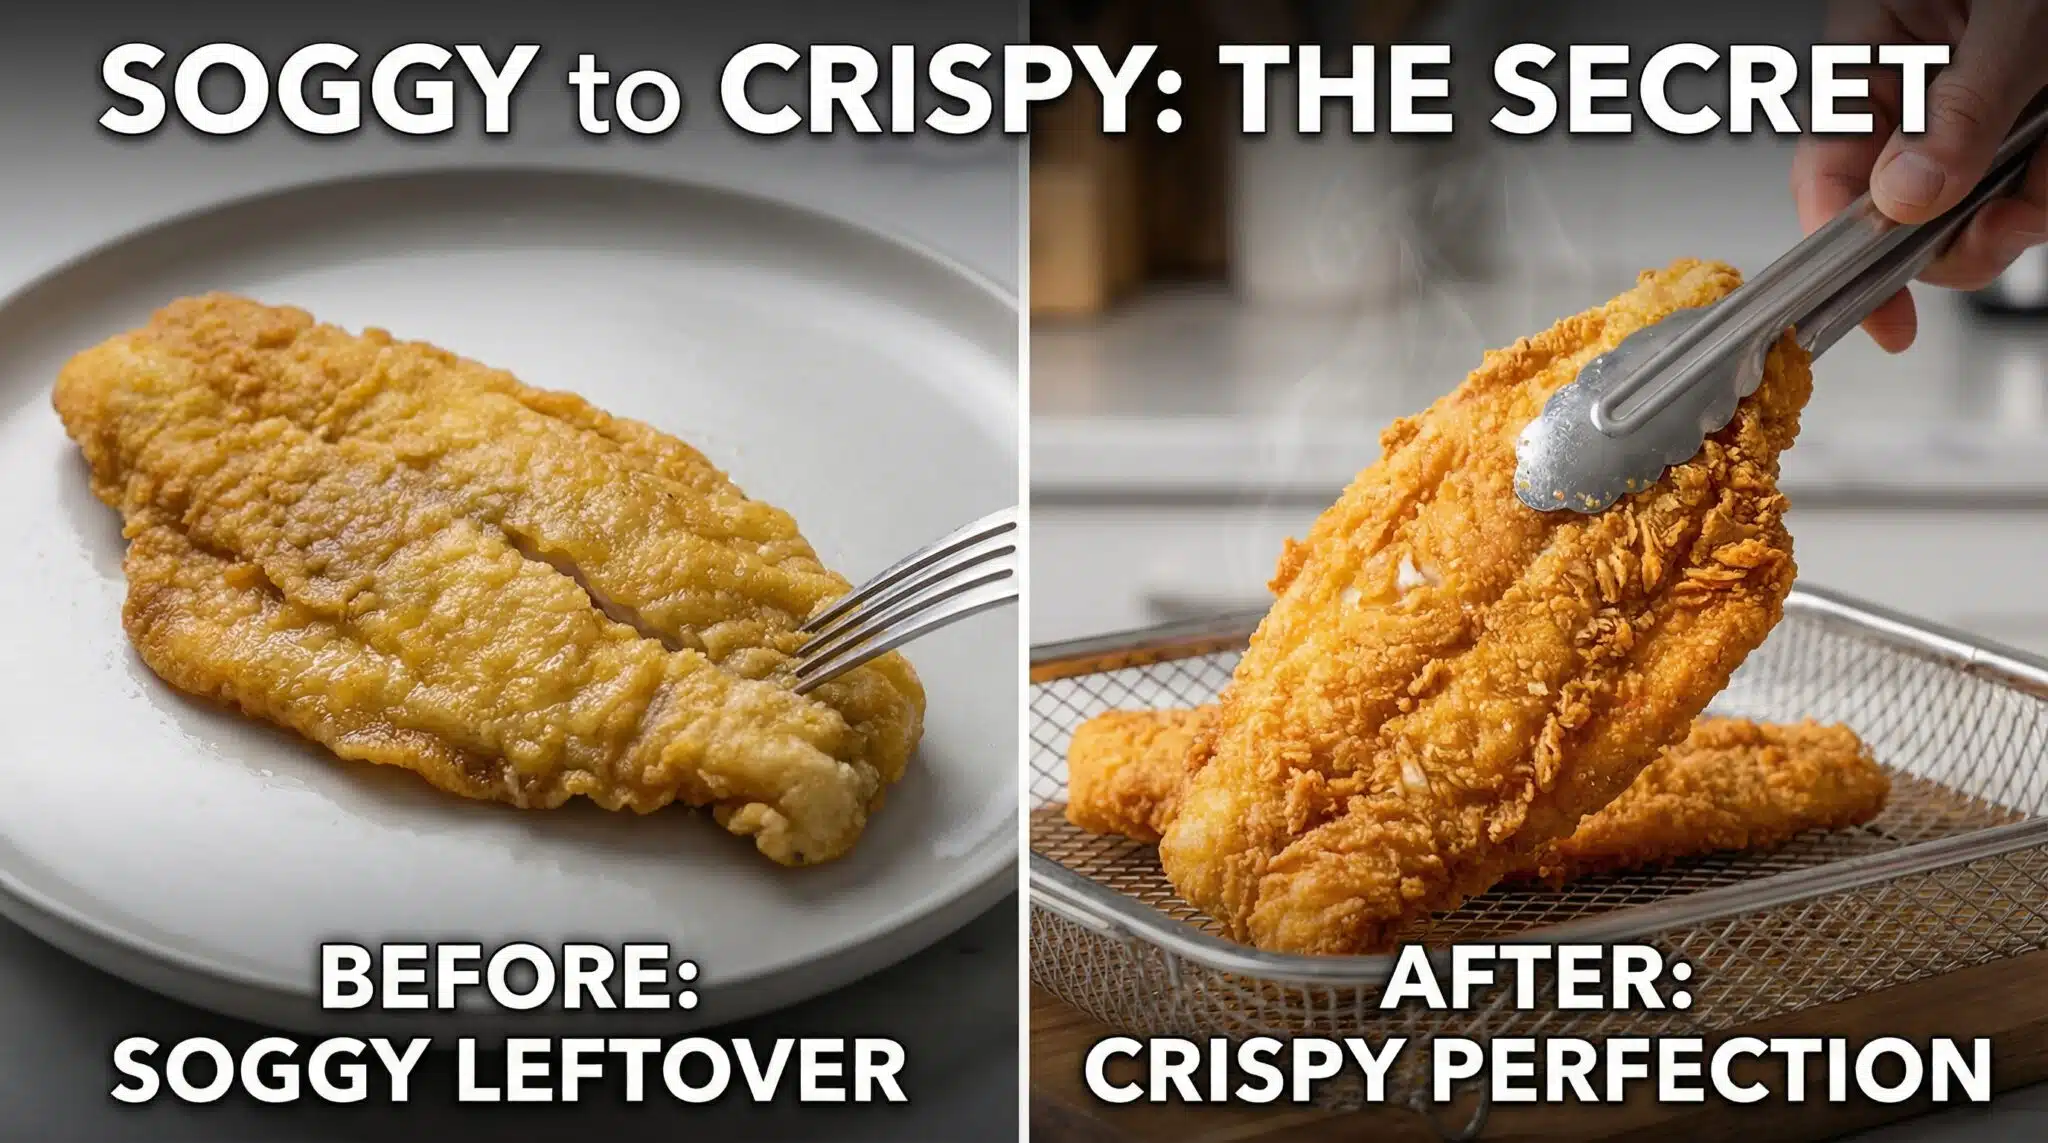
How to Reheat Fried Fish and Keep It Crispy (Because Soggy Fish Is a Crime)
You know that moment when you open the fridge, see last night’s fried fish, and think, “Ooooh yes, future me was so thoughtful”… and then you bite in and it’s kinda limp and sad?
Yeah. That.
The good news: leftover fried fish doesn’t have to taste like it took a long bath. With the right reheating method, you can get that crunchy coating back and keep the fish inside from drying out like driftwood.
Let’s make your leftovers act brand new.
Why it goes soggy (aka: the fish is betraying the breading)
It’s not that your fish “expired overnight.” It’s moisture doing what moisture does: sneaking around and ruining fun.
When fried fish cools, steam inside the crust turns into water and migrates into the breading. The coating basically starts drinking it like a sponge. So the goal when reheating is simple:
Use dry heat + airflow so the moisture can escape.
(And yes, this is why the microwave is basically the villain in this story.)
Quick little test if you’re curious: tap the coating with your fingernail. If it sounds dull instead of “tck tck,” moisture moved in and made itself at home.
First, how you store it matters (just a little)
If you want crispier leftovers tomorrow, do Future You a favor tonight:
- Let it cool uncovered for 15-20 minutes before you lid it up (trapping steam = instant sog city).
- Toss a paper towel in the container to catch moisture.
- Don’t stack pieces like pancakes (or at least put parchment between layers).
- Use a shallow container so everything isn’t piled and sweating together.
- Eat within 3-4 days for best texture (and general common sense).
Is this fussy? Slightly. Is it worth it? If you love crispy things, yes.
Please don’t microwave it (unless it’s truly an emergency)
Microwaves heat by exciting water molecules, which is basically a fancy way of saying: it creates steam. And steam is the mortal enemy of crispy breading.
If the microwave is your only option (no judgment, life is chaos):
- Use 50% power
- Go in 30 second bursts
- Put the fish on a paper towel
- Swap the towel if it gets damp
This won’t make it crispy. This is damage control. Like putting a tiny umbrella on a sinking boat.
Pick your reheating method (my quick real life rule)
- Want fast + crispy (1-2 pieces)? Air fryer.
- Feeding people / bigger batch? Oven + wire rack.
- Want the closest to fresh fried magic? Skillet (and you have to pay attention).
Also: reheat to 145°F / 63°C if you use a thermometer, or at least until it’s steaming hot in the center. Don’t gamble with fish. Fish will win.
Method 1: Air fryer (the crispy cheat code)
This is my go to because it’s fast and keeps the coating crisp and doesn’t make my kitchen smell like I opened a seafood shack.
- Preheat to 350°F.
- Put fish in a single layer with space between pieces.
If you can’t see the basket between fillets, it’s overcrowded. (Yes, I’ve tried to “make it fit.” No, it didn’t work.) - Heat 3-5 minutes total. Start checking around 3 minutes for thinner pieces.
You’ll know it’s ready when the coating looks dry, not shiny, and it sounds crisp when you tap it.
Method 2: Oven + wire rack (best for a pile of pieces)
If you’ve got more fish than your air fryer basket can handle, the oven is the calm, dependable grown up option.
- Preheat to 350-375°F.
- Line a sheet pan with parchment, then put a wire rack on top.
No rack = soggy bottom. The rack is non-negotiable if you want crunch. - Arrange fish in a single layer.
- Bake 10-15 minutes total, flipping halfway.
Important: Don’t cover it with foil. Foil traps moisture and basically turns your fish into a little steam room retreat (and not the relaxing kind).
Tip if your fillets are thick: let them sit out 10 minutes before reheating so the center warms without you overcooking the crust.
Method 3: Skillet (closest to fresh, but you’re on duty)
If you want that “is this actually leftover?” texture, the skillet wins. But you can’t wander off to scroll your phone for “just a second” unless you enjoy the taste of regret.
- Pat the fish dry with paper towels. (Moisture = splatter + sadness.)
- Add a thin layer of canola/vegetable oil and heat until it shimmers (around 350°F).
- Cook 1-2 minutes per side, until crisp and warmed through.
- Drain on paper towels.
Quick fixes if things go sideways:
- Oil too hot: crust browns too fast → turn heat down.
- Oil not hot enough: crust gets greasy → wait for that shimmer.
- Too much oil: heavy/greasy fish → you only need a thin layer.
If your fried fish is frozen: don’t thaw it
I know it feels wrong to cook from frozen, but thawing creates a wet layer between the fish and the coating, and that’s basically begging for soggy breading.
Do this instead:
- Straight from freezer to oven
- 325°F for 18-20 minutes
- Use a rack if you have one, flip once if you remember (I sometimes don’t. It’s fine)
Lower temp + longer time warms the center without turning the outside into dust.
The most common reheating problems (and the quick fix)
- Crispy outside, cold center: keep going 2-3 more minutes (same temp).
- Soggy bottom, crispy top: you put it directly on the pan use a rack next time.
- Crispy coating, dry fish: your heat was too high or it stayed in too long 350°F and check earlier.
Want better leftovers next time? Two tiny upgrades
If you fry fish often (or you’re about to go through a “fried fish era” no judgment), these help a lot:
- Use a crispier dredge: try 2 parts rice flour + 1 part cornstarch in place of straight flour. It holds up better in the fridge.
- Hold finished pieces in a 200°F oven while you fry batches. Keeps steam from condensing and messing with the crust.
If you try one thing from this whole post, make it this: skip the microwave and use airflow (air fryer or rack in the oven). That’s the difference between “leftovers” and “wait… this is actually good.”