

My kitchen had been on my mind for weeks.
That sticky spot near the stove, I kept wiping around.
The drawer was basically a graveyard for expired coupons and random rubber bands.
I spent a whole Saturday going corner to corner, shelf to shelf. And when it was finally done, my kitchen felt like a completely different space.
Lighter, fresher, actually clean!
That’s exactly why I’m sharing everything about how to deep clean kitchen, one section at a time.
Before Anything Else, Let’s Get the Kitchen Ready
The first thing I learned about how to deep clean kitchen properly is that starting without a plan just creates more work.
Always clear the counters first!
Everything comes off, and I sort it into three piles: keep, relocate, and trash. That one step alone saves so much time.
Deep Cleaning Checklist
| Cleaning | Protection & Tools |
|---|---|
| Dish soap | Gloves |
| Baking soda | Microfiber cloths |
| White vinegar | Scrub brush or old toothbrush |
| Degreaser (optional) | Trash bags |
| All-purpose spray | Mop and bucket |
| Baking soda paste | Spray bottle |
Pro Tip: Clean top to bottom, always. Upper cabinets first, then counters, appliances, sink, and floors. Anything that falls while cleaning up high won’t mess up what’s already clean below.
How to Deep Clean Kitchen in 7 Steps Like a Pro
When I was deep cleaning my kitchen from top to bottom, crumbs from the cabinets above landed right back onto the stovetop I had just wiped.
That’s when it hit me that knowing how to deep clean kitchen is really just about working in the right order.
Step 1: Cabinets and Cabinet Doors
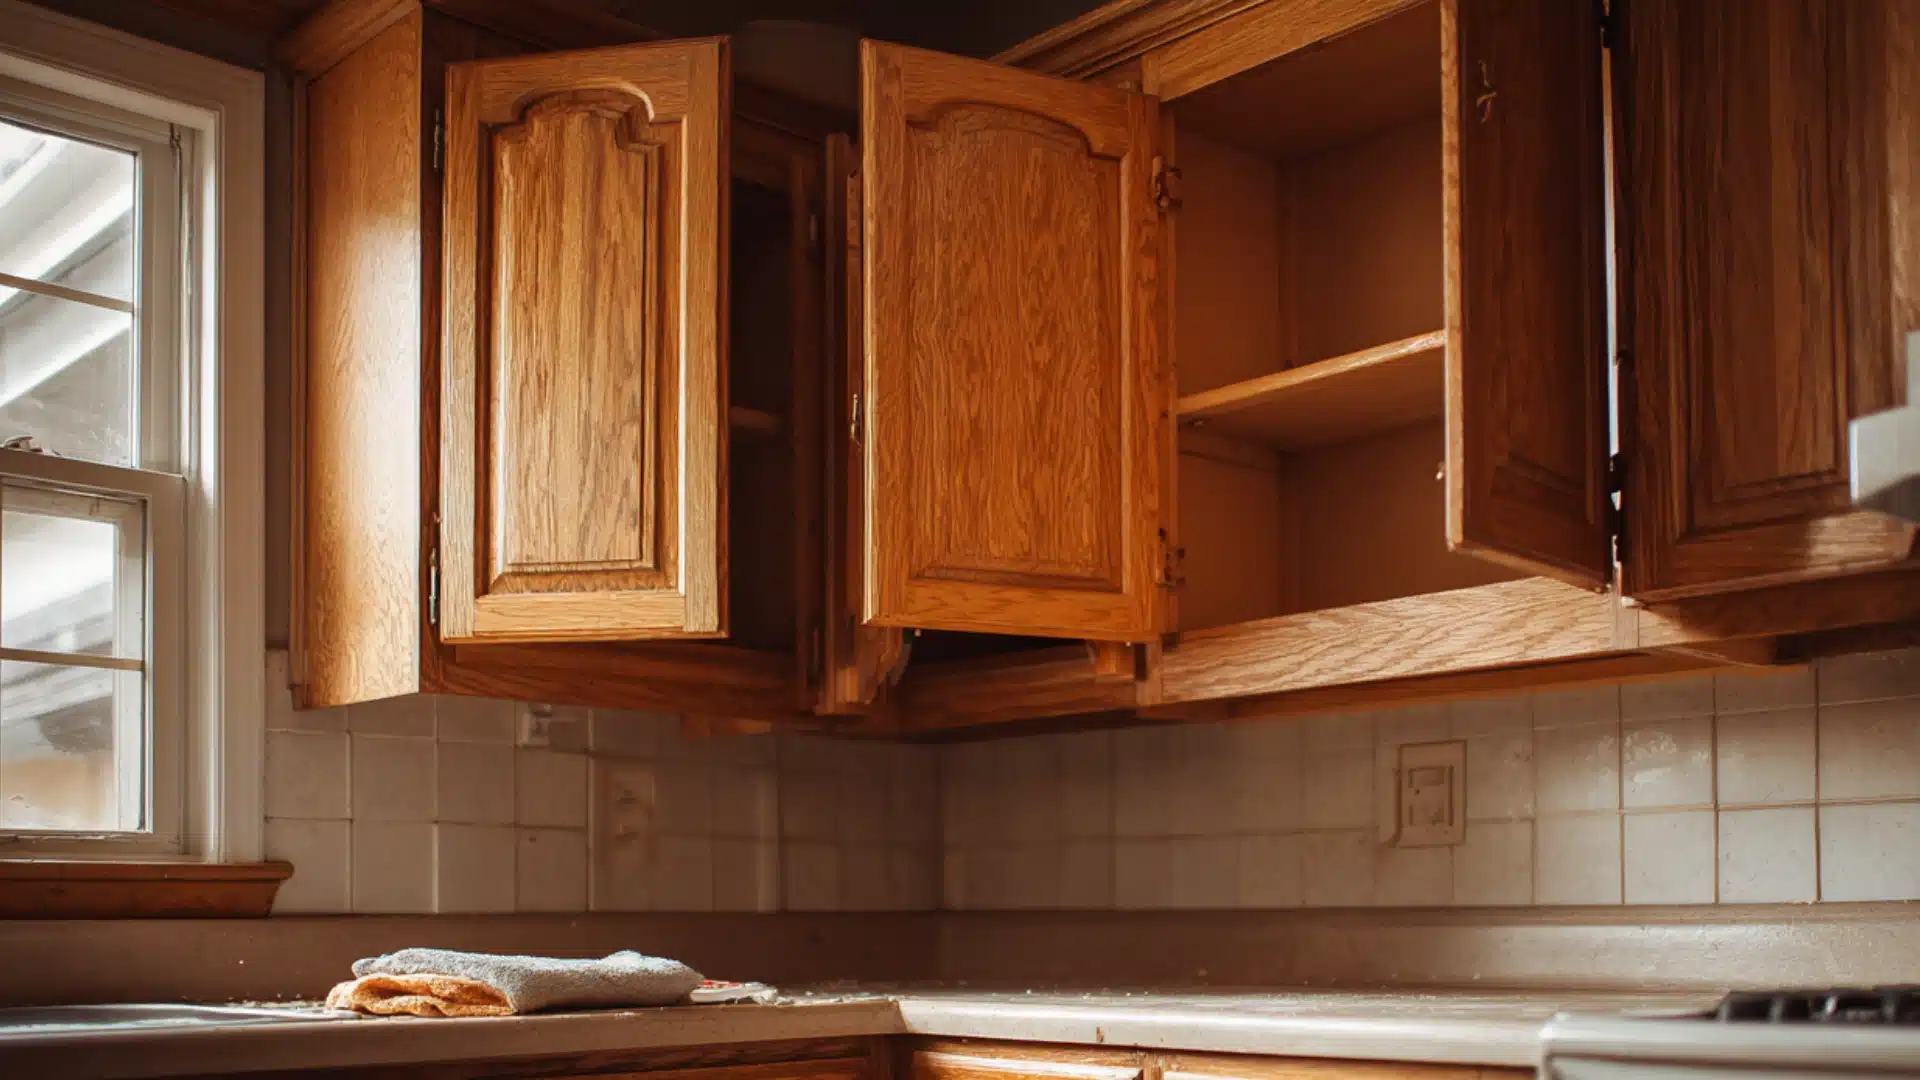
Cabinets go first because everything else sits below them.
Empty them out and wipe the insides down. The shelves collect more crumbs than you’d expect.
For the doors, focus on the handle area. That’s where grease builds up the fastest.
A baking soda paste left on for two minutes, then wiped clean, does the job without any hard scrubbing
Step 2: Chimney and Range Hood
The range hood was the most ignored spot in my kitchen for a long time. And it showed.
When I finally got around to it during a proper kitchen deep clean, the filter was coated in a layer of solidified cooking grease.
The real deal is,
- Pop out the metal filter and drop it into hot, soapy water
- Let it soak for 15 to 20 minutes
- Wipe the outside of the hood with a degreaser while the filter soaks
- After soaking, most of the grease rinses straight off
Cleaning the filter once a month keeps it from ever getting that bad again.
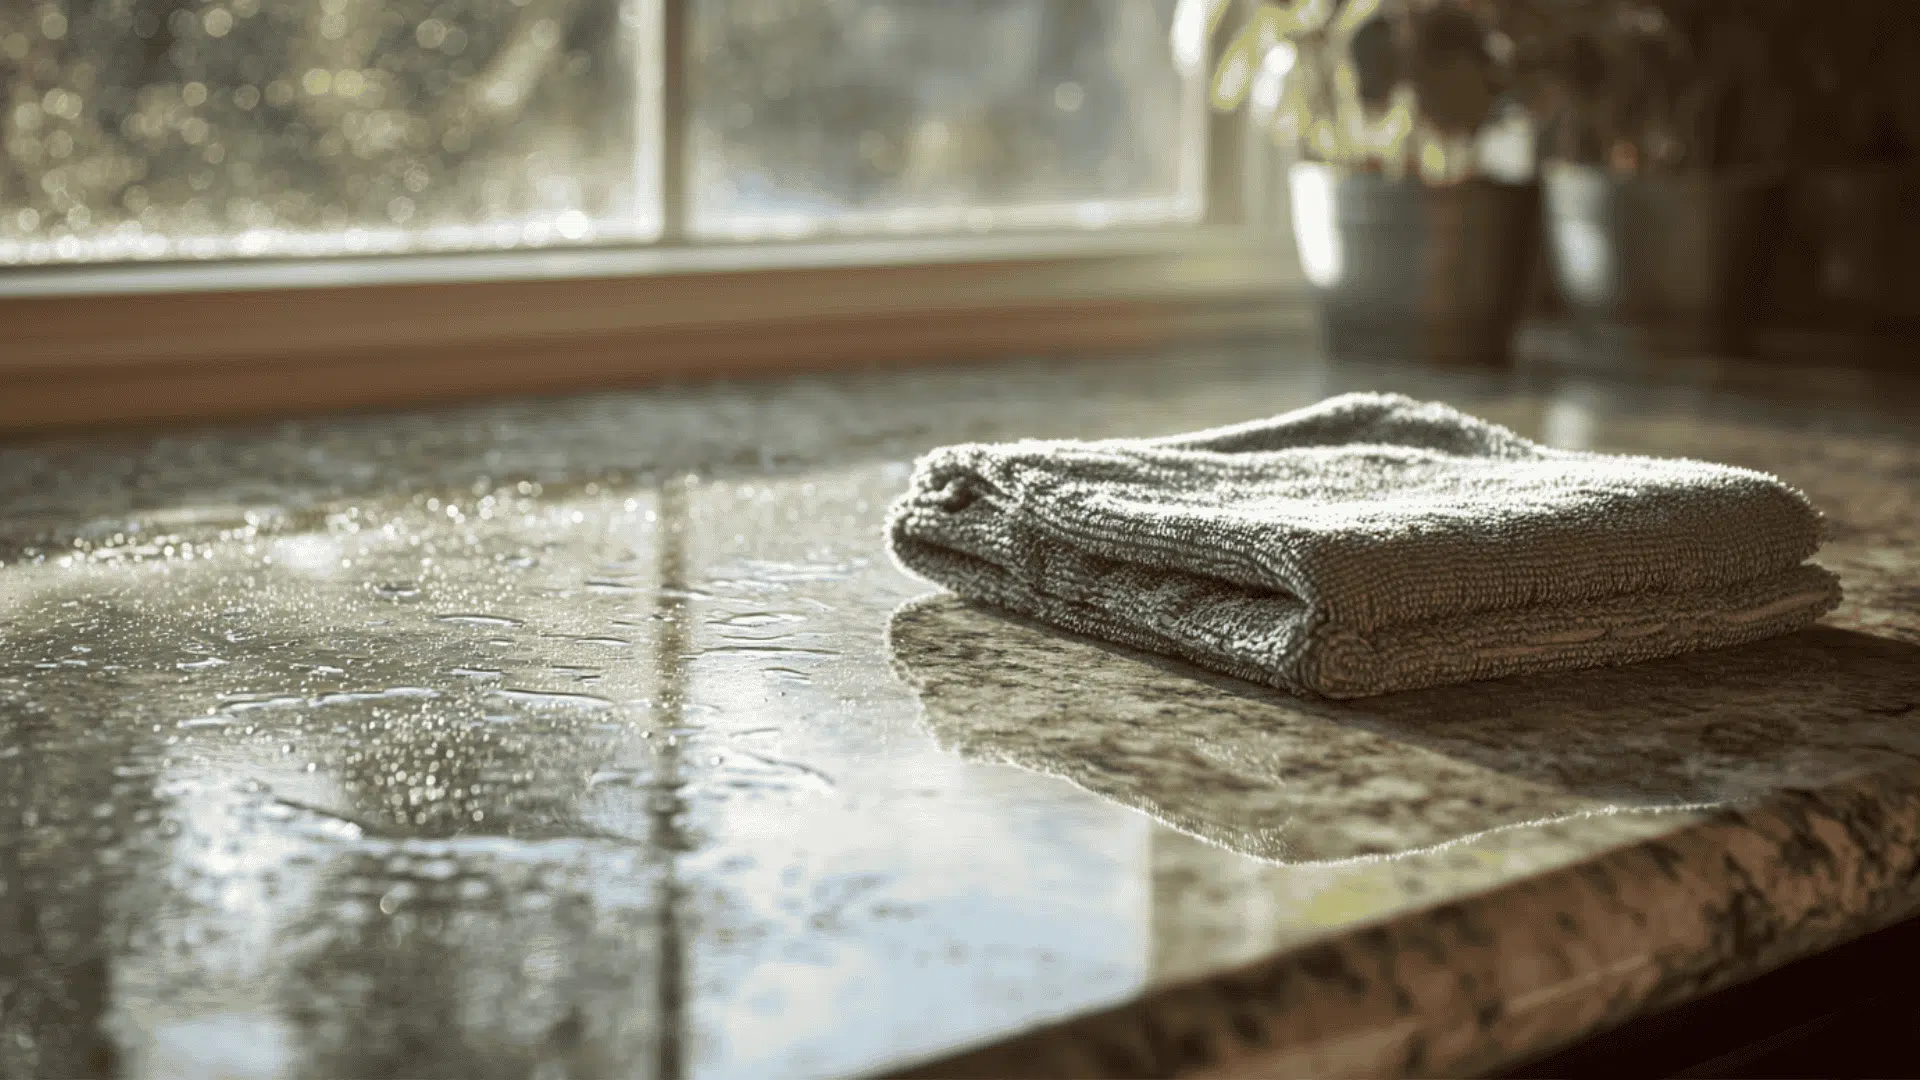
Step 3: Countertops
By this point, some dust and debris from the steps above have already landed on the counters.
So the timing of cleaning them now makes total sense!
Spray the surface, then wait. A full 60 seconds before wiping makes a noticeable difference in how well the grease breaks down.
One thing worth knowing: vinegar on granite or marble will dull the finish over time.
Warm, soapy water is the safer bet for natural stone.
Tip: This is a good moment to be honest about what actually needs to live on the counter. Clearing even one or two things off makes the whole kitchen feel more open.
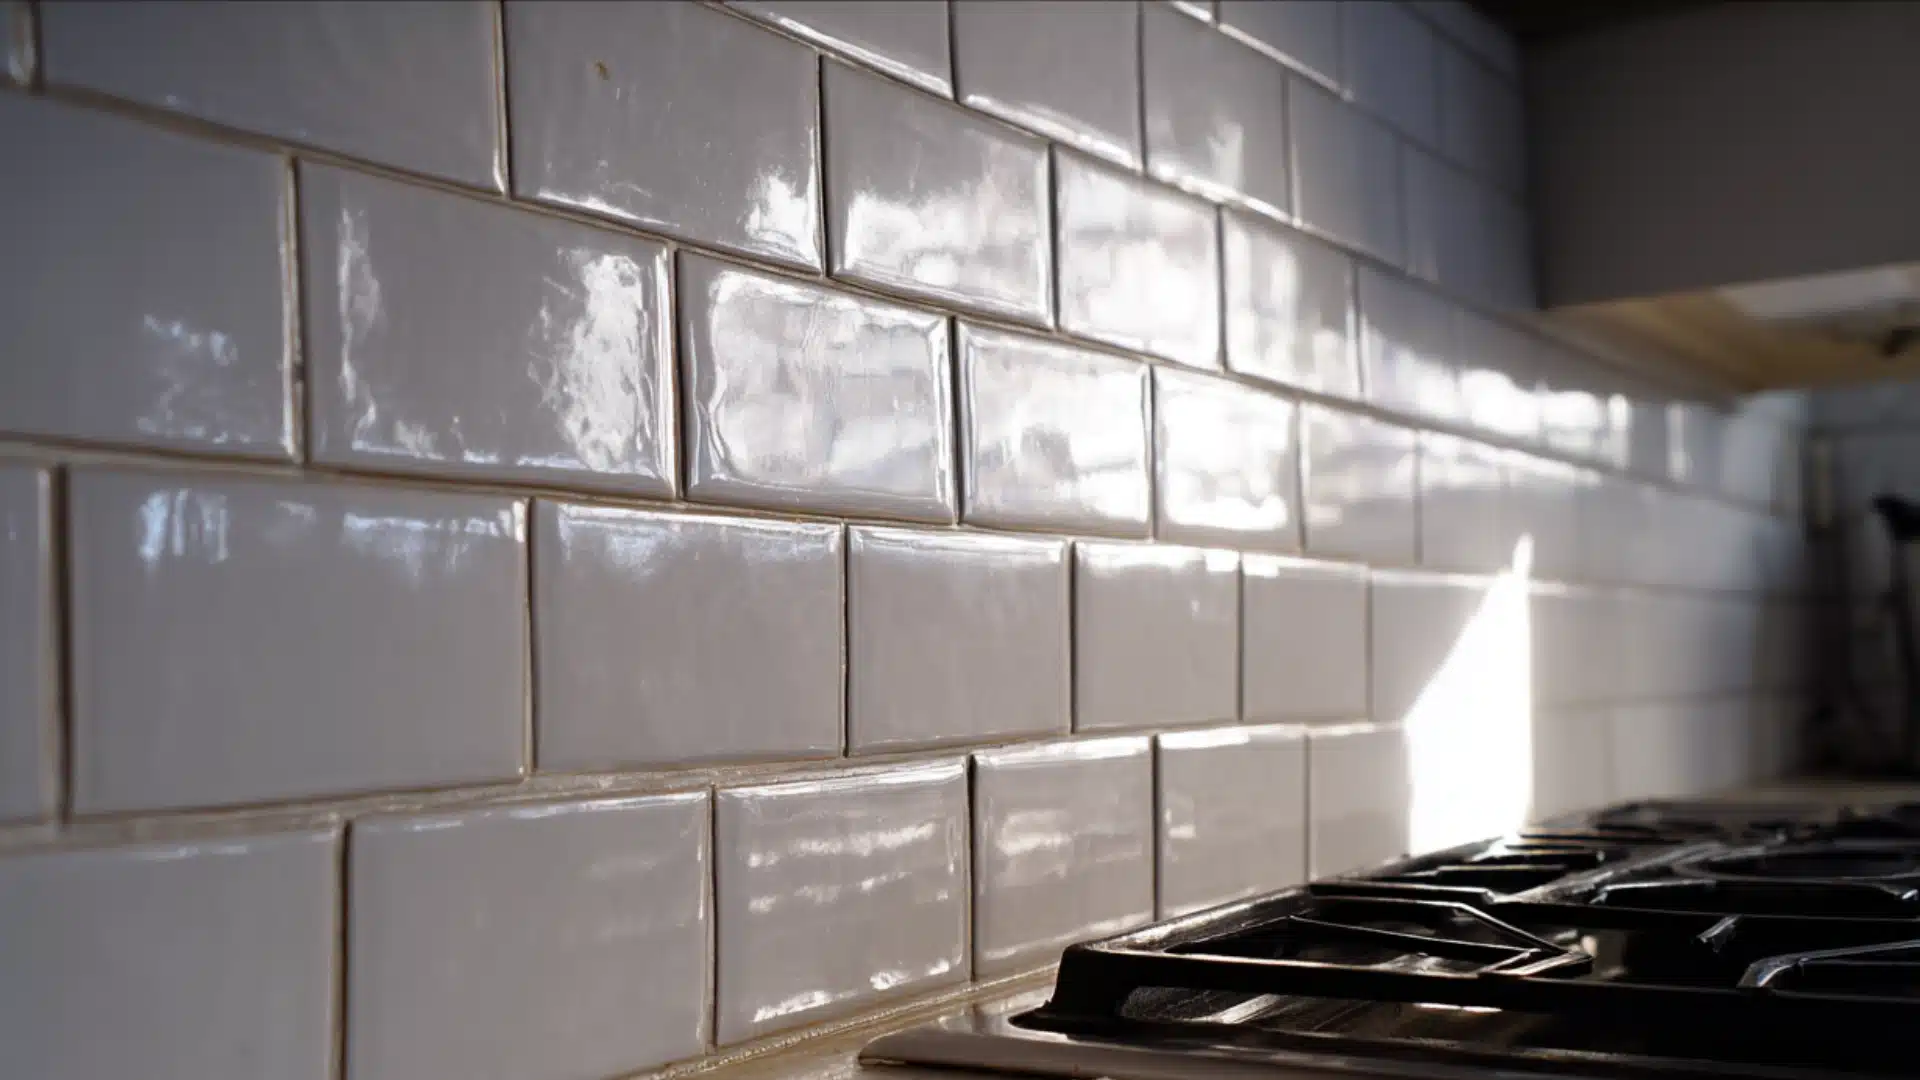
Step 4: Kitchen Walls and Backsplash
Walls are one spot I always bring up when someone asks me how to deep clean a kitchen the right way.
| Area | What to Use | Focus Spot |
|---|---|---|
| Painted walls | Damp microfiber + dish soap | Behind and beside the stove |
| Tiled backsplash | Baking soda paste + toothbrush | Grout lines |
| Greasy patches | Degreaser spray | Around the stove and hood |
But when someone is learning how to deep clean a kitchen the right way, this is one spot I always bring up.
Work top to bottom in small sections so dirty water doesn’t drip onto already cleaned areas.
Step 5: Kitchen Doors
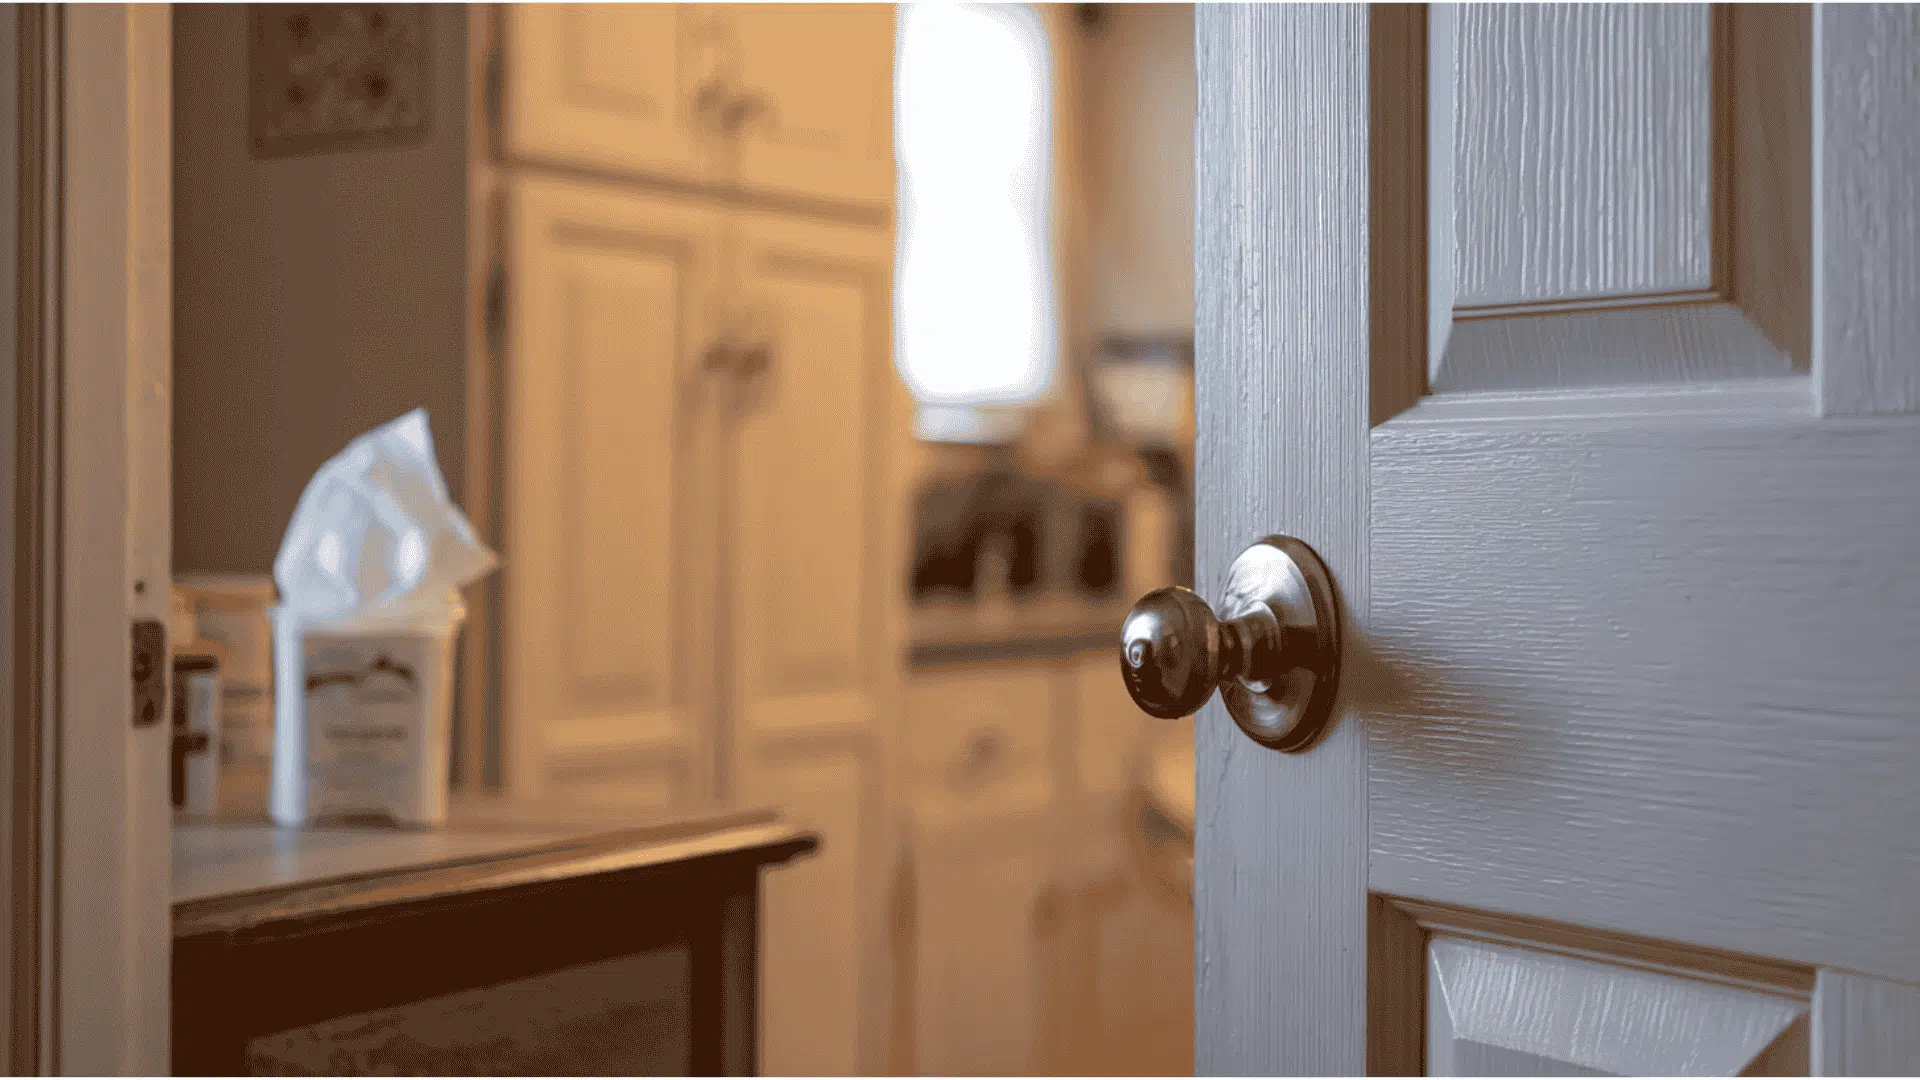
This one is quick but makes a bigger difference than expected.
Wipe down the entire door surface first, then go back to the handle with a white vinegar cloth or a disinfecting wipe.
Handles are touched constantly and cleaned almost never.
For painted doors, a damp cloth rather than a soaking wet one is important. Too much moisture sitting on the paint causes it to bubble and peel over time.
Quick wipe, dry wipe after, done!
Step 6: Floor Tiles and Grout
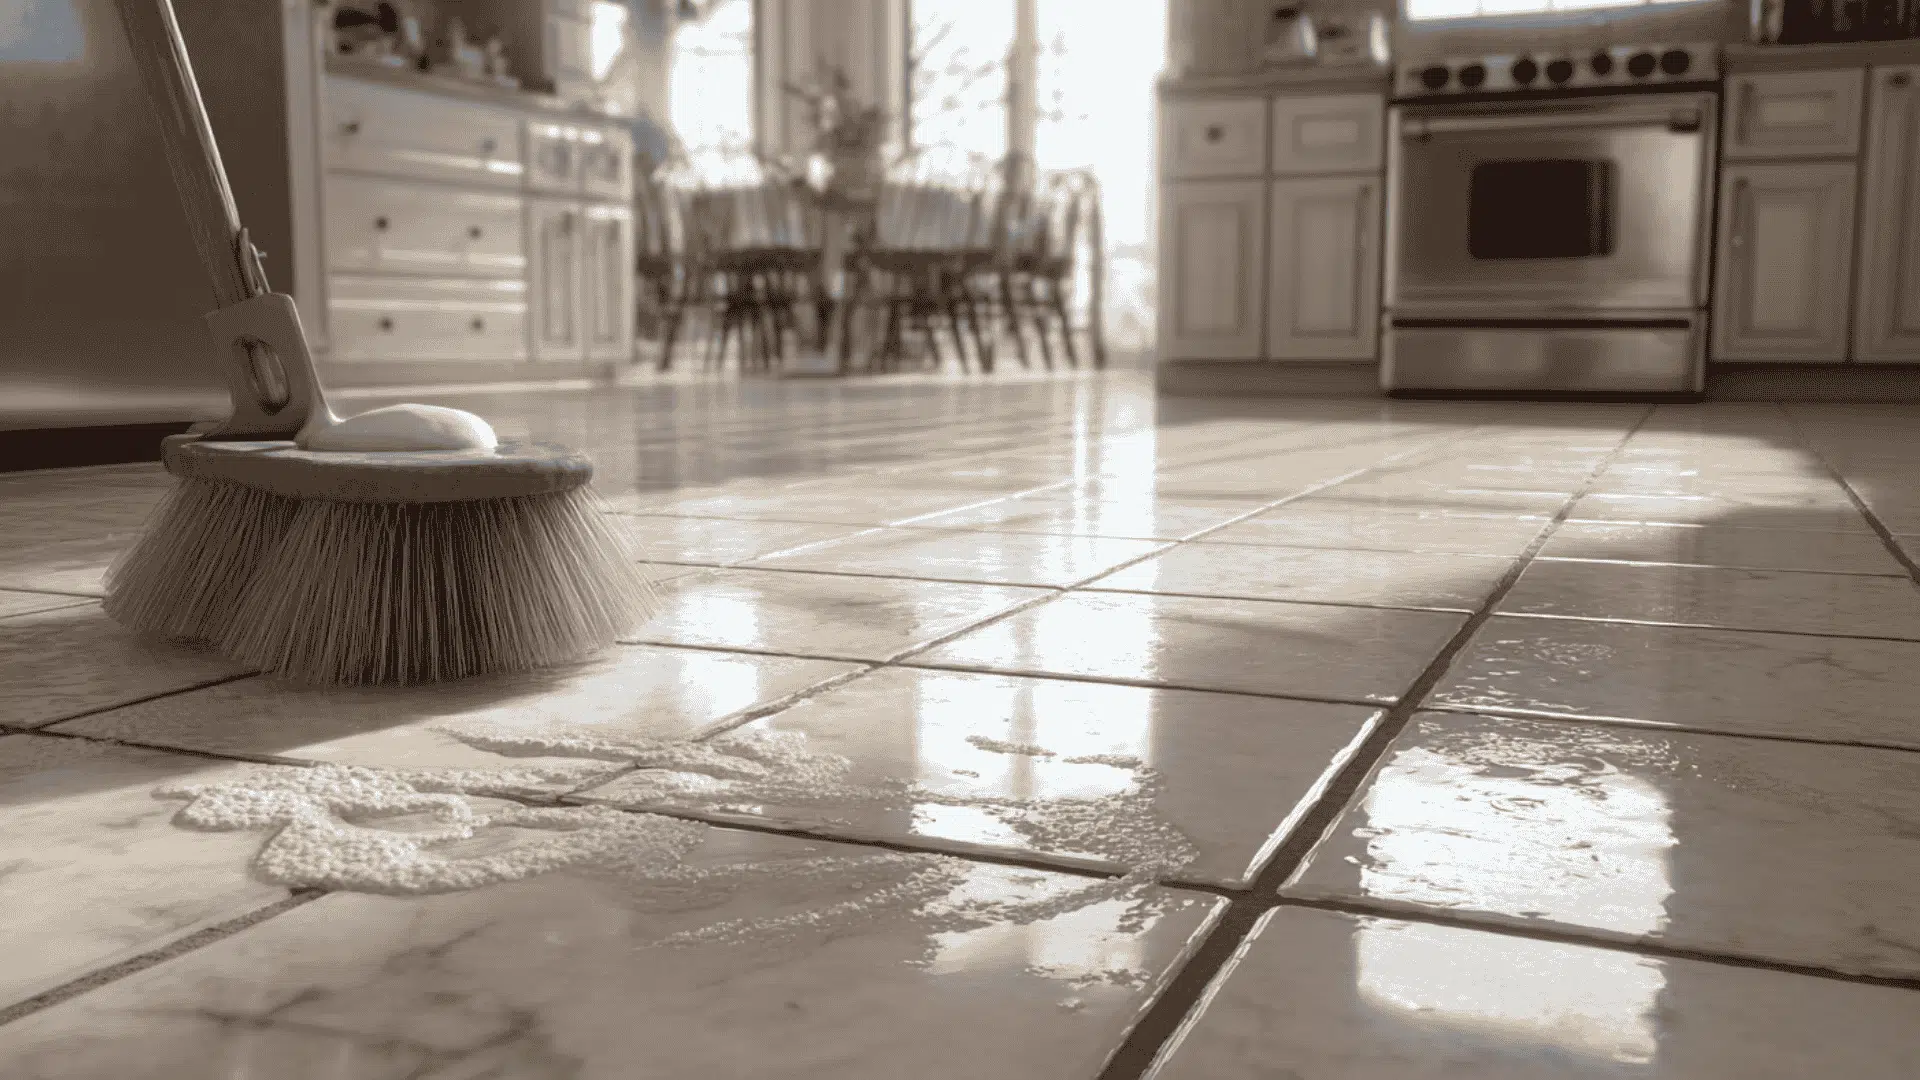
Before mopping, get into the grout lines with a stiff brush and a paste made from baking soda and dish soap.
The areas around the stove and sink need the most attention, since those are where spills happen most often.
Once the scrubbing is done, sweep up all the loosened debris before the mop comes out.
Hack: Baking soda with dish soap works noticeably faster on greasy grout than baking soda with water alone.
Step 7: Sink, Drain, Towels, and Floors
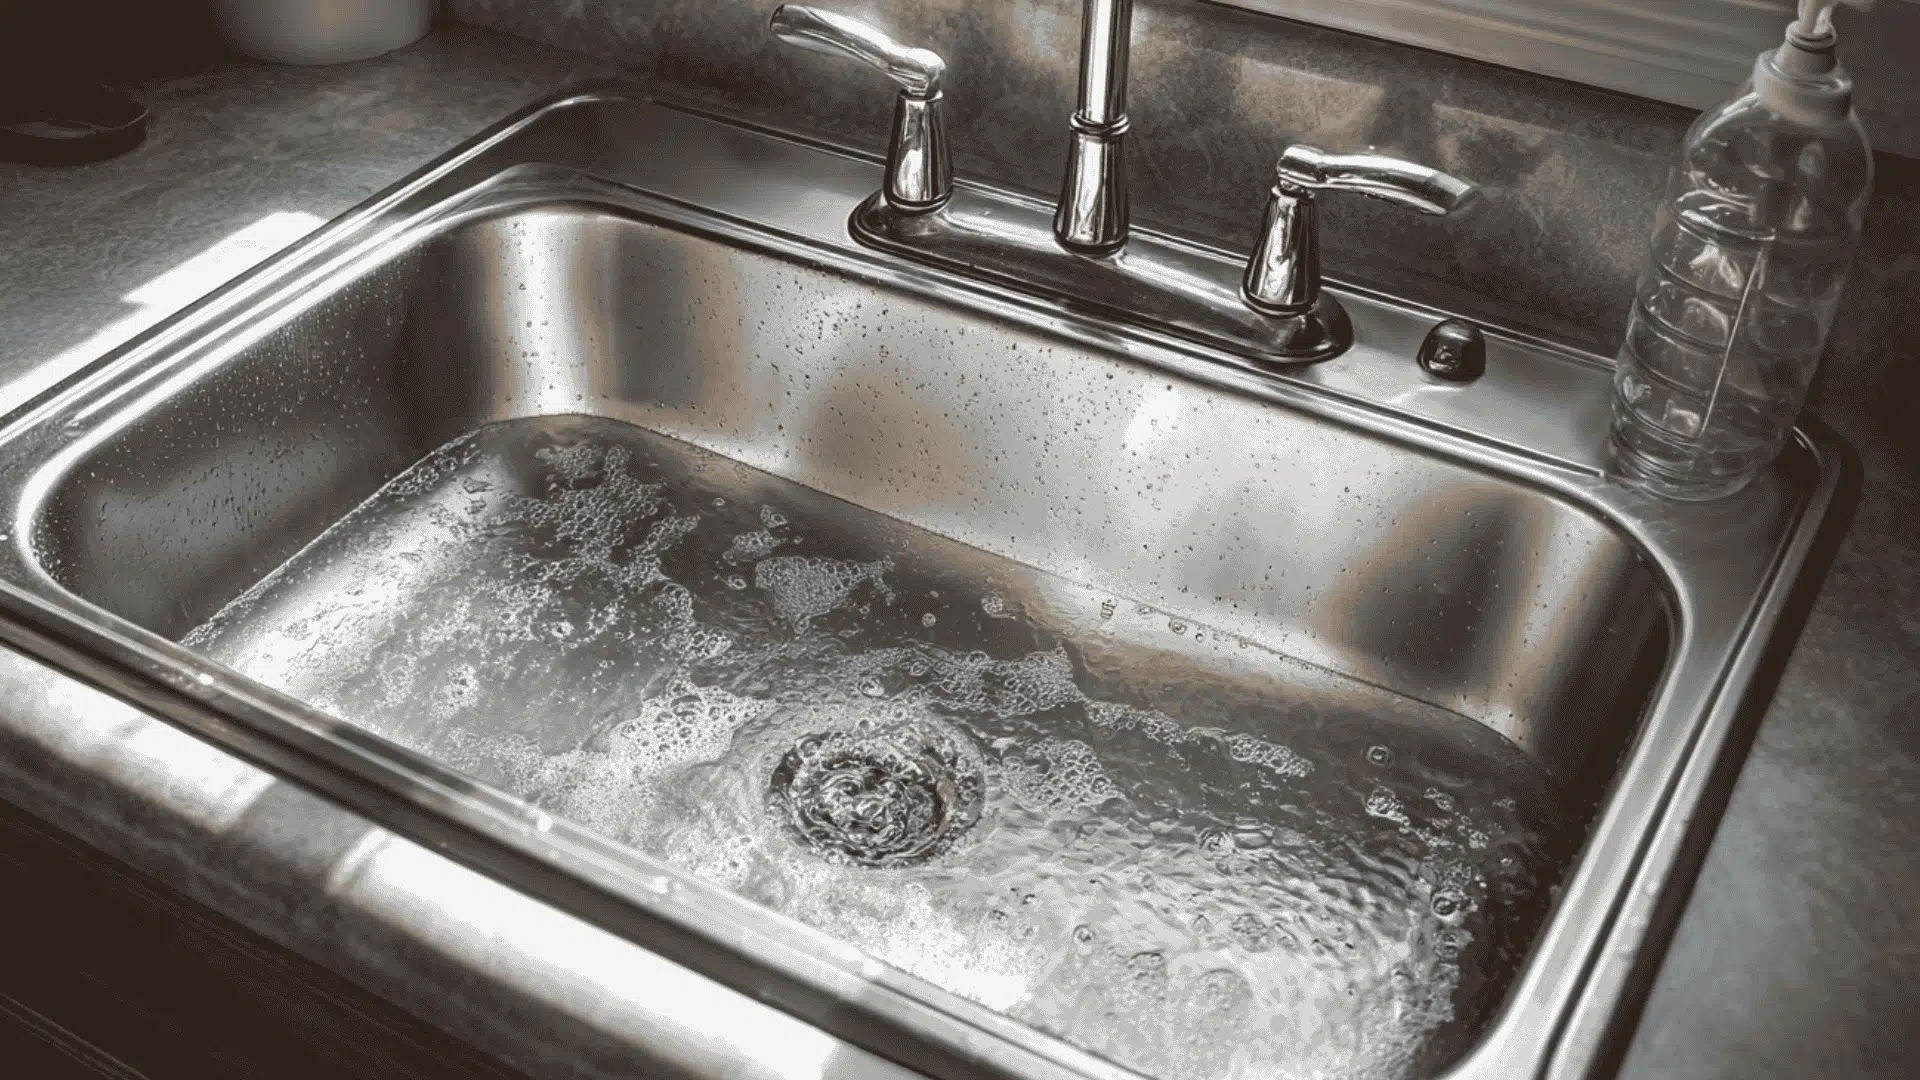
The last step of a kitchen deep clean, and truthfully, the most satisfying one!
Start with the sink before moving to the floor.
- Scrub the basin with baking soda and dish soap
- Get into the edges and around the faucet base
- Pour baking soda down the drain, follow with white vinegar
- Let it fizz, then flush with a full kettle of hot water
Swap used kitchen towels for fresh ones and toss the dirty ones into the wash.
Methods to Deep Clean Your Kitchen from Top to Bottom
These three methods help you based on what you’re actually working with.
1. The Natural Clean
This works well for kitchens that feel grimy but aren’t completely out of control. Everything you need is probably already sitting in your pantry.
Works best on cabinet handles, counters, sink, microwave interior, and fridge shelves.
- Dish soap and warm water for cutting through everyday grease
- Baking soda paste for anything stuck on or stubborn
- White vinegar rinse for deodorizing and clearing light buildup
Brand Recommendations
1. Dawn Ultra or Seventh Generation
Dawn Ultra is my go to dish soap because a tiny amount cuts through greasy cabinet handles better than I expected.
2. Arm and Hammer Baking Soda
Arm and Hammer Baking Soda is something I always keep a spare box of, just for cleaning, because it handles stuck on messes without scratching anything.
3. Heinz White Vinegar
Heinz’s White Vinegar version is stronger and honestly made my fridge shelves look brand new.
Skip vinegar on granite, marble, and natural stone. It dulls the finish over time and the damage is hard to reverse.
2. The Fast Reset Clean
Some days, a full kitchen deep clean just isn’t happening.
This is the method that comes out when you are figuring out how to deep clean kitchen that has visible grease on the cabinets.
Works best on stovetop, sink, fridge handles, cabinet handles, and floors around the stove and trash area.
- An all purpose spray for general surfaces
- A grease cutter for anything around the stove
- Disinfecting wipes for quick handle and knob wipe downs
- A floor cleaner for the finish
Brand Recommendations
1. Mrs. Meyer’s Clean Day
Mrs. Meyer’s is the one I keep coming back to because it smells great and actually cleans well at the same time.
2. Dawn Powerwash
Dawn Powerwash is probably something I have reached for more than anything else on greasy stovetop messes because it works fast with barely any effort.
3. Lysol Disinfecting Wipes
Lysol Disinfecting Wipes are perfect for a quick wipedown of handles and knobs when there’s no time for a full clean.
4. Bona Multi Surface Floor Cleaner
Bona Multi Surface Floor Cleaner doesn’t leave that sticky residue that some floor cleaners do, which makes a real difference on kitchen floors.
3. The Grease Emergency Clean
This is the method for kitchens with a visible layer of cooking grease that soap alone won’t remove.
Works best on cabinet doors, stove knobs, backsplashes, hood vents, and fridge door handles.
- A proper degreaser for cabinets and stove surfaces
- A scrub brush or an old toothbrush for tight spots
- Microfiber cloths for wiping everything down
Brand Recommendations
1. Krud Kutter
Krud Kutter is what I reach for on sticky cabinet doors because it cuts through built-up grease without damaging the finish.
2. OXO Good Grips Scrub Brush
OXO Good Grips Scrub Brush stiff bristles reach into corners that a cloth just slides right over, making a real difference around stove knobs.
Spots Most People Skip When They Deep Clean

1. Microwave
Remove the turntable and wash it in the sink with dish soap.
Microwave a bowl of water with a few drops of lemon juice for two minutes, then wipe the inside of the bowl.
The steam loosens everything stuck on the walls.
2. Fridge
Pull everything out, toss anything expired, and wipe the shelves with a white vinegar solution.
Line the produce drawers with a paper towel after cleaning to catch future spills before they stick.
3. Dishwasher
Place a bowl of white vinegar on the top rack, then run a hot cycle without detergent.
It breaks down buildup, clears odors, and leaves the inside looking surprisingly clean.
4. Trash Can
Take it outside, spray it down with a degreaser or dish soap, scrub with a stiff brush, and rinse thoroughly.
Let it dry completely before putting it in a new bag.
5. Inside Drawers and Pantry
Empty everything out completely!
Wipe the inside with a damp microfiber cloth, toss anything that has expired, and group similar items together before putting everything back.
Mistakes to Avoid to Deep Clean the Kitchen Quickly
Don’t want to make the process so overwhelming?
Avoid these mistakes that make a kitchen deep clean take way longer.
Starting with the floors first. Crumbs from the cabinets above will just land right back on them.
Using vinegar on natural stone counters. It dulls the finish, and that damage doesn’t reverse.
Wiping degreaser off too quickly. Give it two minutes to actually break down the grease first.
Skipping the range hood filter. It’s easy to ignore, but it makes a bigger difference than most people realize.
Using the same cloth on everything. One cloth for greasy surfaces, a fresh one for counters and shelves.
Not drying surfaces after wiping. Wet surfaces left behind lead to streaks and watermarks.
Jumping around without a plan. Knowing how to deep clean a kitchen means working section by section, always.
Wrapping Up
A clean kitchen is worth every bit of the effort!
The counters are clear, the cabinets no longer feel sticky, and even the floors look like they belong in the space again.
Pick one section, use the method that fits your kitchen’s current situation, and grab the supplies that make sense for the mess you’re dealing with.
So pick a day, put on a good playlist, and get into it.
Frequently Asked Questions
1. How Often Should You Deep Clean Your Kitchen?
A full kitchen deep clean every three to four months is enough, with a lighter surface clean done weekly to keep things manageable in between.
2. How Long Does it Take to Deep Clean a Kitchen?
A full kitchen deep clean takes anywhere from three to five hours, depending on the size of your kitchen and how long it has been since the last proper clean.
3. Can You Deep Clean a Kitchen Without Chemicals?
Yes, baking soda, white vinegar, and dish soap handle most kitchen messes without harsh chemicals.
4. What is the Hardest Part of a Kitchen to Deep Clean?
The range hood filter and grout lines are usually the most time consuming spots because grease and buildup sit in them for a long time.
5. Is Hiring a Commercial Kitchen Cleaning Service Worth it?
If the kitchen hasn’t had a proper deep clean in over a year, a commercial service is worth it for a one time reset.