Last spring, I killed my first batch of tomato seedlings within two weeks. Overwatered, wrong timing, wrong spot on the windowsill. Total disaster.
But that failure taught me more than any gardening book ever could.
I returned to basics, tried again, and gradually improved. Now, I grow more tomatoes than my kitchen can store.
Growing tomatoes from seeds is absolutely worth it.
In this blog, I will define how to choose the right variety, where to start, different techniques and spots, how to germinate seeds the right way, and tips to get the best tomatoes planted.
How to Start Growing Tomatoes from Seeds or Seedlings?
I had this same question when I first started out. Do I go with seeds or just grab a seedling from the store?
Seeds are cheaper and give you more variety to choose from. But they need more time and attention early on.
Seedlings, on the other hand, save you time. You skip the germination stage completely.
I started with seedlings in my first season because I was impatient.
But frankly, starting from seeds gave more worthy results once I tried it.
My advice? If you have 6-8 weeks before planting, use seeds; if late, get seedlings. Either way, you’ll get tomatoes.
Choose a Tomato from the Variety
Walking into a garden centre and seeing 30+ tomato varieties on the shelf, trust me, it’s a lot.
I had no idea what I was picking the first time. Here’s what I learned after a few seasons of trial and error.
| Factor | Options | Pick This If |
|---|---|---|
| Growth Type | Determinate / Indeterminate | You have limited space / You want a longer harvest |
| Variety | Cherry / Roma / Beefsteak | Snacking / Making sauce / Big sandwiches |
| Space & Climate | Compact / Heat-tolerant | Growing in pots / Living in a warm region |
| Disease Resistance | VFN-coded varieties | Your area gets humid or disease-prone seasons |
| Taste & Use | Sweet / Low-moisture | Eating fresh / Cooking and roasting |
I personally lean toward indeterminate varieties like Sungold or Black Krim for home growing – they keep producing all season rather than dumping everything at once, which is far more practical for a home kitchen.
When toStart Growing Tomatoes from Seeds
Timing is everything with tomato seeds.
Start your seeds indoors 6 to 8 weeks before the last frost date in your area.
For most regions, that means starting between late January and early April. Too early, and your seedlings get leggy before they can go outside. Too late, and you lose precious growing time.
I usually check my local frost dates first, then count backwards. It takes the guesswork out completely.
A simple frost date calendar online can help you nail this. Get the timing right, and everything else gets easier.
What You Need to Grow Tomatoes from Seeds
Prepare everything beforehand to save time, unlike me, who spent two days running back to the store mid-process.
Seeds & Soil
- Tomato seeds of your chosen variety
- Seed-starting mix
- Potting soil (for transplanting later)
Containers & Trays
- Seed trays with cells
- Plastic dome or cling wrap
- Small pots (for transplanting)
- Large pots or garden beds (for final planting)
Watering & Feeding
- Spray bottle
- Watering can with a gentle rose head
- Liquid tomato fertiliser
- Calcium spray (prevents blossom end rot)
Light & Heat
- Grow lights or a bright sunny windowsill
- Thermometer
Support & Tools
- Tomato cages or stakes
- Plant ties or soft string
- Scissors or pruning shears
- Plant labels and a waterproof marker
Other Essentials
- Trowel
- Gloves
- Pest control spray (organic if possible)
- Mulch
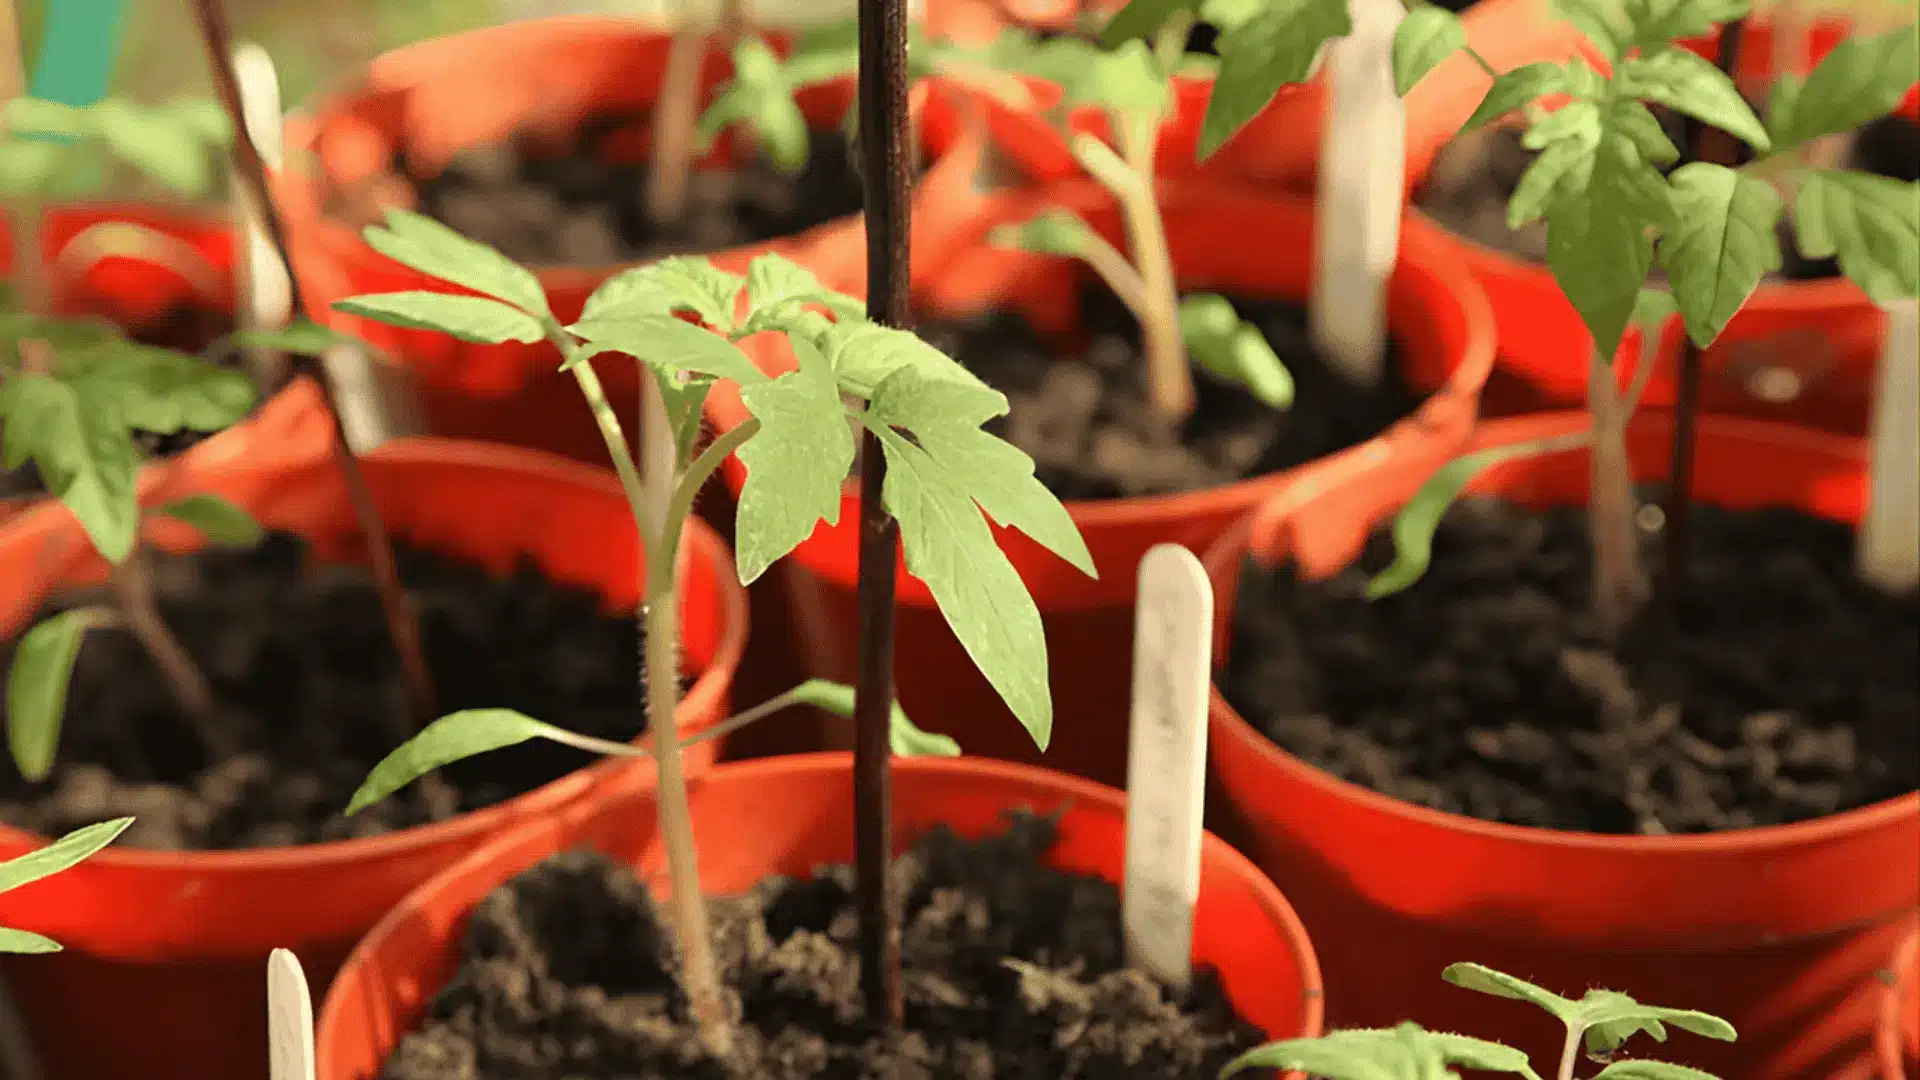
Growing Tomatoes from Seeds Indoors
Planting tomatoes indoors gives way more control over the whole process. No weather surprises, no frost scares.
Here’s exactly how I do it.
Step 1: Fill Your Trays
Fill each seed tray cell with seed-starting mix. Leave a small gap at the top. Press it down gently, not too firm, not too loose.
Good soil contact helps seeds settle in properly.
Step 2: Plant Your Seeds
Place 2 seeds per cell, about 6mm deep. Cover lightly with soil.
Two seeds per cell gives you a backup if one doesn’t sprout. Don’t pack the soil down hard after covering.
Step 3: Water and Cover
Use a spray bottle to evenly moisten the soil. Then cover trays with a plastic dome or cling wrap.
This holds exactly what seeds need to germinate: heat and moisture.
Step 4: Keep Them Warm
Tomato seeds germinate best between 21-27°C. Place trays on a heat mat or a warm windowsill.
Check daily for moisture levels. Soil should stay damp but never waterlogged at this stage.
If you don’t have a heat mat, the top of a refrigerator works surprisingly well.
It throws off gentle, consistent warmth. I used this trick for two full seasons before buying proper equipment.
Step 5: Watch for Sprouts
Most seeds sprout within 5-10 days. Once you spot green shoots, remove the cover straight away.
Good air circulation from this point prevents damping off and keeps seedlings healthy.
Step 6: Provide Enough Light
Move seedlings to a bright spot immediately.
They need 14-16 hours of light daily. Without enough light, they stretch and go leggy fast. Rotate trays every few days for even growth.
Step 7: Thin Your Seedlings
Once true leaves appear, keep only the strongest seedling per cell.
Snip the weaker one with scissors; don’t pull it out. Pulling disturbs the roots of the seedling you’re keeping.
How to Start Growing Tomatoes from Seeds Outdoors
Growing outdoors felt more natural to me. More space, more sunlight, and no grow lights needed.
Step 1: Wait for the Right Temperature: Soil temperature must be at least 18°C before planting.
Cold soil slows germination badly. Check with a soil thermometer before you put anything in the ground.
Step 2: Prepare Your Soil: Loosen the soil to a depth of about 30cm.
Mix in compost for nutrients. Good soil drainage matters here. Tomatoes hate sitting in waterlogged ground.
Step 3: Sow Your Seeds: Plant seeds 6mm deep. Space them at least 60cm apart.
Cover lightly with soil. Pat down gently. Give each seed enough room to grow without competition.
Step 4: Water Carefully: Water gently right after planting. Use a soft spray setting.
Avoid washing seeds away with heavy flow. Keep the soil consistently moist until germination happens.
Step 5: Protect Early Seedlings: Cover young seedlings with a cloche or row cover.
This protects them from cold nights and strong winds. Remove covers once temperatures stay consistently warm during the day.
Growing Tomatoes from Seeds in a Pot Step-by-Step
No garden? No problem. Here’s how to grow them in a pot.
Step 1: Use a pot at least 30-40cm deep with drainage holes.
Step 2: Use potting soil mixed with compost, not garden soil.
Step 3: Plant 2 seeds 6mm deep in the centre of the pot.
Step 4: Use a spray bottle to keep soil moist without disturbing seeds.
Step 5: Put the pot in a spot that gets 6-8 hours of direct sunlight daily.
Step 6: Keep the strongest seedling once both sprout.
Step 7: Start liquid tomato fertiliser once true leaves appear.
Step 8: Support the stem before the plant gets too tall.
Step 9: Pots dry out faster than garden beds, so check daily.
How to Germinate Tomato Seeds Faster
I got impatient waiting for seeds to sprout and started testing. A few simple tricks genuinely sped things up for me.
- Soak your seeds in warm water for 8-12 hours before planting.
- This softens the outer coat and speeds things up.
- Keep soil temperature between 21-27°C consistently. Use a heat mat if needed.
- Cover trays to lock in moisture. Most seeds sprout within 5-7 days using this method.
I use room temperature water, not hot. Hot water can damage the embryo inside the seed. Eight hours is usually enough. I’ve seen no benefit from going longer than twelve.
When to Give Up on Tomato Seed Germination
Waiting beyond 14 days with no sprouts? That’s your sign that something went wrong.
Check your soil temperature before germination; cold soil is the most common reason.
If temperature wasn’t the issue, the seeds were likely old or damaged. This point can be disappointing. It’s frustrating but fixable. Grab a fresh seed packet, adjust your setup, and start again.
Don’t waste more time on seeds that simply won’t perform.
Common Mistakes to Avoid While Preparing and Planting
I made pretty much every mistake on this list when I started out. Hopefully, you won’t have to.
- Planting seeds too deeply: Seeds buried too deeply struggle to sprout.
- Overwatering early on: Soggy soil kills seedlings faster than drought.
- Skipping hardening off: Moving seedlings outside too quickly shocks them.
- Using old or poor-quality seeds: Low germination rates waste your time.
- Starting too early indoors: Leggy seedlings before frost season ends are useless outside.
- Ignoring soil quality: Poor soil means weak roots and slow growth.
- Planting too close together: Crowded plants compete for nutrients and air.
- Skipping labels: Mixed-up varieties cause confusion at harvest time.
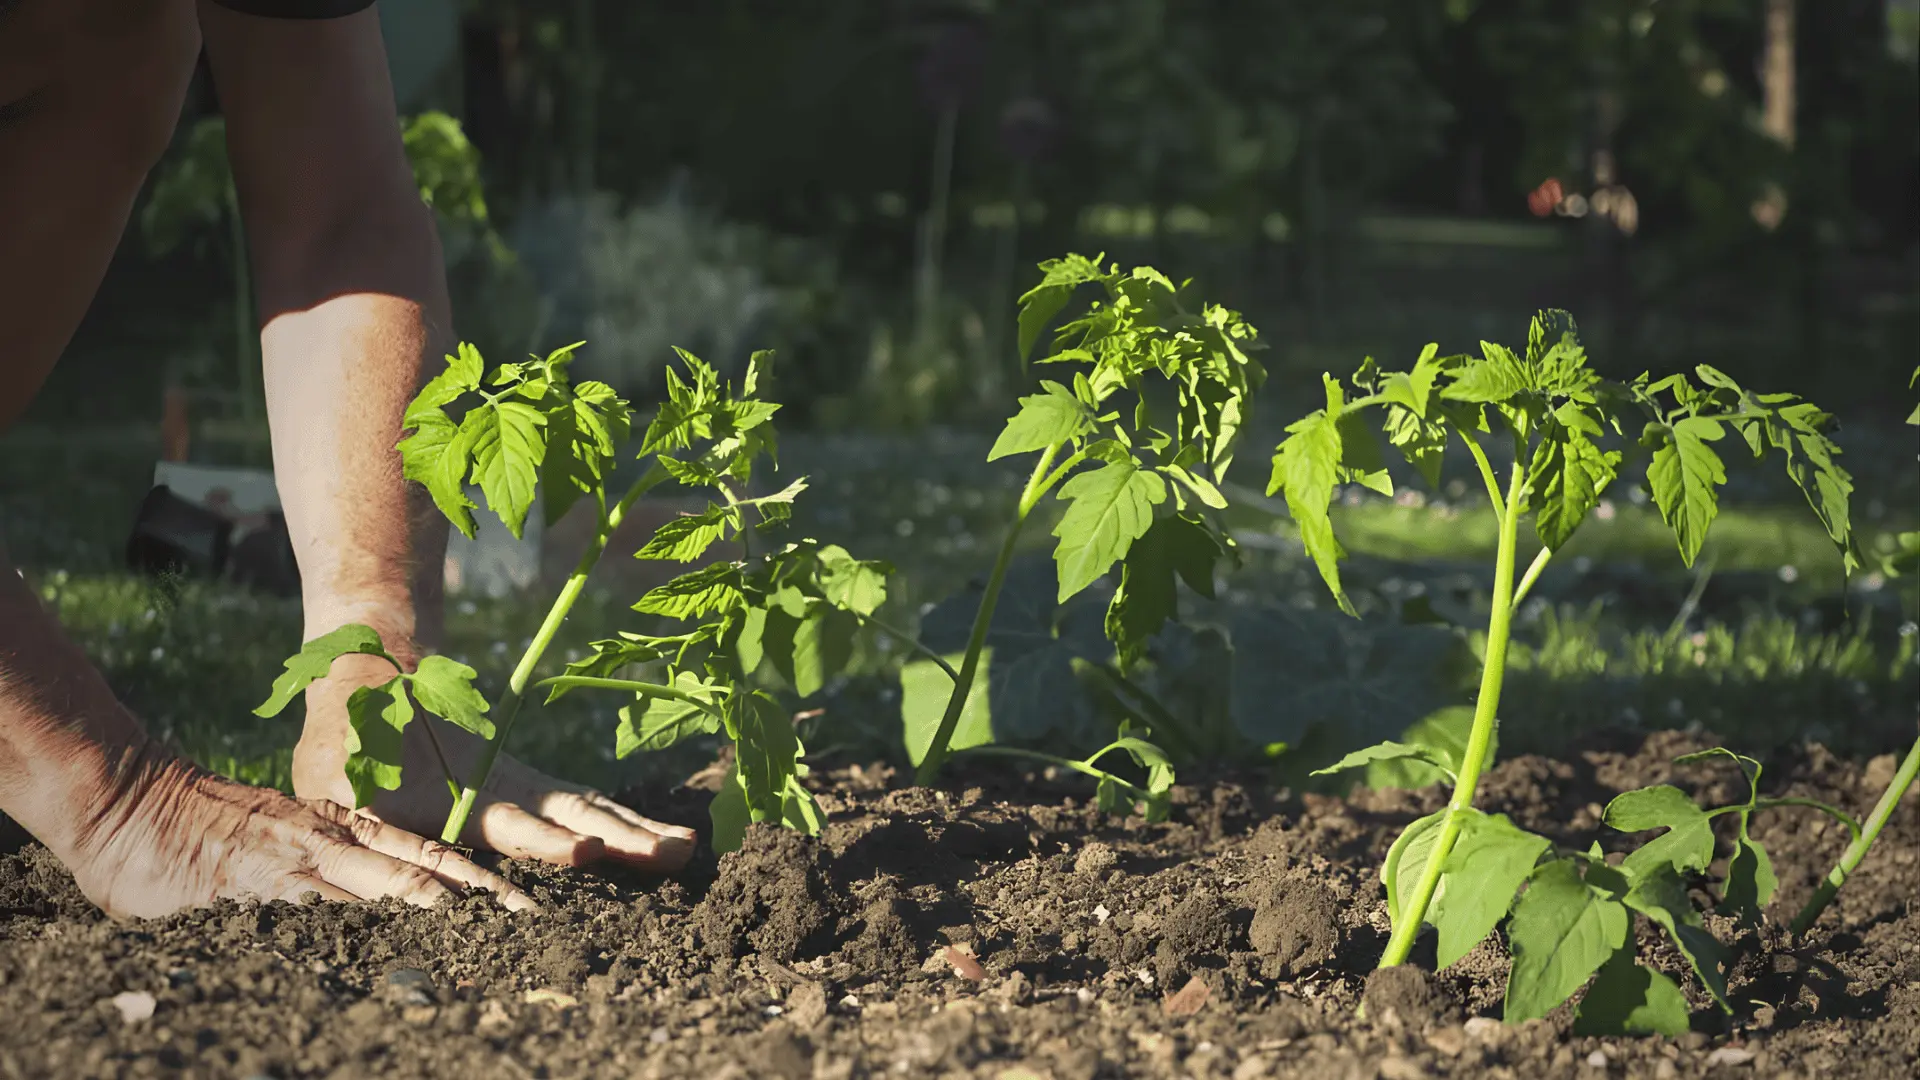
Transplanting Seedlings to The Garden
Three weeks of indoor growing, and now it’s time to move the seedlings outside.
You spent weeks growing those seedlings and don’t want to mess them up. Wait until seedlings are 15-20cm tall with strong stems. Harden them off first, move them outside for a few hours daily over 7-10 days.
This gradually gets them used to outdoor conditions.
Pick a cloudy day for transplanting. Direct sun stresses freshly moved plants.
Dig a deep hole, place the seedling in it, and bury it up to its lowest leaves. Water well immediately after.
Gently firm the soil around the base.
Common Tomato Pests and Diseases
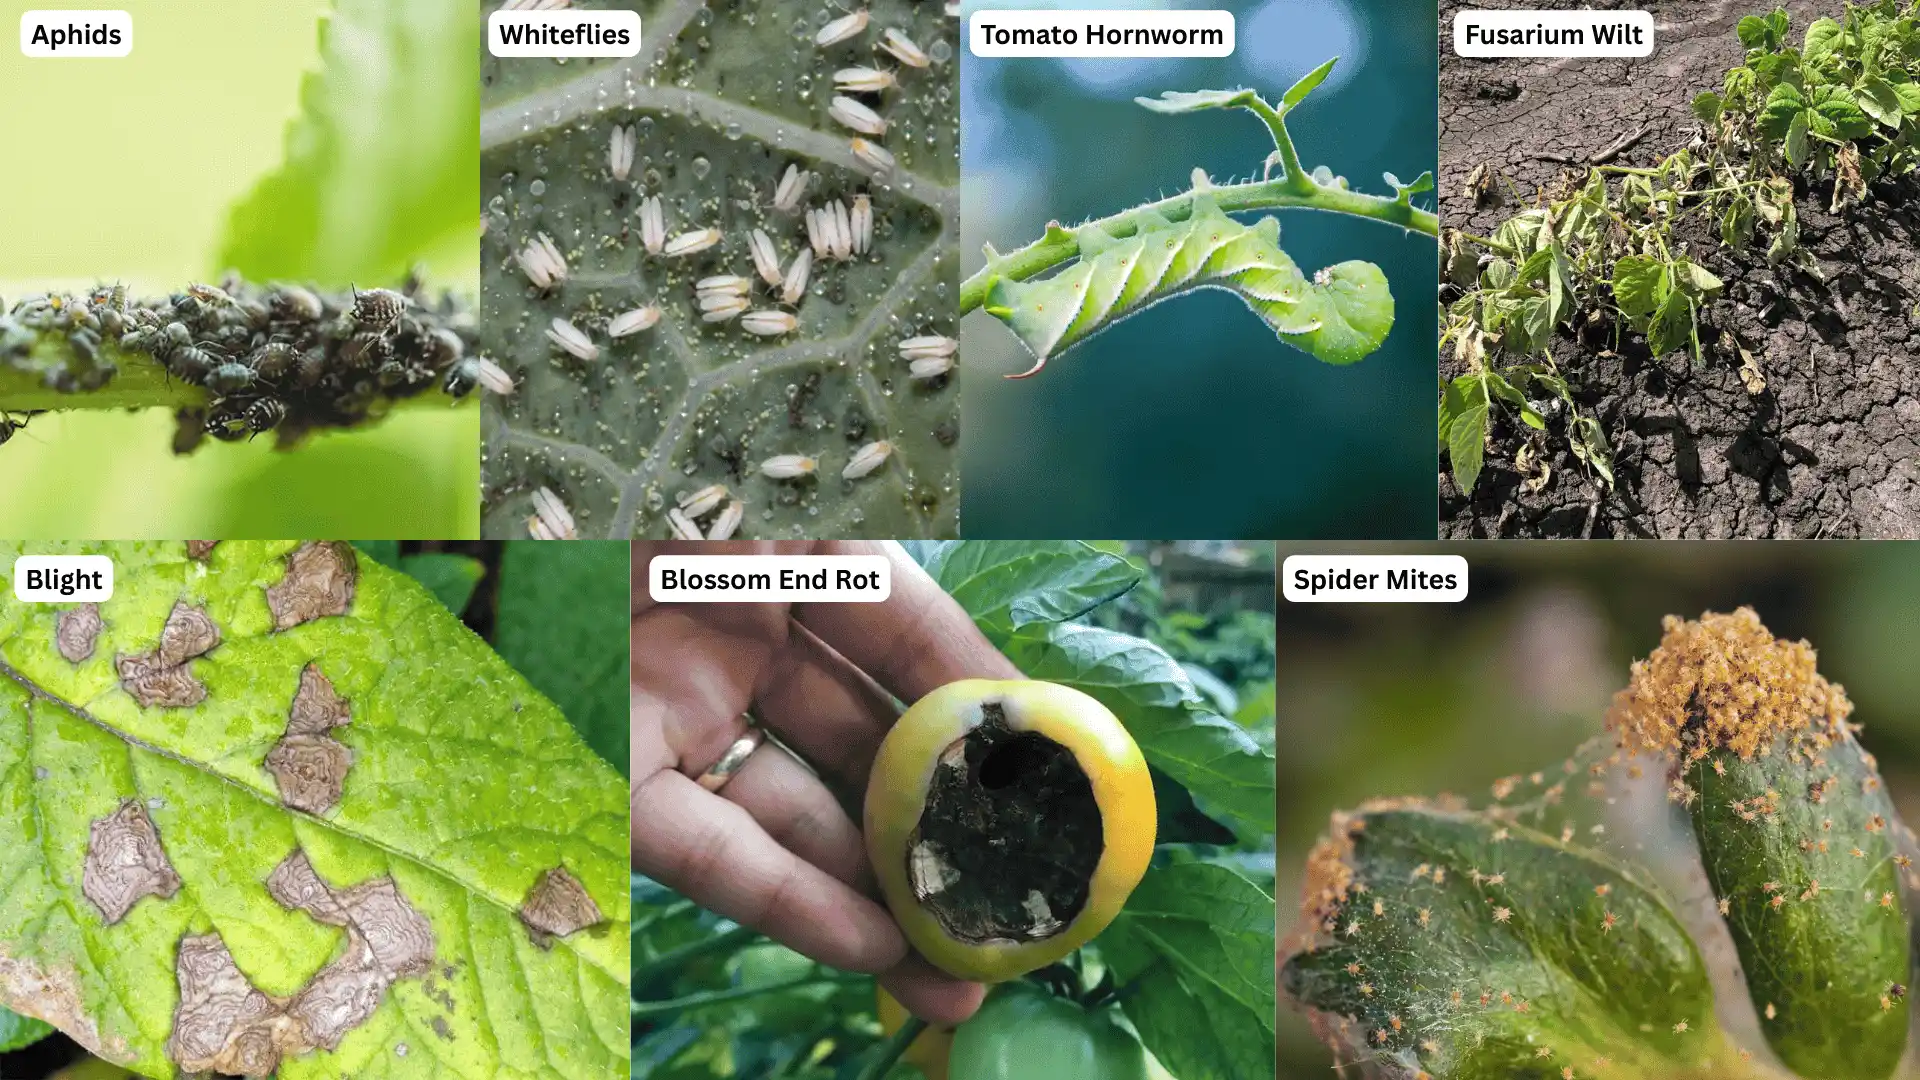
My third season of growing tomatoes from seeds was tough; I lost half my plants to unidentified pests. Here’s what to watch for.
Aphids
Tiny green or black insects that cluster under leaves. They suck sap and weaken plants fast.
Spray them off with water or use neem oil.
Whiteflies
Small white insects that fly up when you touch the plant.
They spread quickly. Yellow sticky traps and neem oil keep them under control.
Tomato Hornworm
Large green caterpillars that eat leaves and stems overnight. Check plants daily.
Pick them off by hand or use organic pest spray.
Fusarium Wilt
A soil-borne fungal disease that causes yellowing and wilting.
No cure once it sets in. Remove affected plants immediately to prevent further spread.
Blight
Brown spots on leaves that spread rapidly in wet conditions.
Remove affected leaves straight away. Avoid overhead watering to slow its spread.
Blossom End Rot
Dark, sunken patches at the bottom of fruit.
Caused by calcium deficiency and irregular watering. Keep watering consistently and use calcium spray if needed.
Spider Mites
Tiny mites that cause yellow speckling on leaves.
Thrive in hot, dry conditions. Increase humidity around plants and apply neem oil regularly.
When and How to Harvest Tomatoes
I picked my first tomato too early. It looked red enough, but the taste was flat and disappointing.
Tomatoes are ready when they feel slightly soft to the touch. Colour should be deep and even, with no green patches remaining. Most varieties take 60-80 days from transplanting to harvest.
Twist and pull gently to remove from the vine. Or use clean scissors for a cleaner cut.
Harvest in the morning for the best flavour.
Don’t refrigerate fresh tomatoes; room temperature keeps them tasting better.
The twist-and-pull test works well, but the real sign I rely on is the smell at the stem end. A ripe tomato has a strong, earthy fragrance right at the top. If it doesn’t smell like much, give it another day or two.
Caring for Tomato Plants Until Harvest
Getting to harvest involved more than just planting and waiting. Here’s how to monitor during the growing season.
- Tomatoes need deep watering 2-3 times a week, not little sprinkles daily.
- Use liquid tomato fertiliser once flowering starts.
- Pinch off shoots growing between the main stem and branches.
- Support plants before they get heavy with fruit.
- Catch problems early before they spread across plants.
- Remove leaves touching soil to prevent disease; indicates nutrient deficiency or overwatering.
- Water at the base to keep leaves dry and disease-free.
- Pots and raised beds dry out faster than open ground.
- Remove new flowers 30 days before your first expected frost.
Final Thoughts
Growing tomatoes from seeds is genuinely one of the most rewarding things I’ve done in my garden.
Yes, I killed a few batches early on. Yes, I made plenty of mistakes. But every failure taught me something useful.
Now I look forward to the seed season every year. There’s nothing quite like eating a tomato you grew yourself from a tiny seed. Start small, stay consistent, and don’t overthink it.
Pick your variety, get your timing right, and follow the steps.
Your first successful harvest will make every bit of effort worth it. Time to plant those seeds in the soil!
Frequently Asked Questions (FAQ’s)
1. Can I Take Seeds from a Tomato and Plant Them?
Yes, but only save seeds from open-pollinated or heirloom tomatoes.
2. Can Tomatoes be Planted in September?
Only in hot climates where frost arrives late in the year.
3. Is Seed Saving Illegal?
Saving seeds from patented hybrid varieties is illegal in some countries.
4. Is October too Late to Grow Tomatoes?
Yes, most regions are too cold for successful tomato growing then.
5. Why You Should Not Plant in Fall?
Cooling temperatures and shorter days slow growth and prevent proper fruiting.