Want tasty fish without using an outdoor grill? Well, you are in the right place!
Oven grilling is an easy way to make fish that’s full of flavor and cooked just right.
Whether you are just learning to cook or already enjoy it, this guide will help turn plain fish into something amazing.
You don’t need any special tools—just a few easy steps. Soon, you will be making soft, juicy fish that tastes like it came from a restaurant.
Ready to learn how? Let’s get started!
How to Select the Perfect Fish?
Not all fish are created equal when it comes to oven grilling. Here are our top recommendations:
- Salmon: Rich, flavorful, and easy for beginners
- Cod: Mild taste, firm texture
- Tilapia: Affordable and easy to work with
- Mahi-Mahi: Holds up well to high temperatures
- Trout: Delicate flavor, cooks quickly
Preparation Technique Before Grilling the Fish
- Before cooking, start by giving your fish a good rinse under cold water to remove any residue. Pat it completely dry with paper towels—this helps achieve a better sear and texture.
- Next, check for any remaining scales and gently scrape them off if needed. Trim any excess fat and feel along the flesh for bones, removing them carefully with tweezers or your fingers.
- Once cleaned and prepped, it’s time for the magic of marination. A well-chosen marinade can upgrade your fish from simple to sensational. Let the fish settle in an oil-based marinade for 15 to 30 minutes, allowing the flavors to gently soak in.
- Be careful not to over-marinate, fish is delicate, and too much time in acidic mixtures can start to break it down. Keep it short, flavorful, and balanced for the best results.
Step-by-Step Process for Grilling Fish in An Oven
Here’s the whole step-by-step process of grilling a fish in the oven, but before that, let’s gather all the necessary equipment for grilling.
Essential Equipment Required
| Tool | Purpose |
|---|---|
| Baking Sheet | Holds the food during baking; provides a flat surface |
| Meat Thermometer | Checks internal temperature for doneness and safety |
| Basting Brush | Applies marinades, butter, or glaze evenly |
| Sharp Knife | For slicing ingredients or checking food texture |
| Oven Mitts | Protects hands from hot trays and oven surfaces |
Step 1: Preheating the Oven
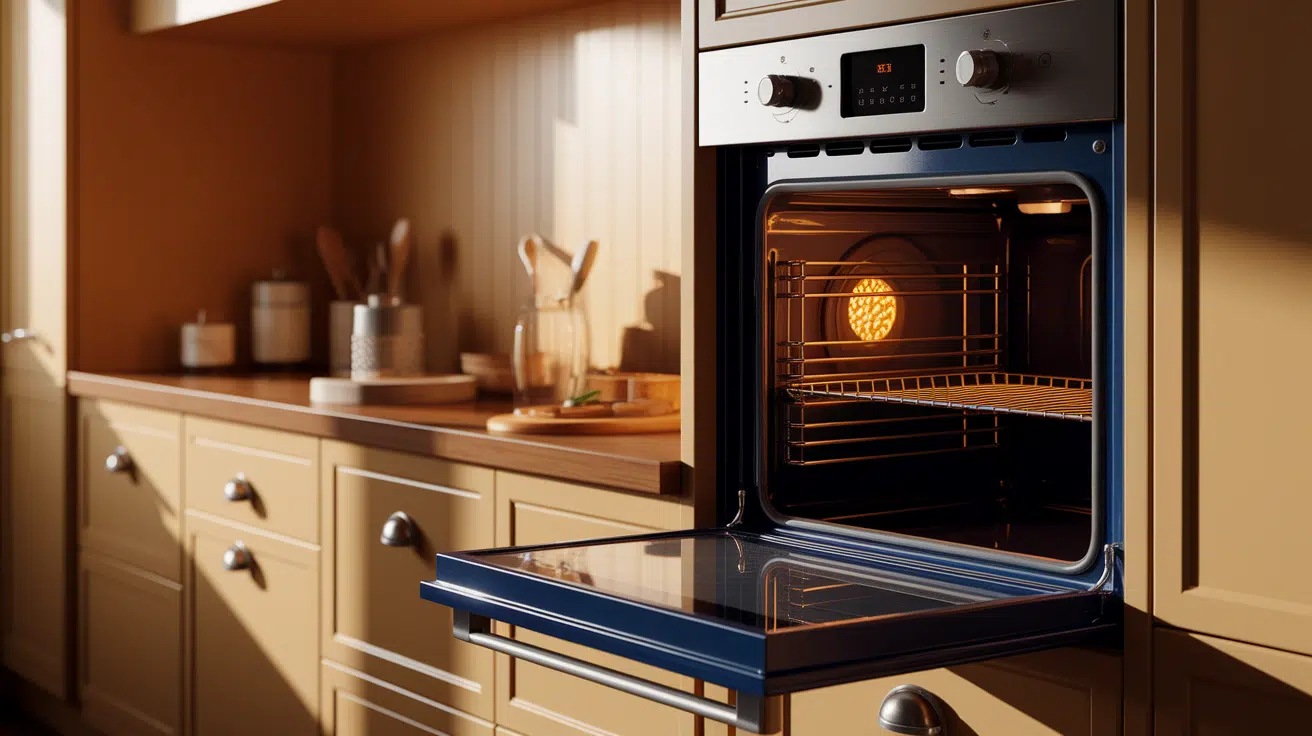
- Get your oven ready for perfect fish. Set the temperature to 400-425°F (204-218°C) and place the rack in the middle. Preheat for 10-15 minutes.
- This ensures even cooking and creates that perfect crispy exterior. An evenly heated oven is key to restaurant-quality fish at home.
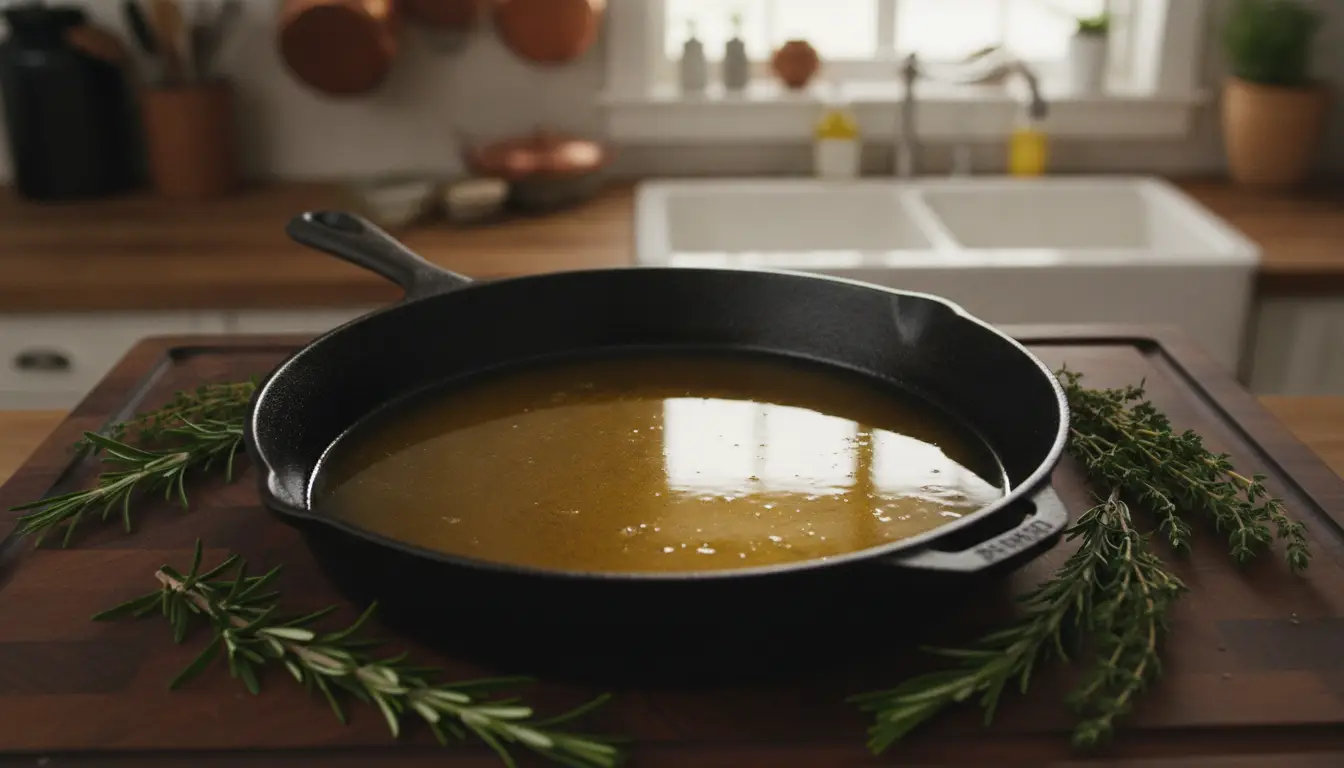
Step 2: Preparing the Baking Sheet

- Choose the right surface for success. Then, line a baking sheet with parchment paper or aluminum foil.
- Lightly brush with olive oil to prevent sticking and add flavor. Select a sheet that allows space between fish pieces – overcrowding leads to uneven cooking.
Step 3: Positioning the Fish
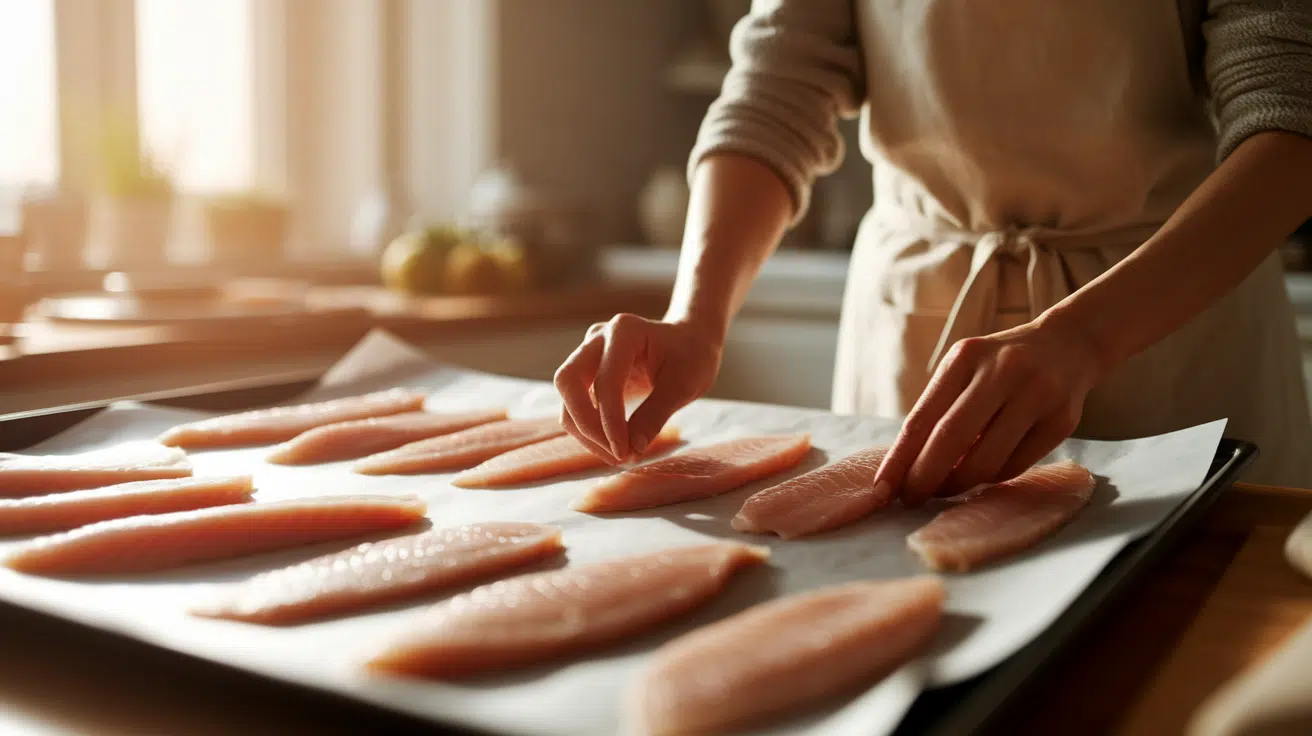
- Arrange fillets with care. Leave about an inch of space between each piece to allow heat circulation. Place the thicker parts towards the outside of the pan.
- If using skin-on fillets, place them skin-side down on the grill. Brush with olive oil or marinade for extra flavor.
Step 4: Seasoning
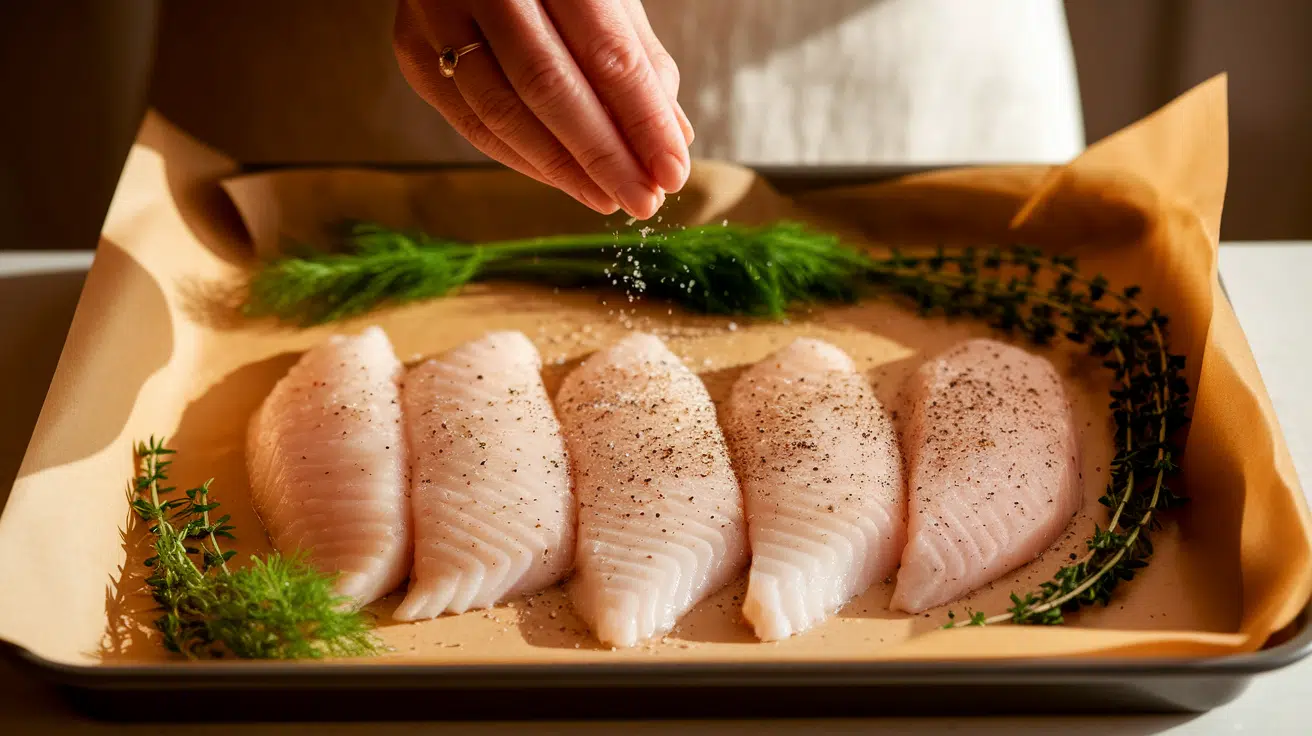
- Upgrade your fish with simple seasonings. Sprinkle salt and pepper evenly.
- Add fresh herbs like dill or thyme if desired. Remember, the goal is to balance, not overpower, the fish’s natural flavor. A light touch works best.
Step 5: Cooking Times
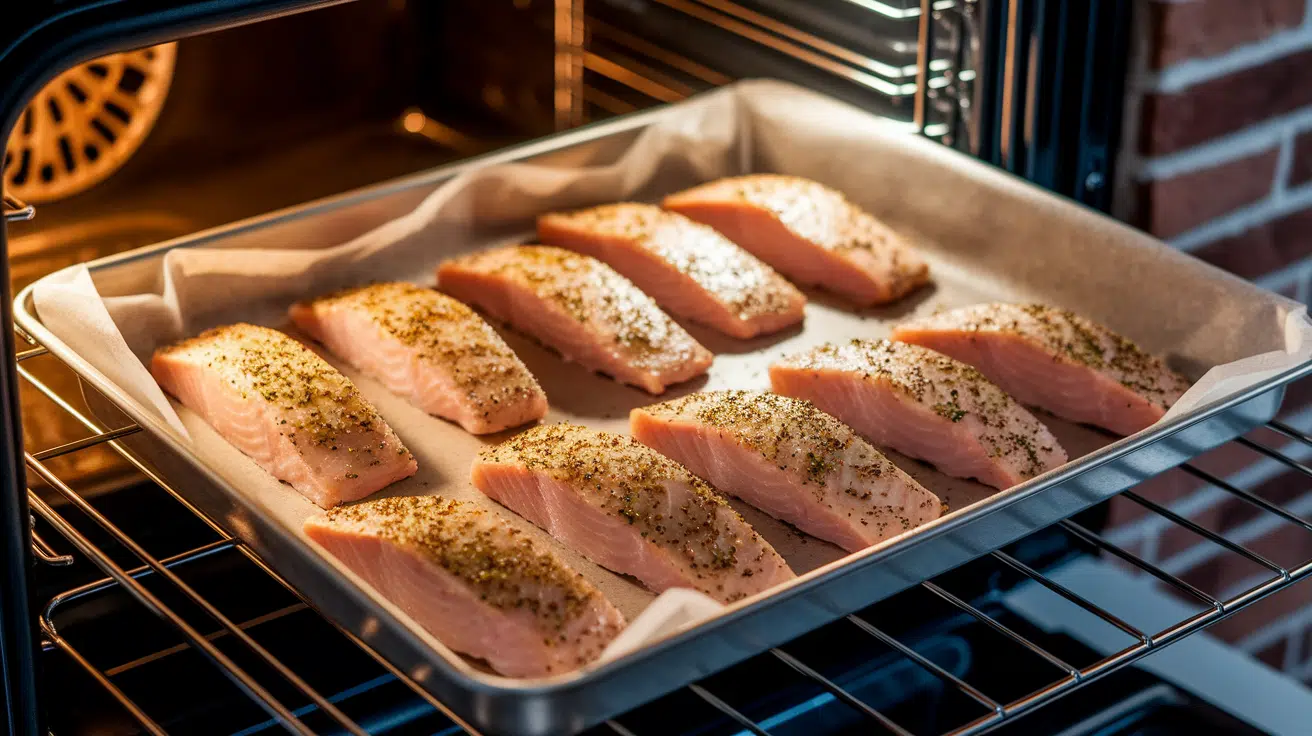
- Cooking times vary by fish thickness. Thin fillets need 8-10 minutes, medium cuts 10-12 minutes, and thick fillets 12-15 minutes. Whole fish typically takes 15-20 minutes.
- Always start checking early to keep your fish moist and prevent overcooking. The goal is perfectly flaky, tender fish every time.
Step 6: Checking Doneness
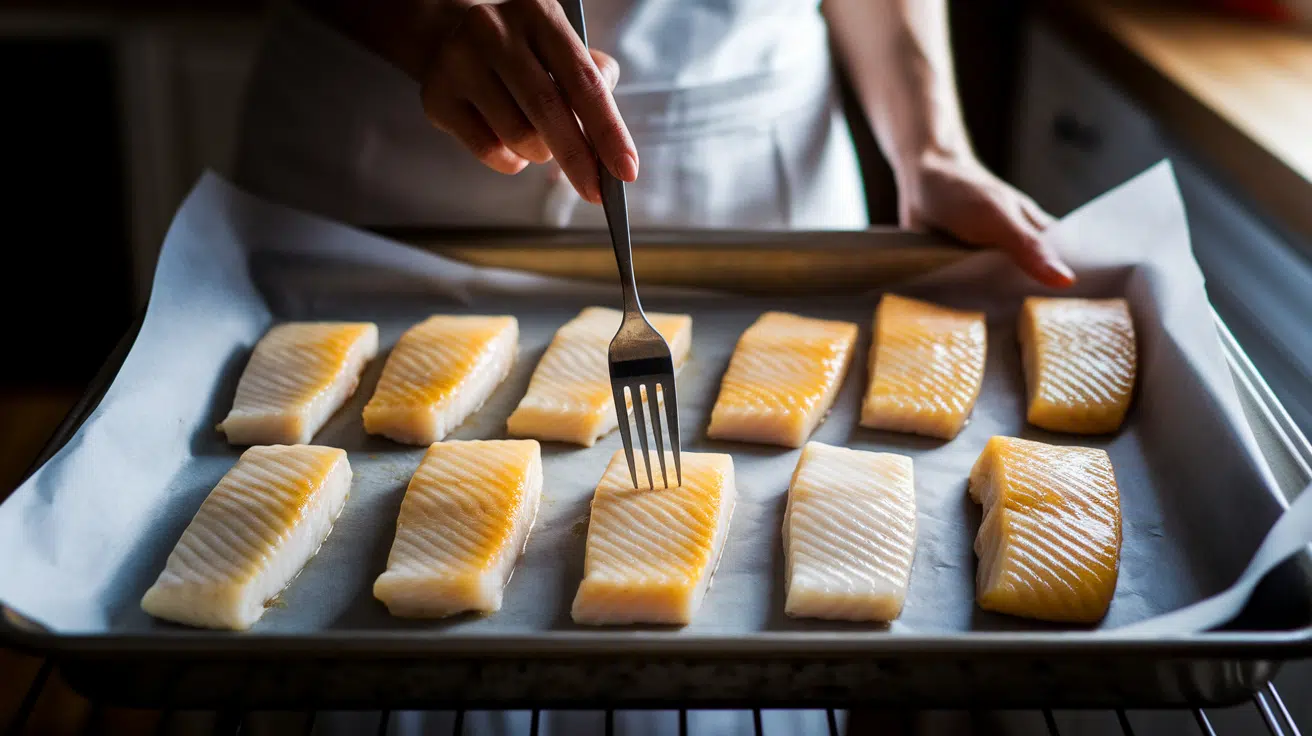
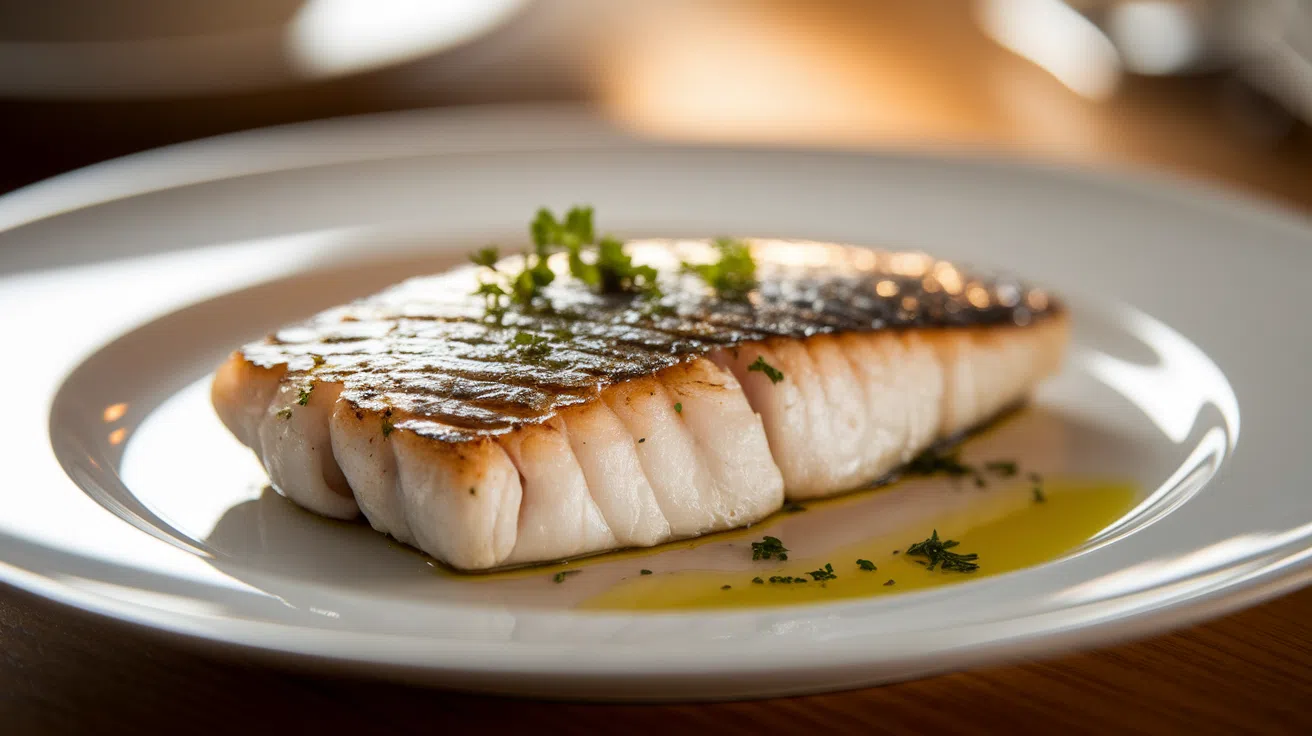
- The perfect fish reveals itself through clear signs. When gently pressed with a fork, it should flake easily and look completely opaque. Use a meat thermometer to hit the 145°F (63°C) sweet spot.
- No translucent or raw-looking areas should remain. The flesh should be moist, firm, and separate cleanly – a telltale sign of perfectly cooked fish.
Step 7: Resting the Fish
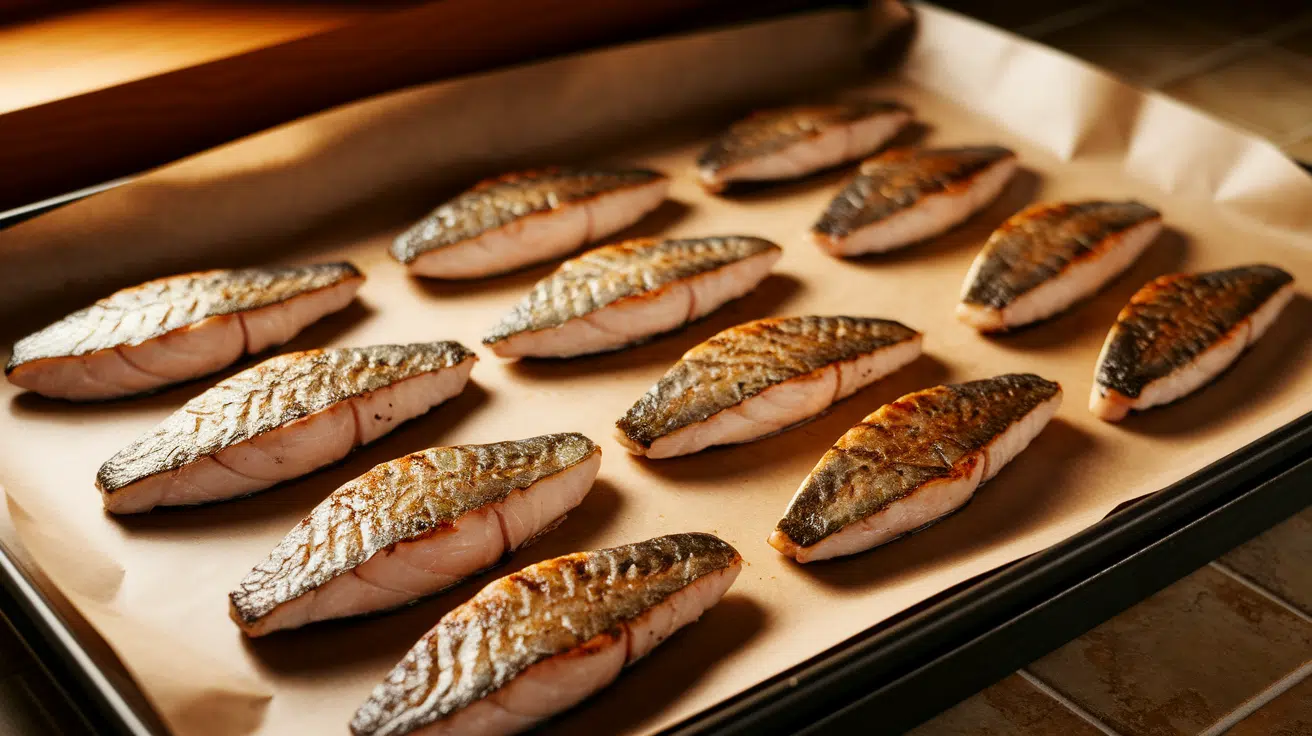
- Let the fish rest for 3-5 minutes after cooking. This allows juices to redistribute, ensuring a moist, flavorful result.
- Cover loosely with foil to keep warm.
Different Varieties of Oven-Grilled Fish Recipes You Can Enjoy
Here are some flavorful, yummy recipes that you can try out at home easily:
1. Classic Herb-Crusted Salmon
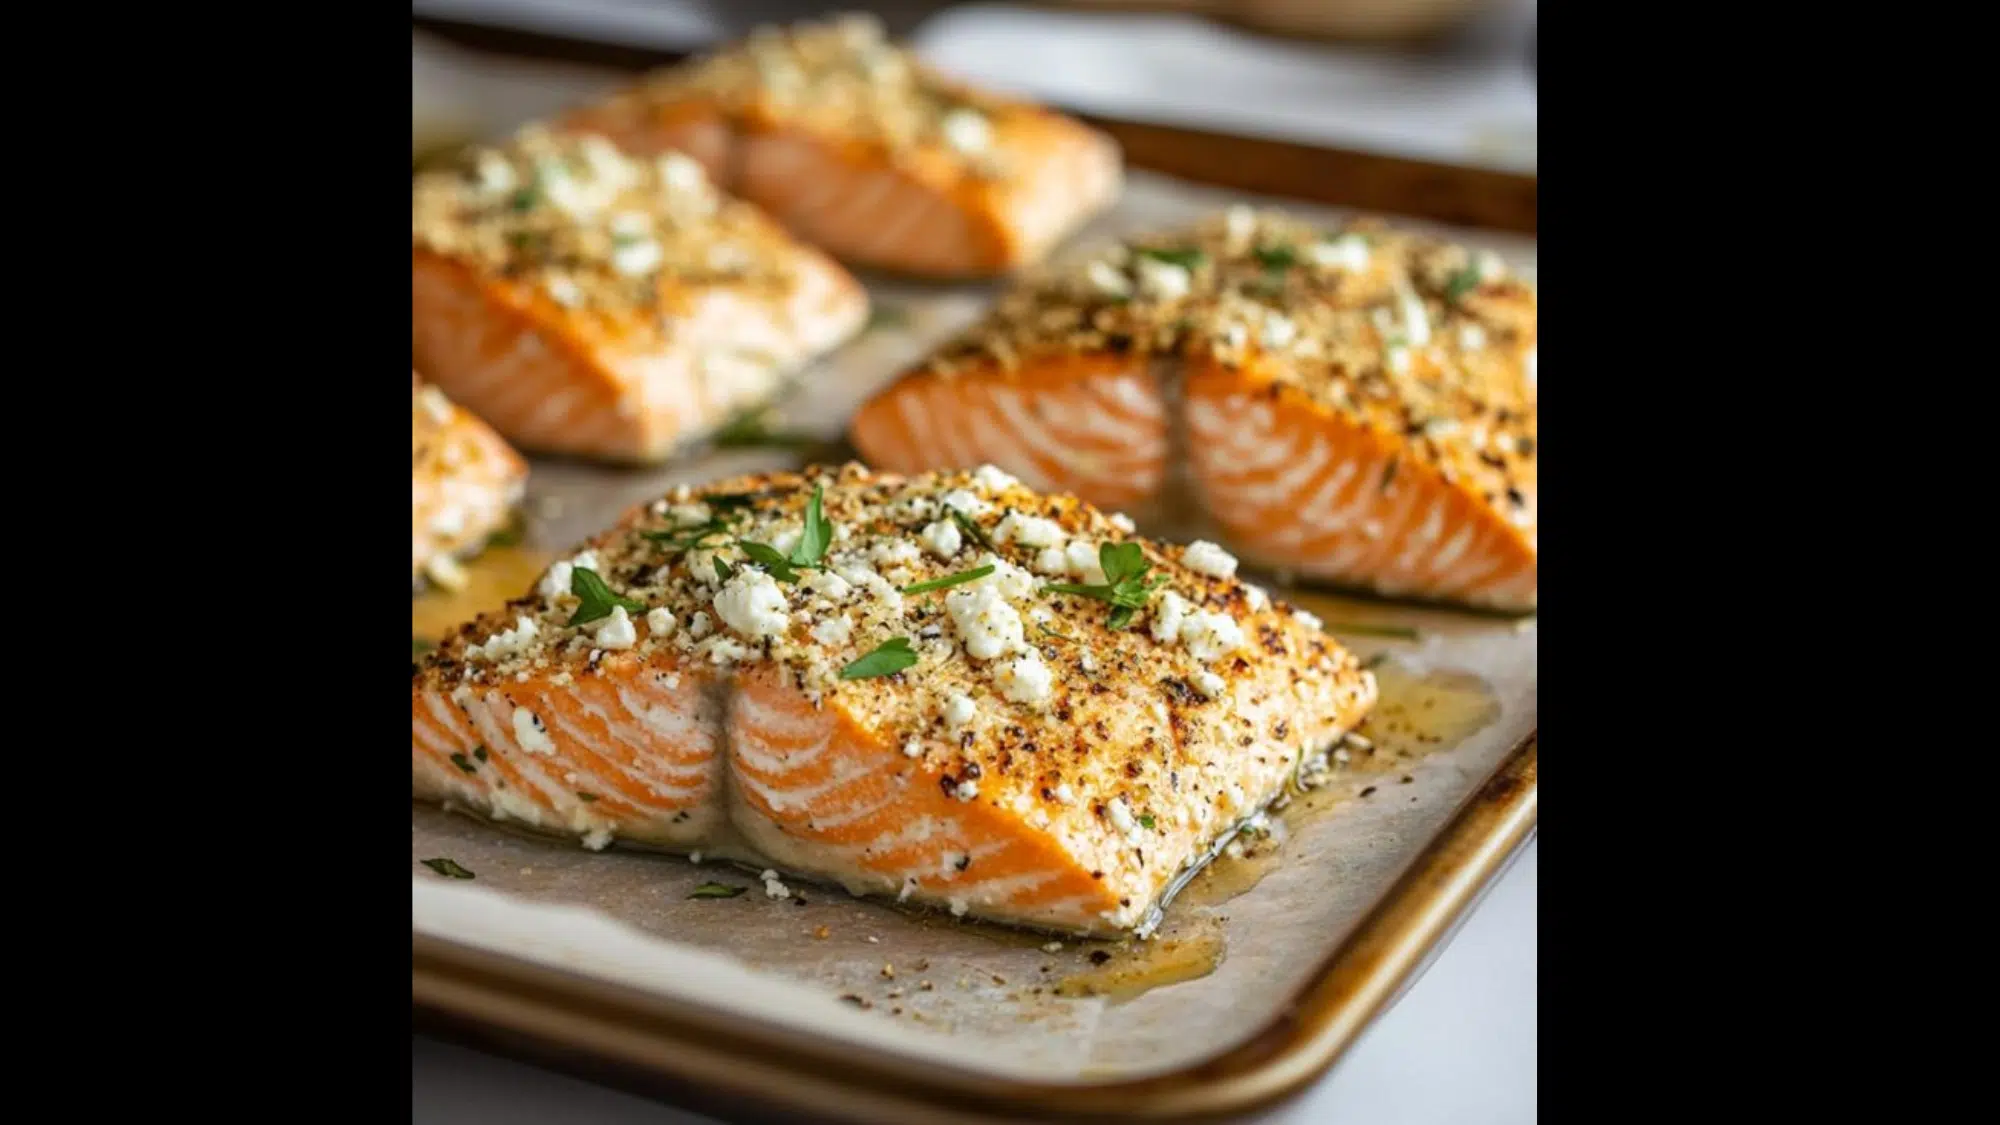
Ingredients
- 4 salmon fillets (6 oz each)
- 2 tablespoons olive oil
- 3 garlic cloves, minced
- 2 tablespoons fresh dill, chopped
- 1 tablespoon fresh parsley, chopped
- Lemon zest from 1 lemon
- Salt and black pepper to taste
Preparation Method
Preheat oven to 425°F (218°C). Pat the salmon dry. Then, mix olive oil, garlic, dill, parsley, lemon zest, salt, and pepper. Rub the fillets with oil and bake for 12–15 minutes. Lastly, garnish with lemon wedges.
2. Spicy Cajun Tilapia
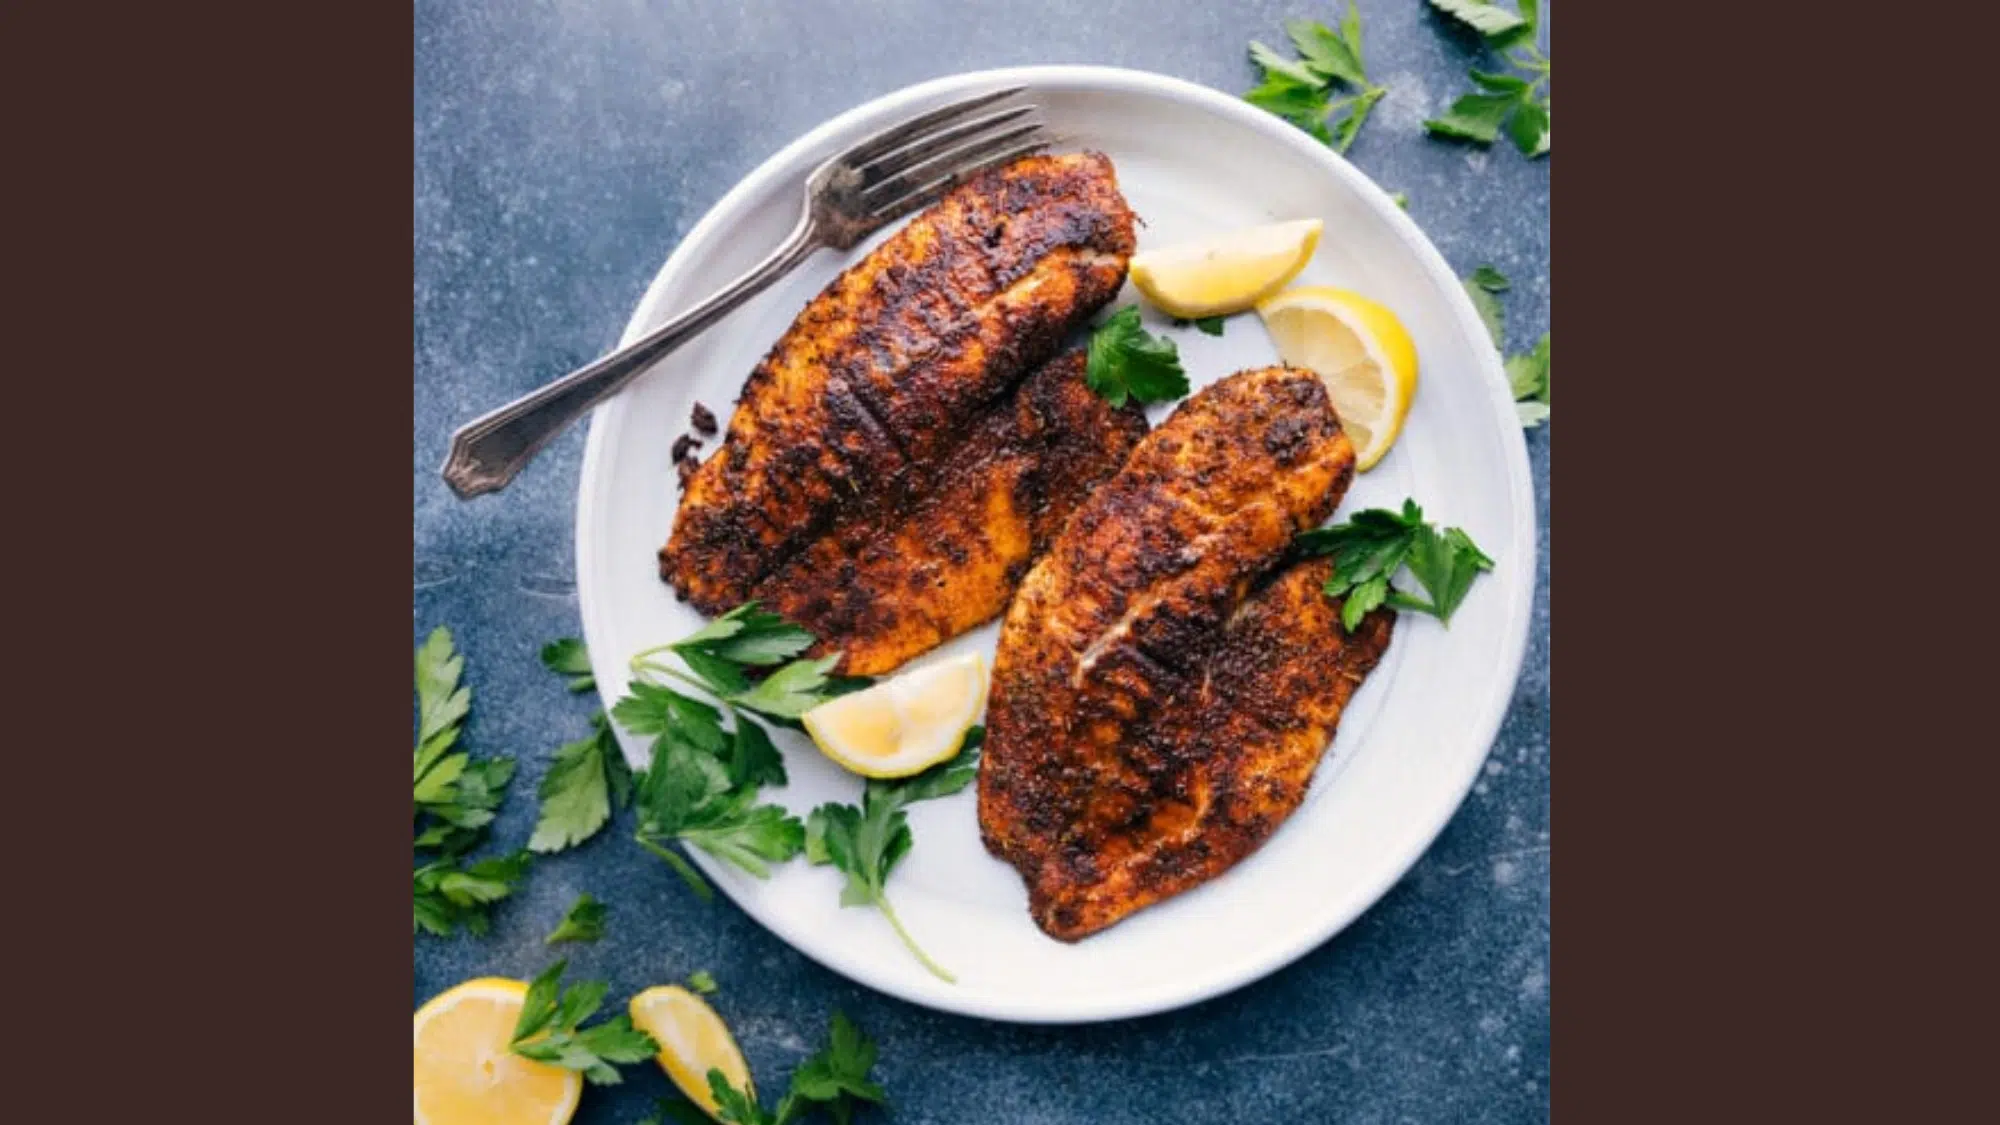
Ingredients
- 4 tilapia fillets
- 2 tablespoons Cajun seasoning
- 1 tablespoon olive oil
- 1 teaspoon smoked paprika
- Juice of 1 lime
- Fresh cilantro for garnish
Preparation Method
First, mix Cajun seasoning, olive oil, and paprika. Then, coat tilapia and place on a lined baking sheet. Bake at 400°F (204°C) for 10–12 minutes. Finish with lime juice and cilantro.
3. Mediterranean Cod with Tomatoes
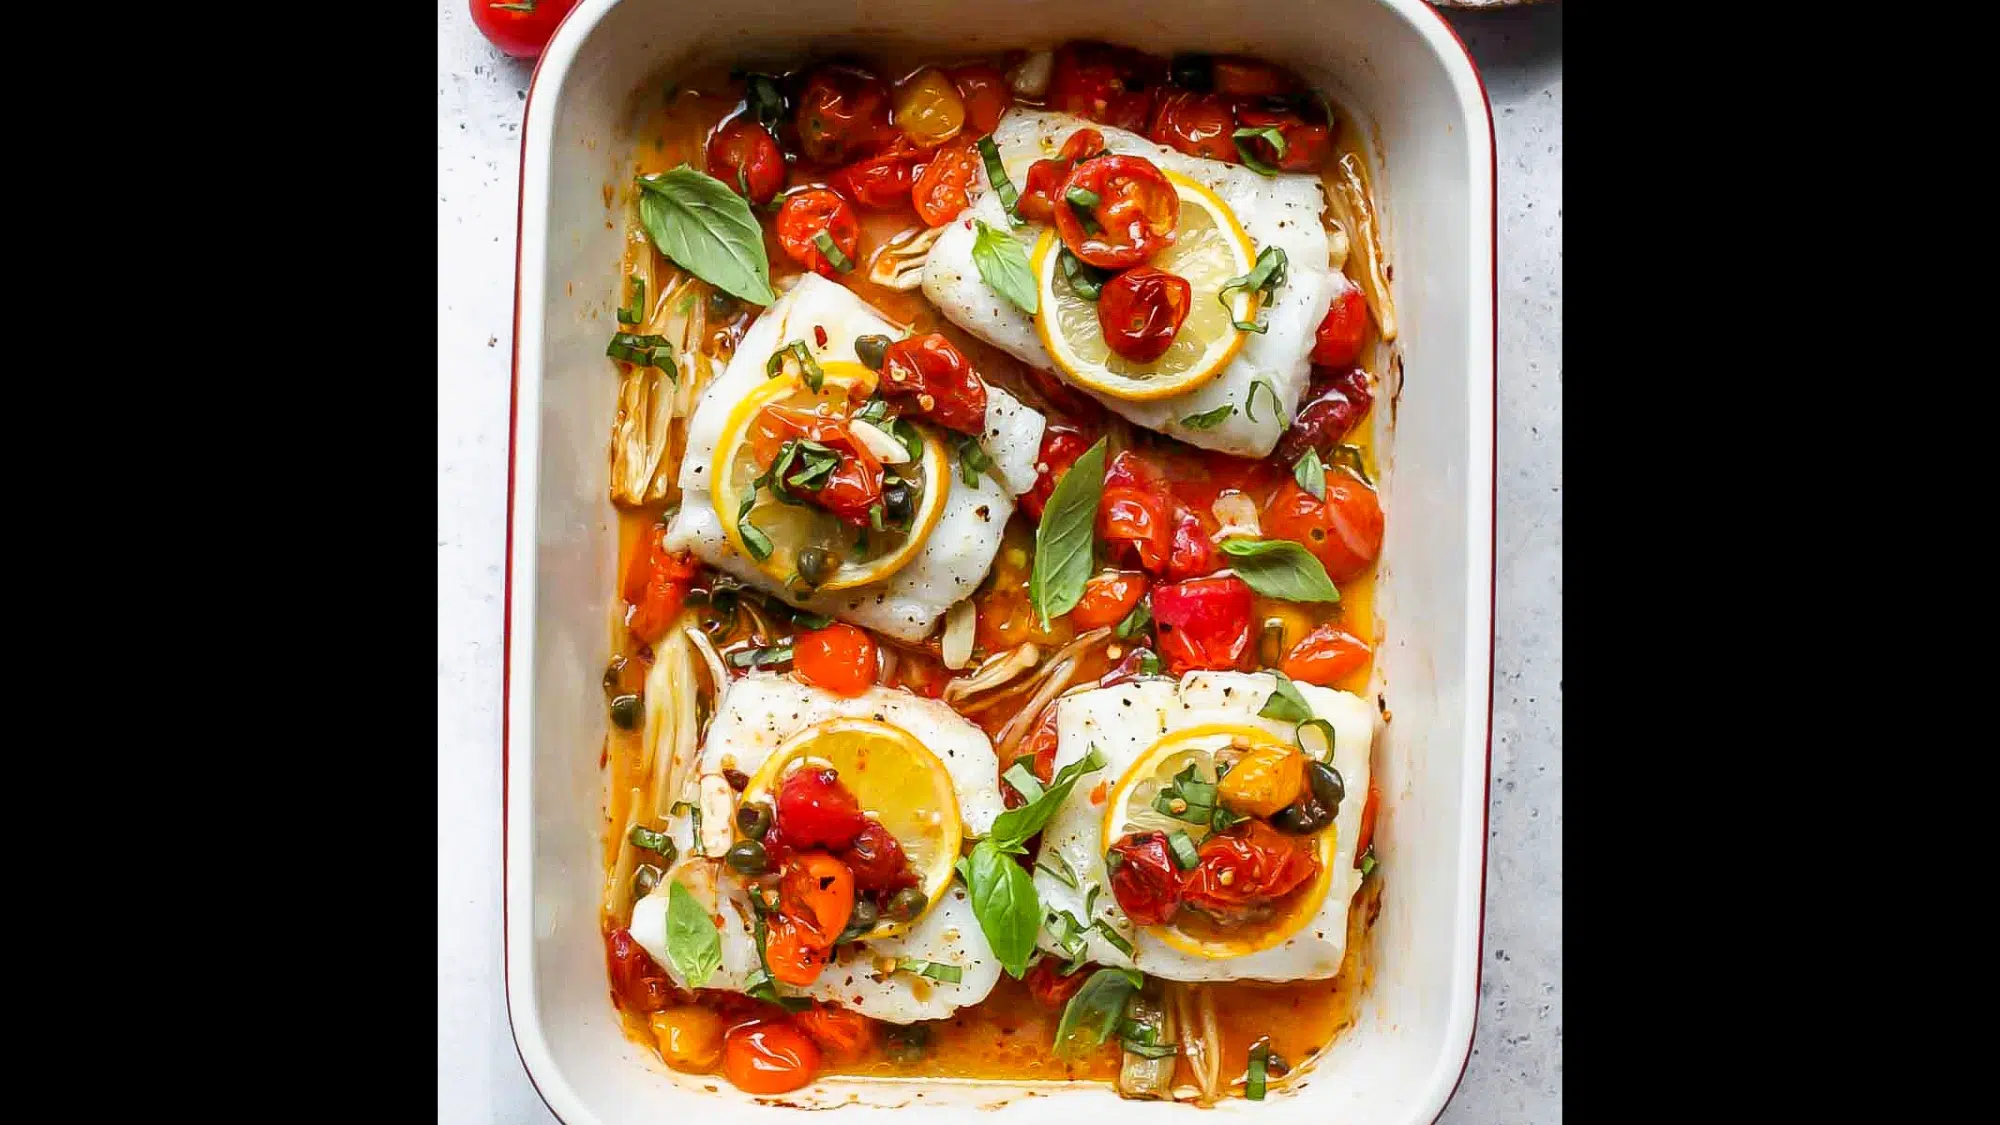
Ingredients
- 4 cod fillets
- 1 cup cherry tomatoes
- 3 tablespoons olive oil
- 2 garlic cloves, sliced
- Fresh basil leaves
- Kalamata olives
- Salt and pepper
Preparation Method
Place cod on a baking sheet, and add tomatoes and garlic. After that, just drizzle with olive oil and season. Bake at 425°F (218°C) for 12–15 minutes. Last but not least, top with basil and olives.
Conclusion
Oven-grilled fish is a simple skill that can make your meals taste amazing.
With just a few tools and the right fish, you can cook something that looks and tastes like it came from a fancy restaurant.
It’s okay if it’s not perfect the first time—keep trying and enjoy the process. Before you know it, you will be serving up fish that gets everyone talking.
So, what’s the first fish you are excited to try? Give it a go and let your kitchen skills shine!