Ever wish lunch could be more than just another boring sandwich?
Most quick lunch options leave you feeling unsatisfied or stuck in a rut. And who has time to make something special when you’re rushing out the door?
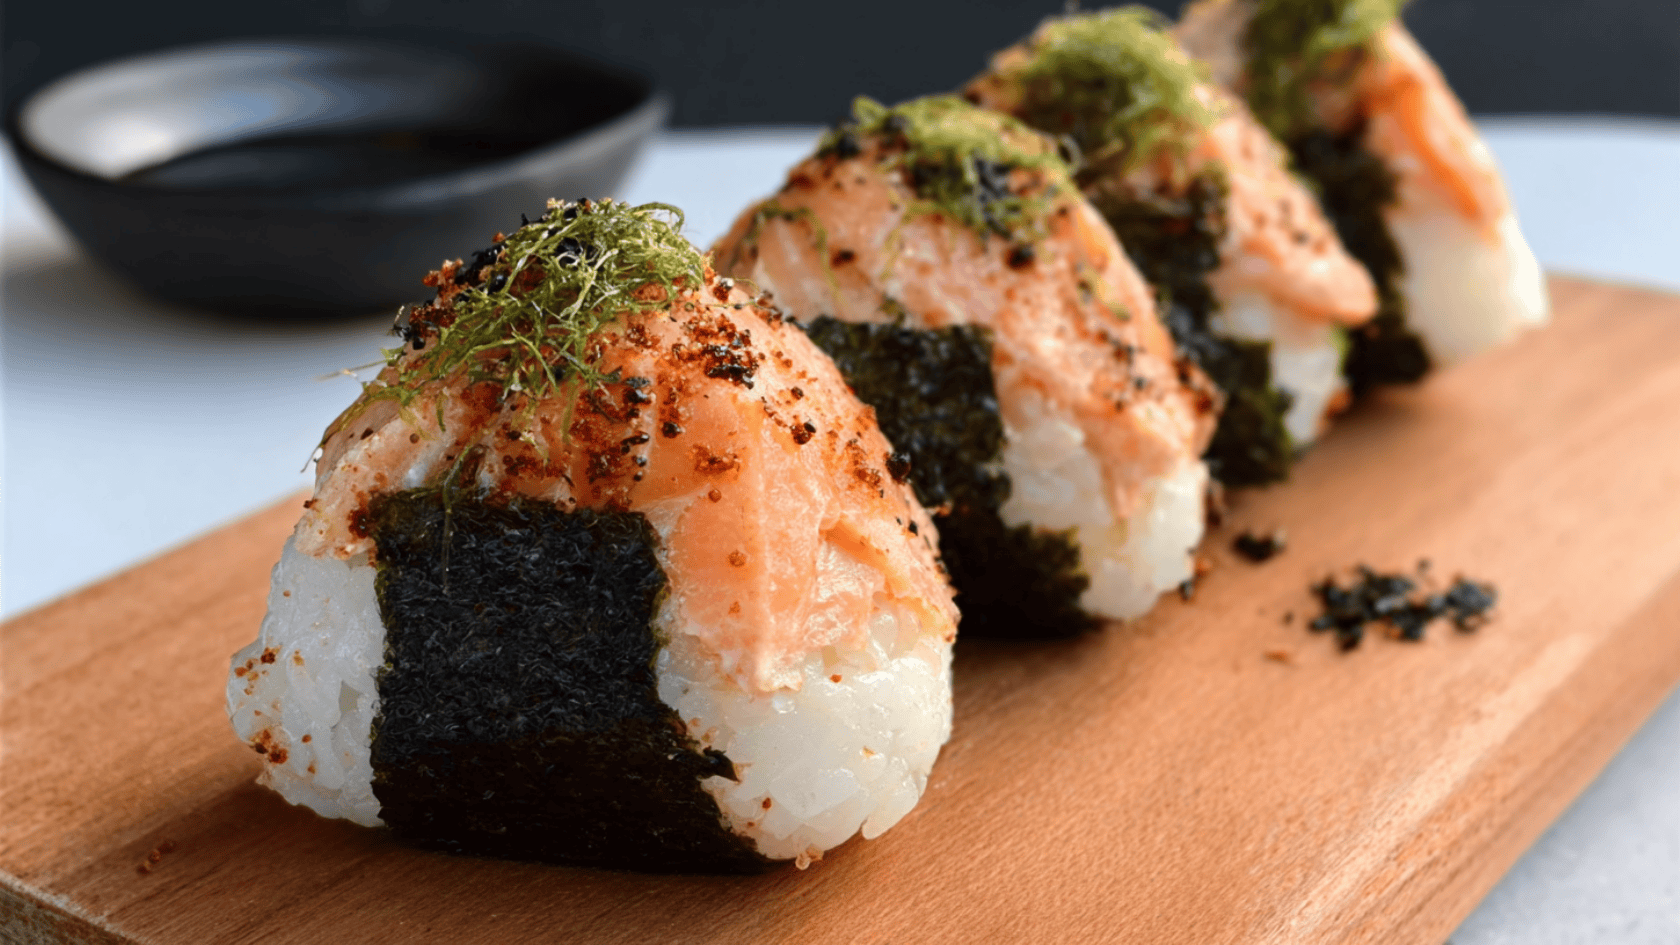
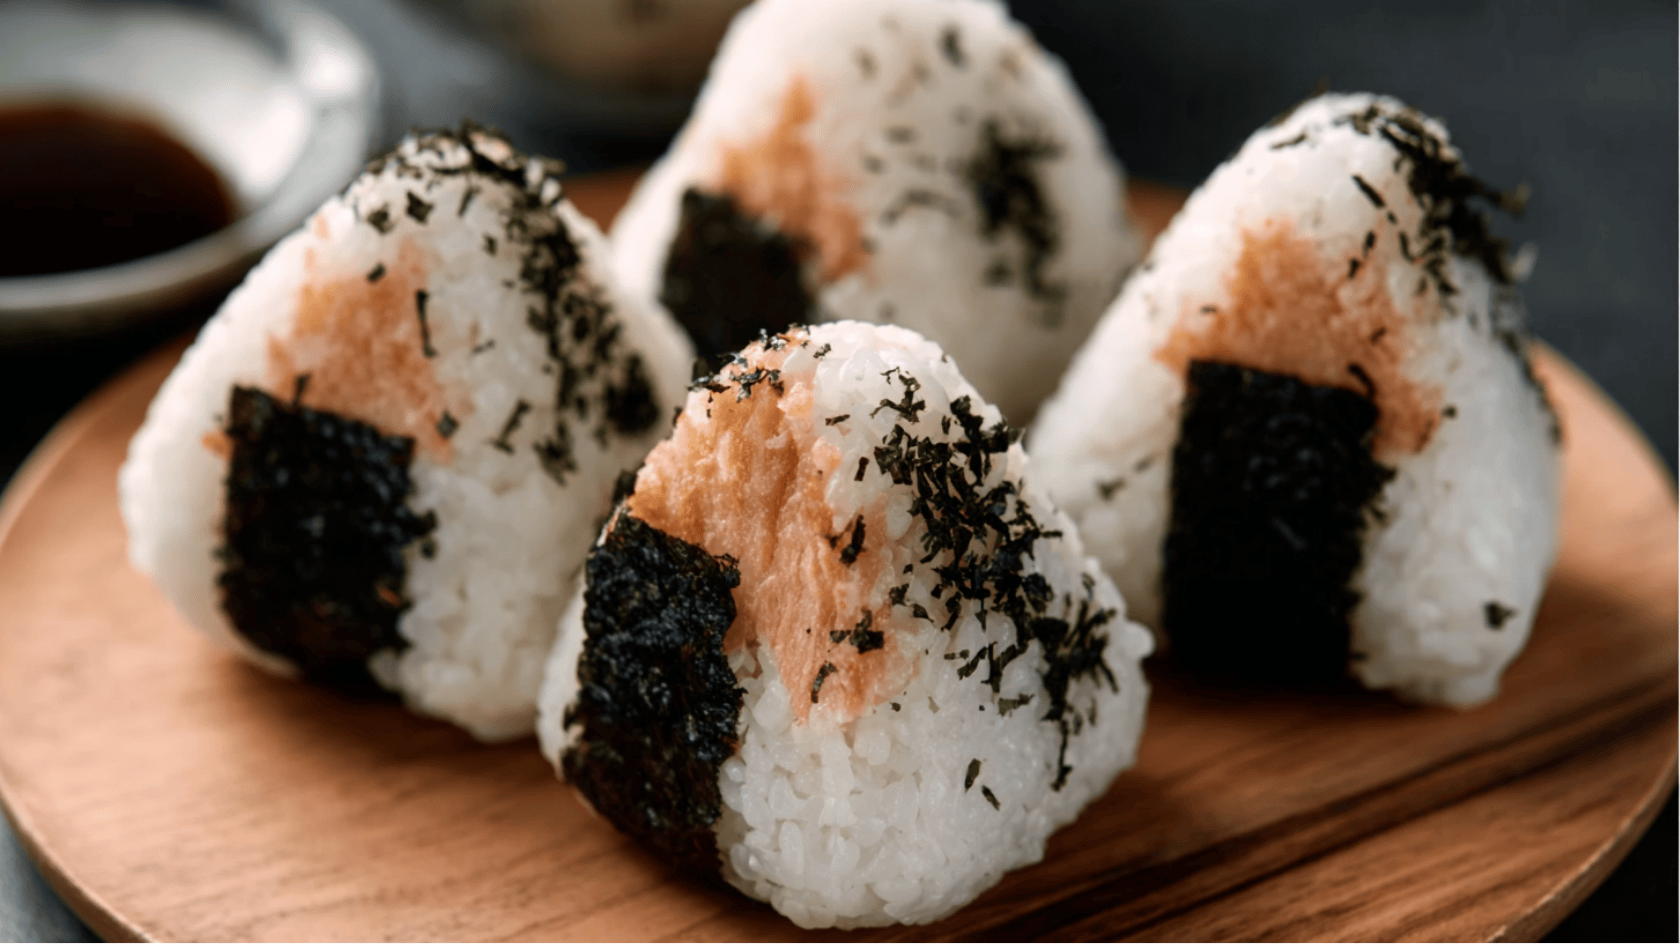
Rice balls stuffed with creamy, citrusy salmon take just minutes to make.
They’re one of the best leftover salmon recipes you’ll ever find.
Plus, they taste just as good at room temperature, which makes them perfect for packed lunches or quick snacks on busy days.
Let me share the recipe.
Origin of Yuzu Salmon Onigiri
Yuzu salmon onigiri represents a modern fusion of traditional Japanese rice ball cuisine with contemporary flavor preferences.
While onigiri dates back centuries as portable sustenance, the yuzu-salmon combination emerged in recent decades as Japanese chefs embraced ingredient experimentation.
Yuzu, a prized citrus from East Asia, adds aromatic brightness to rich salmon, whether grilled, smoked, or raw.
This pairing reflects Japan’s culinary evolution, blending time-honored onigiri craftsmanship with flavor profile.
Some people call onigiri “omusubi” or “nigirimeshi.” No matter the name, they’re satisfying and packed with flavor.
Ingredients Needed for this Recipe
You’ll need the following ingredients to make yuzu salmon onigiri:
| Ingredient | Quantity | Details |
|---|---|---|
| Short-grain rice and Water | 2 cups | Sticky sushi rice that holds its shape. |
| Rice vinegar | 3½ tablespoons | Adds tangy flavor. |
| Sugar | 4 teaspoons | Balances the tartness. |
| Salt | 1¼ teaspoons | Season the rice. |
| Salmon | 4-5 ounces | Fresh or canned works. |
| Kewpie mayonnaise | 1-2 tablespoons | Rich Japanese mayo. |
| Yuzu kosho | ½ teaspoon | Spicy citrus paste. |
| Yuzu juice | 2 teaspoons | Tart and bright. |
| Sesame oil | ¾ teaspoon | Adds a nutty flavor. |
| Soy sauce | ⅛-1½ teaspoons | Brings saltiness. |
| Nori sheets | 1-2 sheets | Dried seaweed wrapper. |
| Furikake | 2 packages | Dried rice seasoning. |
Making Yuzu Salmon Onigiri at Home
Making these rice balls at home is easier than you think. Just follow these simple steps.
Step 1: Prepare and Cook the Rice
Rinse 2 cups of short-grain rice until the water runs clear.
Add the rinsed rice and 2 cups of water to your rice cooker. Cook it like you normally would.
While the rice cooks, mix the rice vinegar, sugar, and salt in a small bowl.
Whisk until everything dissolves. You can microwave this for 25 seconds to help it dissolve faster.
Step 2: Season the Rice
Once the rice is done, break it up gently with a spatula.
Pour the vinegar mixture over the rice and fold carefully until evenly mixed.
Keep the seasoned rice in the cooker on the warm setting while you prepare the filling.
Step 3: Cook the Salmon
Preheat your oven to broil and position the rack about 6 inches from the heat.
Season all sides of the salmon with salt, including the skin. Place it on a baking sheet lined with foil for easy cleanup.
Spray both sides lightly with oil to prevent sticking. Broil for about four minutes until cooked through.
The salmon should flake easily with a fork. Watch it closely to avoid overcooking.
Step 4: Prepare the Salmon Filling
Remove the salmon from the oven and let it cool slightly. Use a fork to break it into small, flaky pieces.
Discard the skin. In a bowl, mix Kewpie mayo, yuzu kosho, yuzu juice, sesame oil, and soy sauce until smooth and creamy.
The yuzu kosho is strong, so a little goes a long way. Add the flaked salmon and mix well.
Step 5: Set Up Your Workspace
Fill a small bowl with water and add a pinch of salt. Stir until dissolved.
Pour furikake into another wide bowl. Cut nori sheets into strips about 1¼ x 4 inches. Keep everything within reach.
Step 6: Wet Your Hands
Dip both hands in the salt water and rub them together. This prevents the rice from sticking to your fingers and makes shaping much easier.
Keep the bowl nearby so you can rewet your hands between each rice ball.
Step 7: Form the Rice Base
Grab about ½ cup of warm rice and roll it into a ball first.
Then gently flatten it in your palm to form a thick disk about 3 inches wide.
Make a small indent in the center with your thumb to create space for the filling.
Step 8: Add the Filling
Place about a tablespoon of salmon mixture in the center of the rice disk. Don’t overfill, or it won’t seal properly.
Less is more here.
Step 9: Seal and Shape
Carefully gather the rice around the filling from all sides. Pinch the edges together to seal completely, making sure there are no gaps.
Use both palms to gently shape it into a triangle with three distinct sides.
Press lightly on all three sides without squeezing too hard. Rotate as you shape to create even sides.
Step 10: Coat with Furikake
Roll the sides of the triangle in the furikake bowl, rotating to coat all three sides evenly. Press gently so the seasoning sticks well.
Leave the top and bottom uncoated so you can see the white rice peeking through.
Step 11: Wrap with Nori
Place a strip of nori around the middle of the onigiri, shiny side facing out.
Press gently to make it stick to the rice on both sides.
The nori acts as a handle, keeping your fingers clean while you eat. It also adds a pleasant, salty ocean flavor.
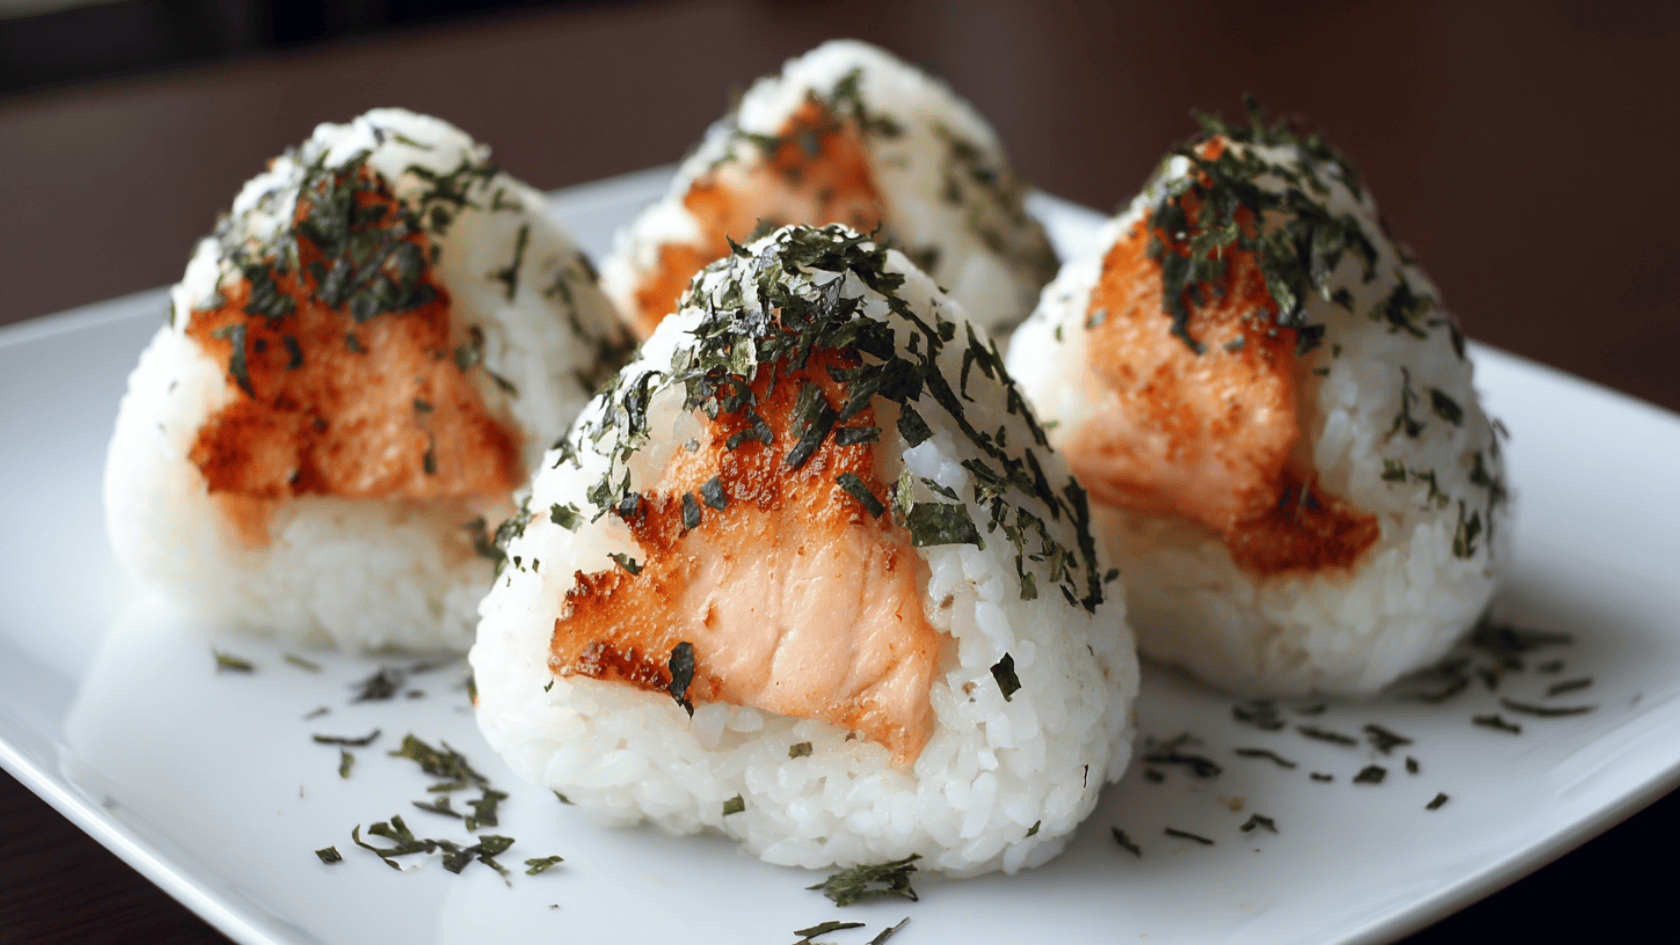
Step 12: Repeat and Serve
Continue making rice balls until you’ve used all the rice and filling. You should get about 8-10 onigiri total, depending on how large you make them.
Eat them right away while they’re warm for the best texture and flavor.
Or let them cool to room temperature, as they’re traditionally enjoyed in Japan.
Serving Ideas and Pairings
Yuzu salmon onigiri works for many occasions. Here are some ways to serve them.
Pack for Lunch
- Tastes good at room temperature
- Pair with fruit or veggie sticks
Serve as a Snack
- Grab one between meetings
- Filling without being heavy
- Easy to take on the go
Make it a Bento Box
- Pair with edamame and pickled vegetables
- Add sliced fruit and a hard-boiled egg
Party Appetizer
- Cut into smaller pieces
- Serve with dipping sauces
- Easy for guests to grab
Pair with Soup
- Serve with miso soup
- Try with cucumber salad
- Hot green tea works great
Yuzu Salmon Onigiri Variations to Try
Want to mix things up? Try these variations.
Switch the Sauce
If you can’t find yuzu kosho, don’t let that stop you, because regular soy sauce works as a clean, simple alternative that lets the salmon speak for itself.
Spicy mayo adds heat and creaminess, teriyaki brings a glossy sweetness, and sweet chili sauce offers a tangy, bold kick that works surprisingly well with the rice.
I keep a bottle of spicy mayo in the fridge almost permanently at this point.
Use Different Salmon
Canned salmon saves time. Just drain it well.
Salmon flakes work too and require no prep. Smoked salmon adds a rich, smoky flavor that pairs beautifully with the rice.
Change the Filling
Tuna mixed with mayo is a classic for good reason — familiar, satisfying, and hard to get wrong.
Umeboshi (pickled plum) brings a sharp, salty tang that cuts through the rice in the best possible way.
Grilled chicken makes for a heartier option, spam is popular in Hawaii-style onigiri, and shrimp tempura adds a welcome crunch
Pickled vegetables offer something lighter and more refreshing when you want a break from fish.
Make Yaki Onigiri
Heat sesame oil in a skillet and fry leftover onigiri on both sides until a golden, crispy crust forms.
Brush with soy sauce while cooking for a savoury, toasted depth that’s genuinely hard to stop eating.
This is honestly one of the best things you can do with leftovers; the contrast between the crispy outside and soft rice inside is something else entirely.
Add More Toppings
Sesame seeds add crunch. So do fried shallots.
A small dollop of extra salmon on top looks pretty and adds more protein to each bite.
Yuzu Salmon Onigiri Prepping and Cooking Mistakes to Avoid
Avoid these common mistakes to make better onigiri every time.
1. Using Cold Rice: Cold rice doesn’t stick together well and crumbles when you try to shape it. Always use warm, freshly cooked rice straight from the rice cooker for the best results.
2. Pressing Too Hard: Don’t squeeze too tight. This makes them dense and mushy.
3. Too Much Filling: Overfilling makes sealing impossible. Stick to about a tablespoon per rice ball.
4. Dry Hands: Rice sticks to dry hands and makes shaping messy. Keep your hands wet with salt water throughout the process.
5. Wrapping Nori Too Early: Nori gets soggy fast. Wrap right before eating.
6. Skipping the Salt Water: Salt water prevents sticking, seasons the rice, and helps preserve it. Don’t skip this step.
7. Old or Leftover Rice: Yesterday’s rice is too dry for onigiri. It won’t hold its shape no matter what you do.
8. Wrong Rice Type: Long-grain rice doesn’t work. Use short-grain Japanese rice.
Conclusion
Making yuzu salmon onigiri at home is simpler than it looks.
You get fluffy rice, creamy citrusy filling, and a crunchy furikake coating in every bite. These rice balls work for lunch, snacks, or picnics.
Start with warm rice and don’t overfill them.
Practice makes perfect, so don’t worry if your first batch isn’t picture-perfect. The flavor will still be there.
Ready to try this Japanese classic? Grab your ingredients and give it a shot.
Share your results in the comments below!