

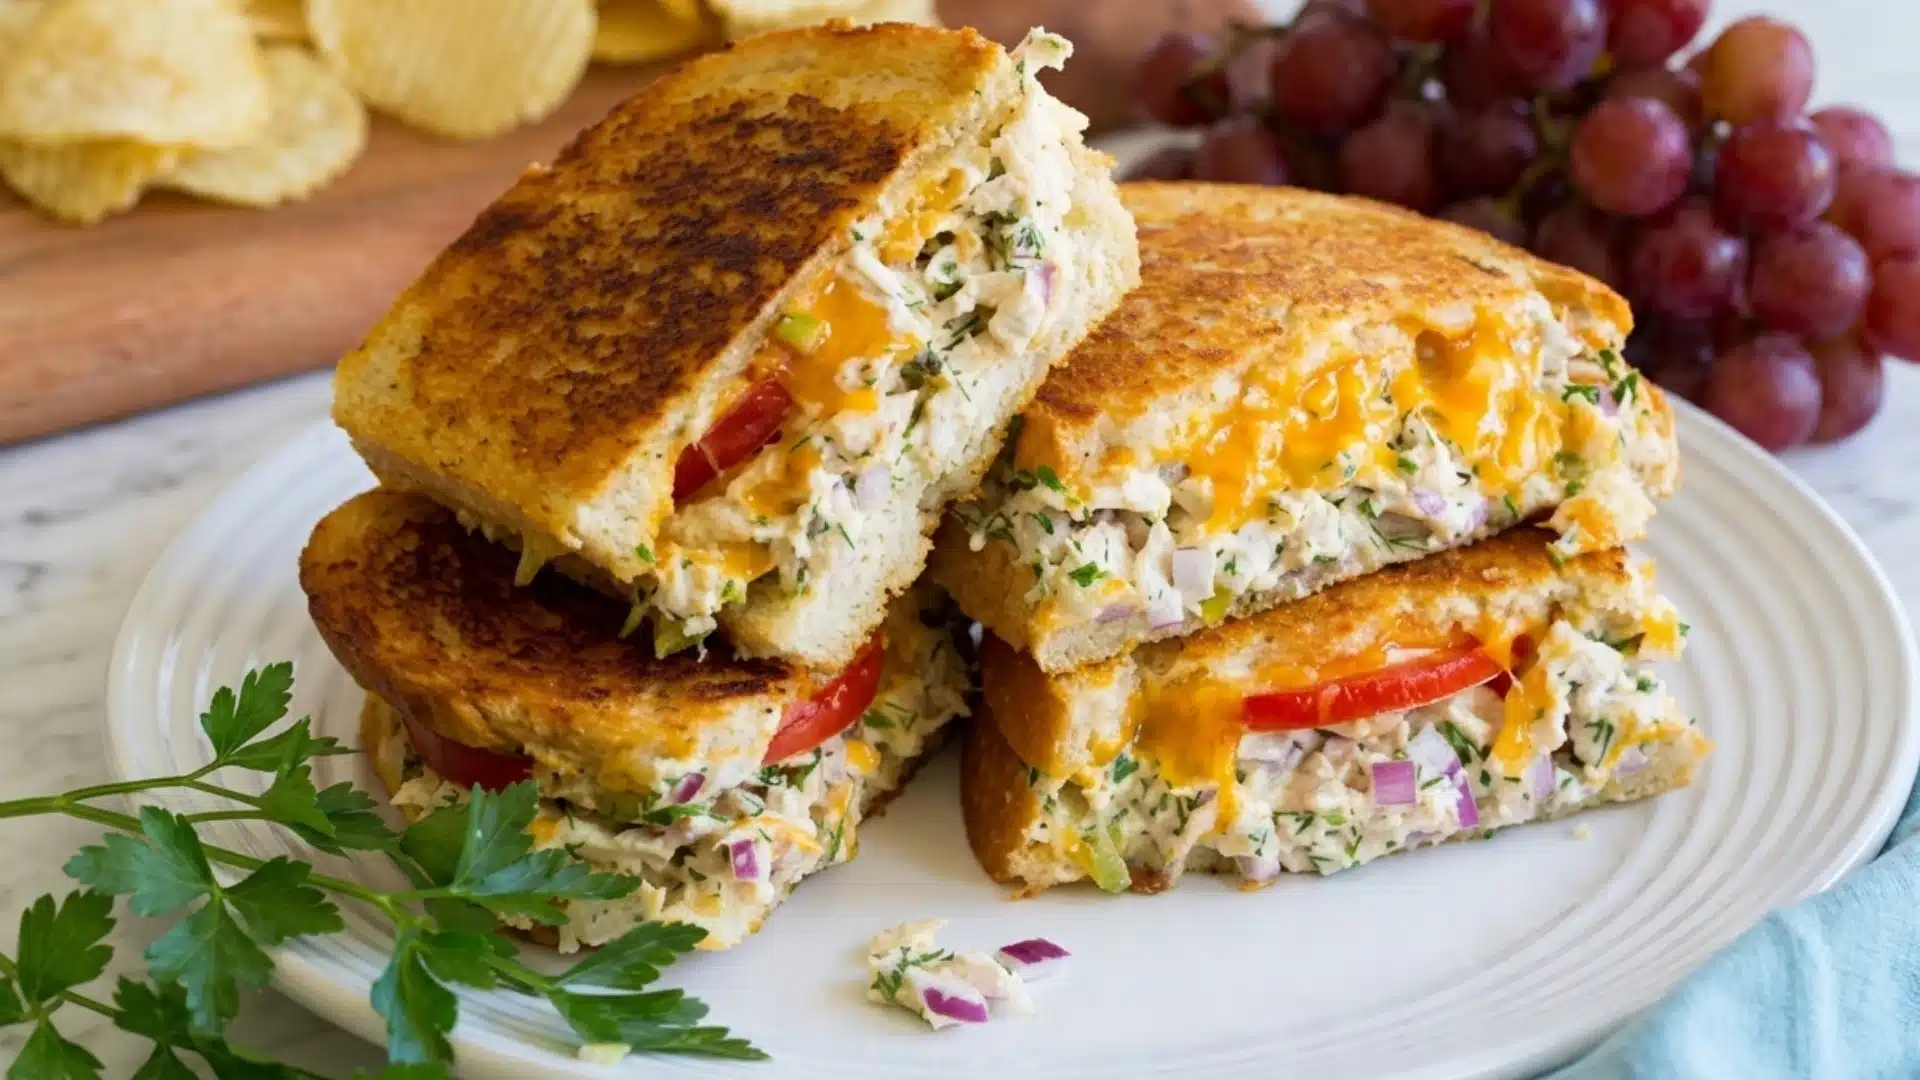
A tuna melt is a warm sandwich made with tuna salad, cheese, and bread.
The bread gets toasted until golden and slightly crisp, while the cheese melts over the tuna mixture, holding everything together in one warm, gooey bite.
Long before it landed on diner menus, it started as a fix for leftover tuna salad sitting in the fridge.
Someone figured out that cheese and heat turned a cold sandwich into something worth craving.
From there, it went from a quiet kitchen fix to a regular on diner menus everywhere.
Are Tuna Melts Healthy?
It can absolutely be healthy. It really comes down to four things: the bread, the cheese, the mayo, and extra toppings.
A few swaps can make this sandwich genuinely so good for you.
- Tuna keeps hunger away for hours.
- Whole-grain bread has fiber instead of empty carbs.
- Tomatoes, celery, onions, or spinach contain real nutrients.
- Less mayo or Greek yogurt keeps everything light.
- A small amount of cheese makes it melty.
What You’ll Need?
- Canned tuna
- Bread
- Cheese
- Mayo or Greek yogurt
- Celery or onion
- Mustard
- Salt and pepper
Tuna Melt Recipe
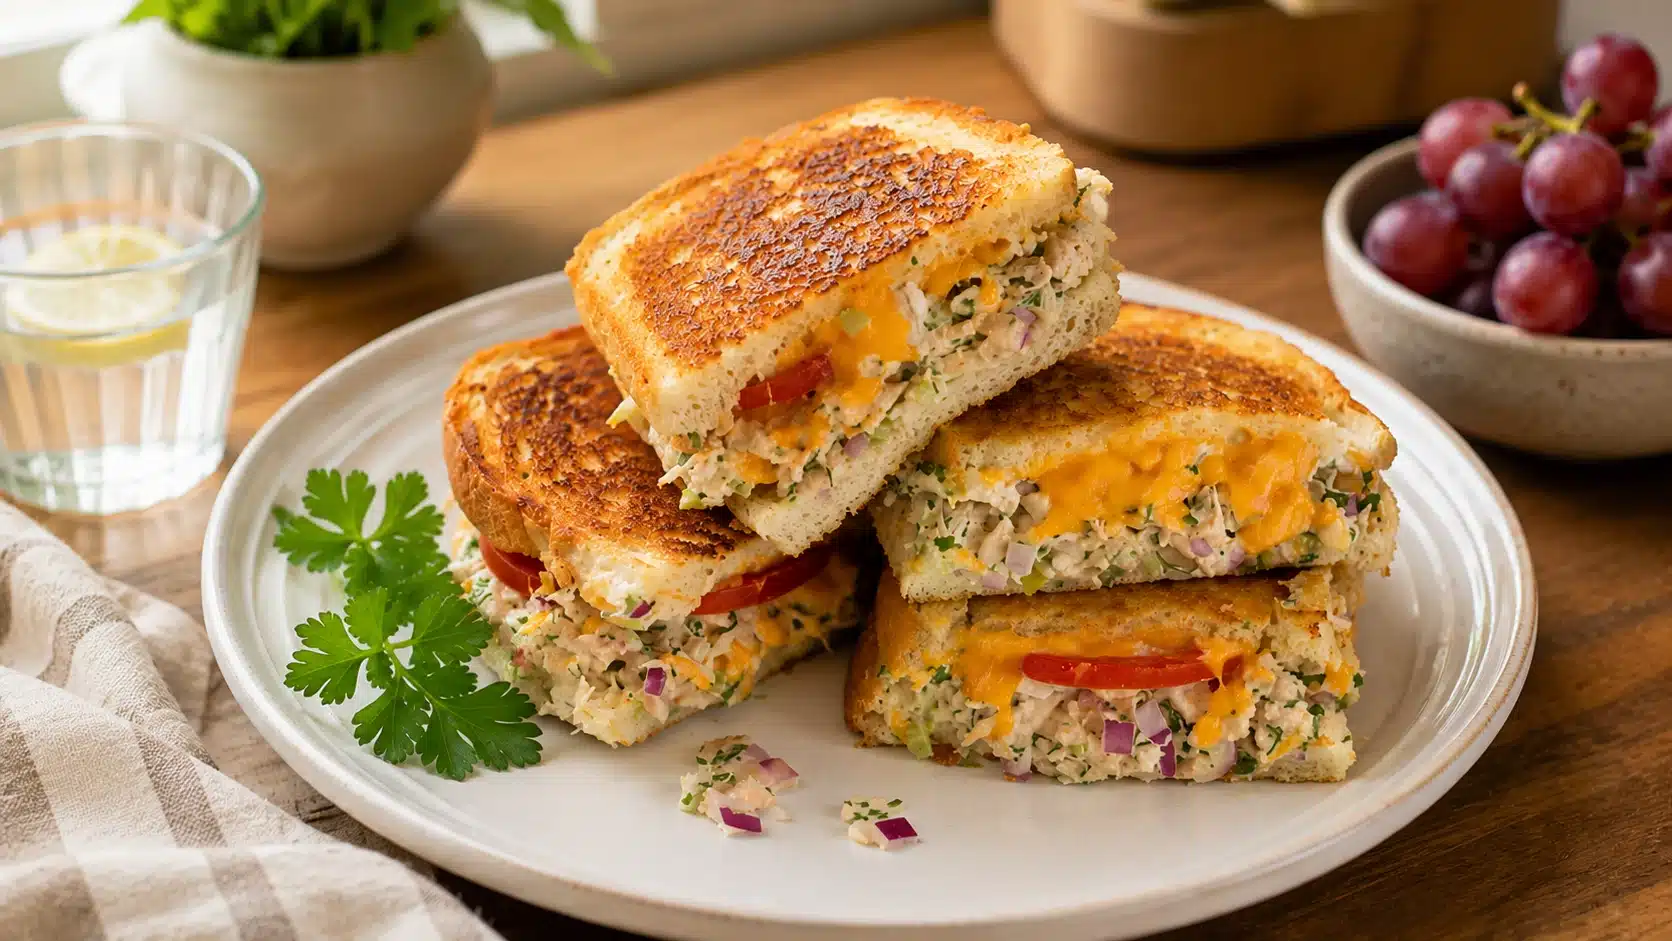
Few sandwiches come together as easily as this one. Five quick steps, and a cold can of tuna turns into something hot, melty, and ready to eat.
Step 1: Drain it Well
Open the can and tip it into a strainer, then press down with a spoon or the back of a fork to push out every bit of liquid.
Water-packed tuna holds on to more moisture than oil-packed tuna.
Skipping it means that liquid soaks straight into the bread later, turning a crisp sandwich into a soft, soggy one before it even hits the pan.
Step 2: Mix it Up
In a mixing bowl, combine:
Drained tuna, a spoon or two of mayo, a small amount of mustard for a little tang, finely chopped celery and onion for crunch, salt and pepper, to taste.
Stir everything together, tasting as you go.
Adjust the mayo up or down until the texture feels right.
Step 3: Build the Sandwich
Lay out the bread slices and decide on the style first.
- Closed sandwich: Spread the tuna mix evenly on one slice, layer cheese on top, then close it with the second slice.
- Open-face: Spread the tuna mixture on a single slice, then pile cheese generously over the top.
Step 4: Toast Until Golden
Heat a pan over medium heat, or set the oven to broil if making it open-face.
Place the sandwich down and let it cook slowly rather than rushing on high heat, which tends to burn the bread before the cheese even softens.
Watch closely as the bottom turns golden and crisp, and the cheese on top starts to melt and bubble at the edges.
Step 5: Serve Warm
Pull the sandwich off the heat once the cheese is fully melted and the bread turns a deep golden color.
Let it rest thirty seconds before cutting, then serve right away.
Pair tuna with something light or something crunchy. For lighter sides, try tomato soup, a green salad, cucumber slices, fruit, or roasted vegetables.
For crunch, go with pickles, baked chips, sweet potato fries, or coleslaw.
Healthy Swaps You Can Try
A tuna melt doesn’t have to be heavy to taste good. A few small swaps keep it lighter without losing what makes it satisfying in the first place.
| Swap | Why It Helps |
|---|---|
| Greek yogurt instead of mayo | Keeps the mix creamy with fewer calories |
| Whole-grain bread | Adds fiber and keeps hunger away longer |
| Open-face style | Cuts carbs by using one slice instead of two |
| More veggies | Tomato, spinach, celery, onion, peppers, or pickles add crunch and nutrients |
| Less cheese | One slice still melts well with less fat and calories |
Best Ways to Cook Tuna Melt
The toasting step above works fine on a stovetop, but it’s not the only way to get there. Here’s how each method stacks up.
- Skillet: Gives the most control over browning, making it the best choice for a crispy, golden sandwich. Medium heat and a little patience go a long way here.
- Oven: Takes over when more than one sandwich needs to happen at once. Just line a baking sheet and let the heat do the work evenly across all of them.
- Broiler: Hard to beat for an open-face melt with cheese that bubbles and browns on top. It works quickly, so close monitoring is needed to avoid burning.
- Air fryer: A solid pick on busier days, since it cooks fast and still gets the bread crisp without needing the stove or oven.
Tuna Melt Variations
One classic recipe, six different directions. A small swap here or there turns the same sandwich into something new every time.
Classic Diner Style
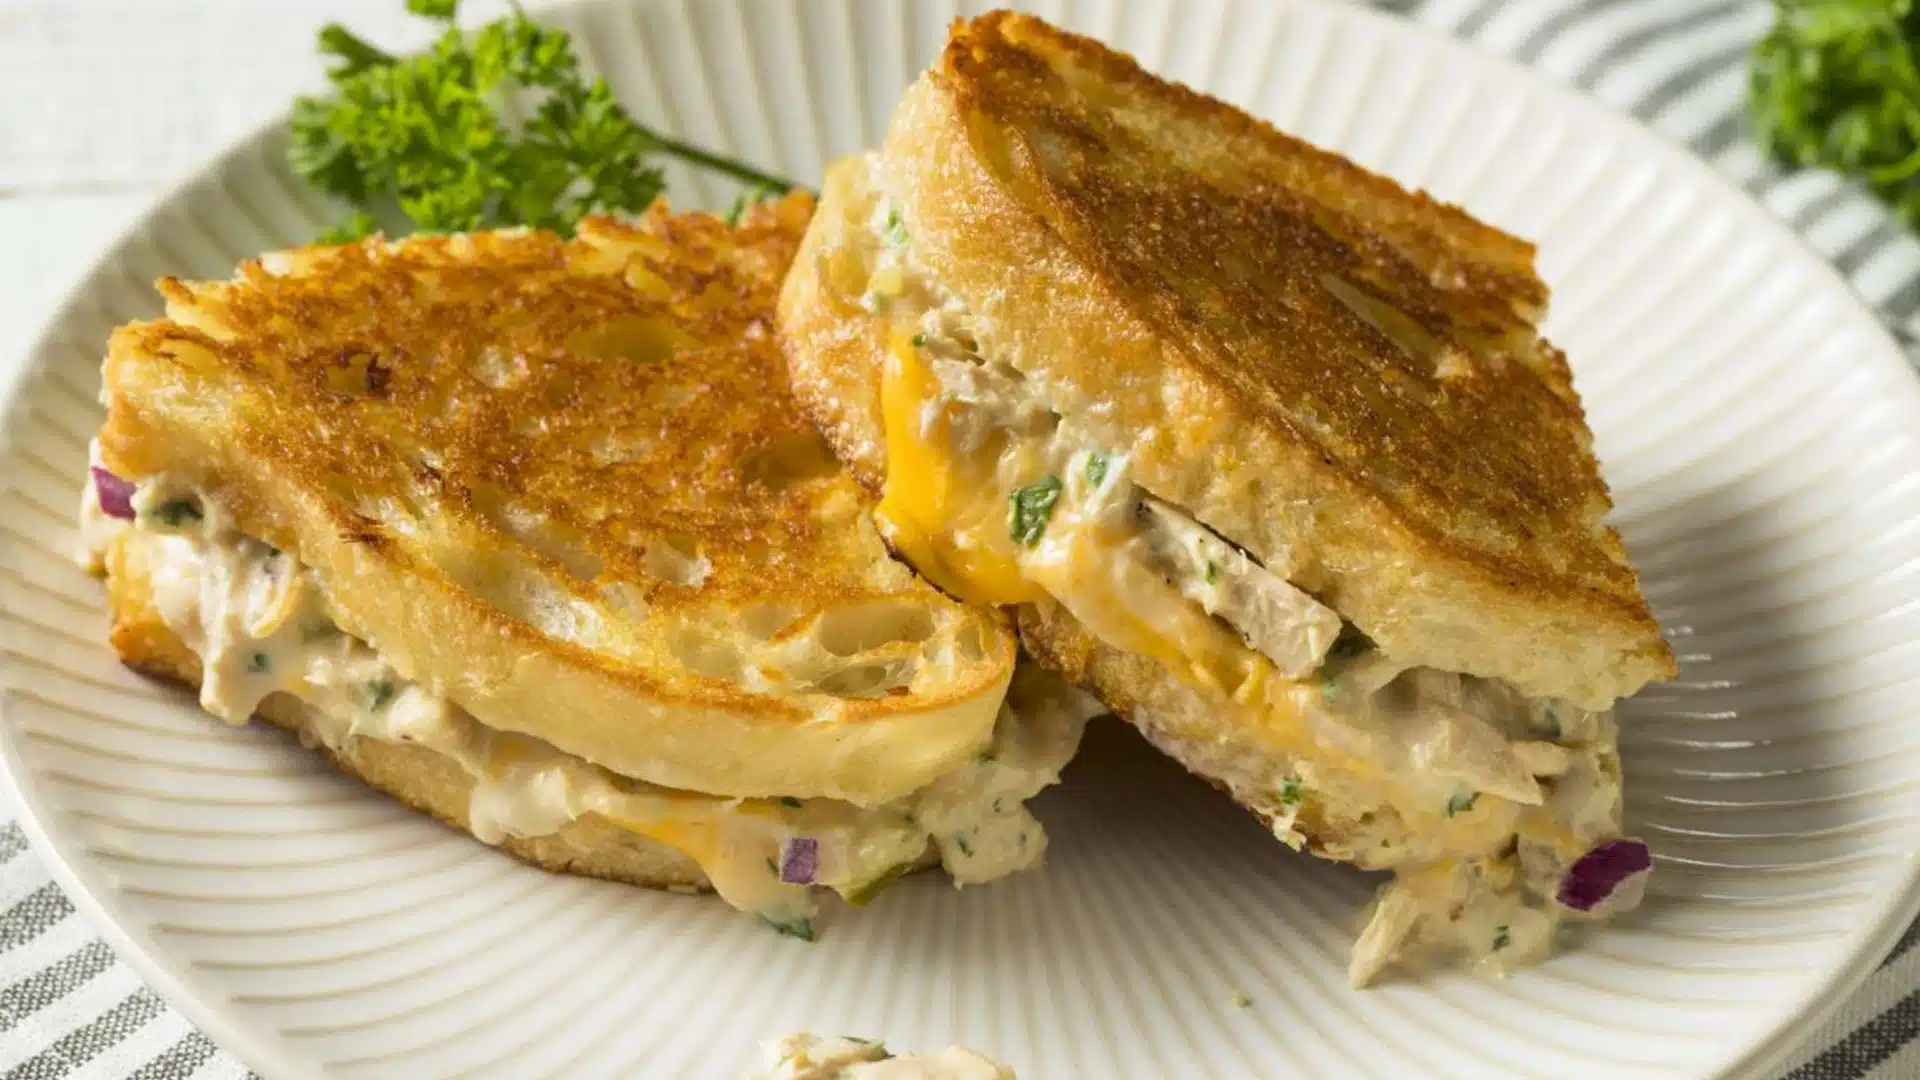
Tuna salad, cheddar cheese, and toasted bread. Mix tuna with mayo, spread on bread, top with cheddar, and toast until golden and melted.
Open-Face Style
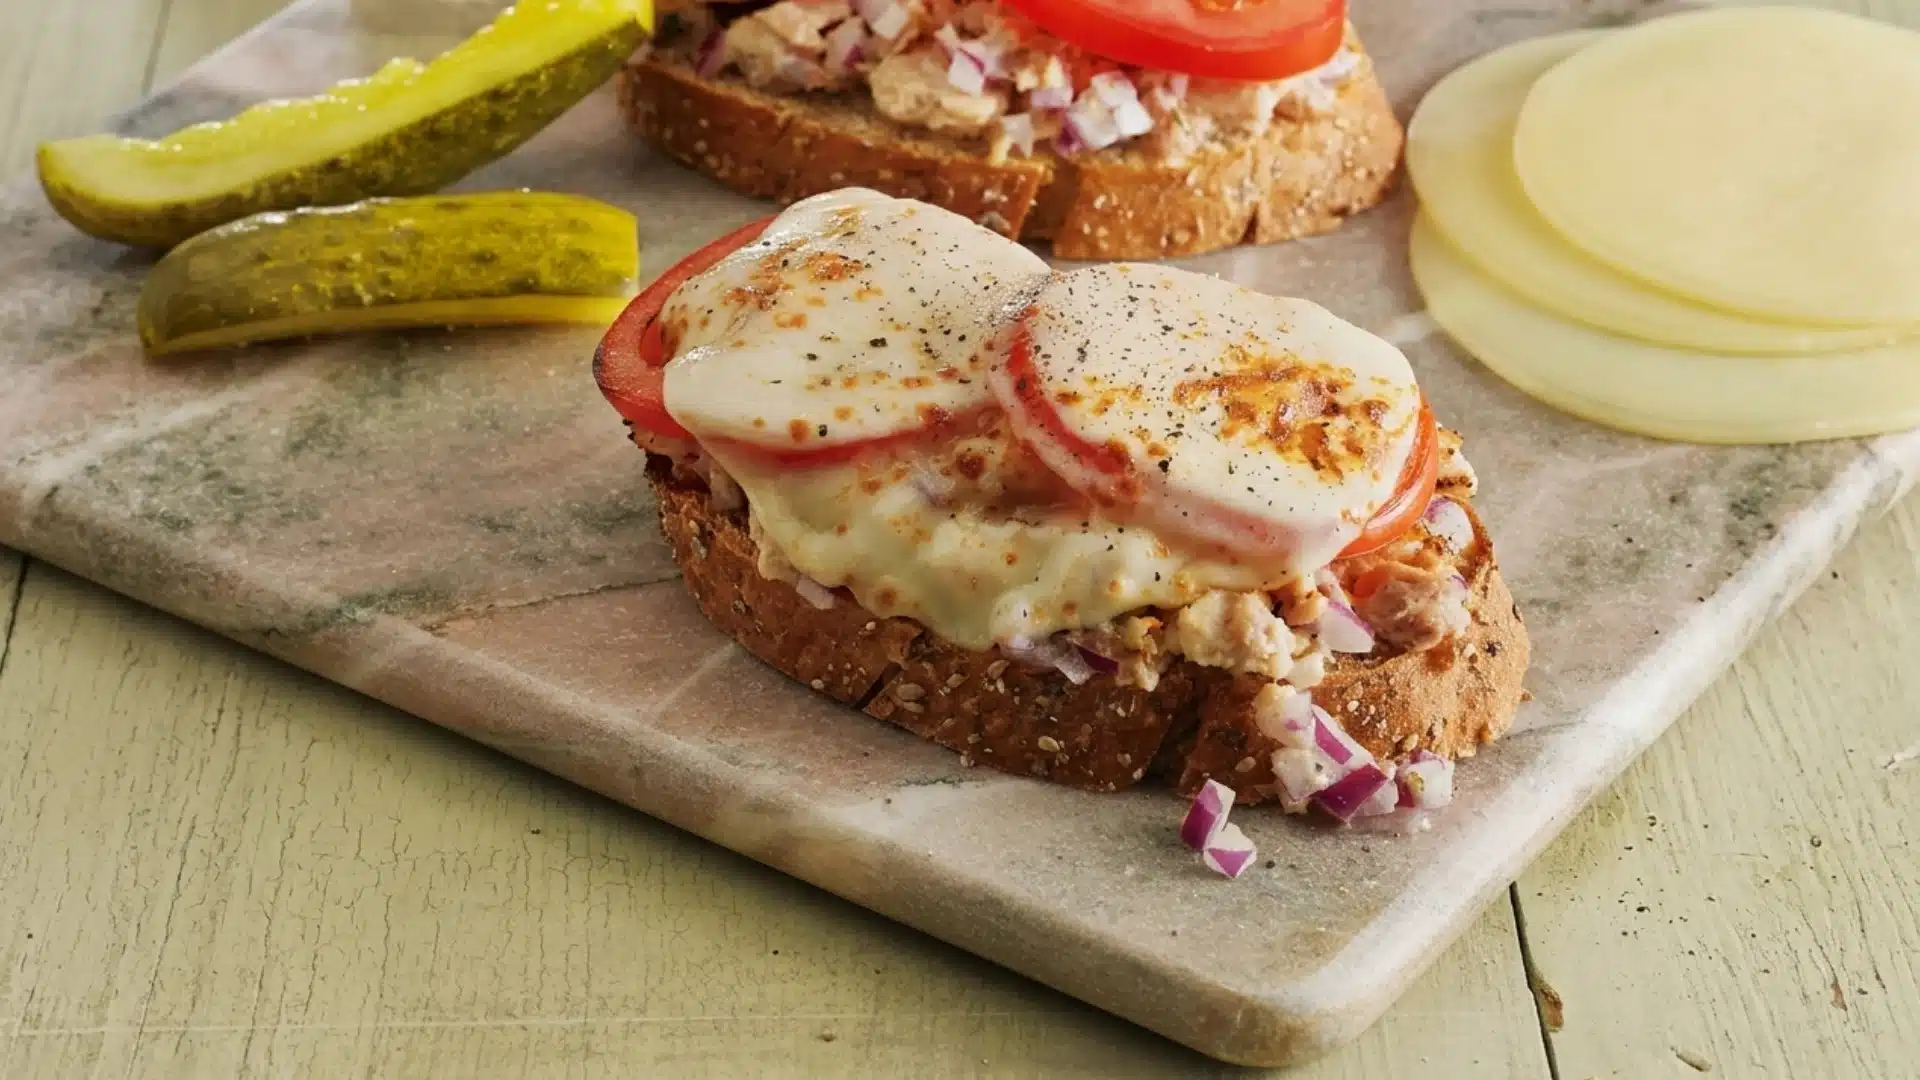
One slice of bread with tuna and cheese on top. Spread tuna mix on a single slice of bread, and top it with cheese. Broil until it turns bubbly and golden.
Tomato
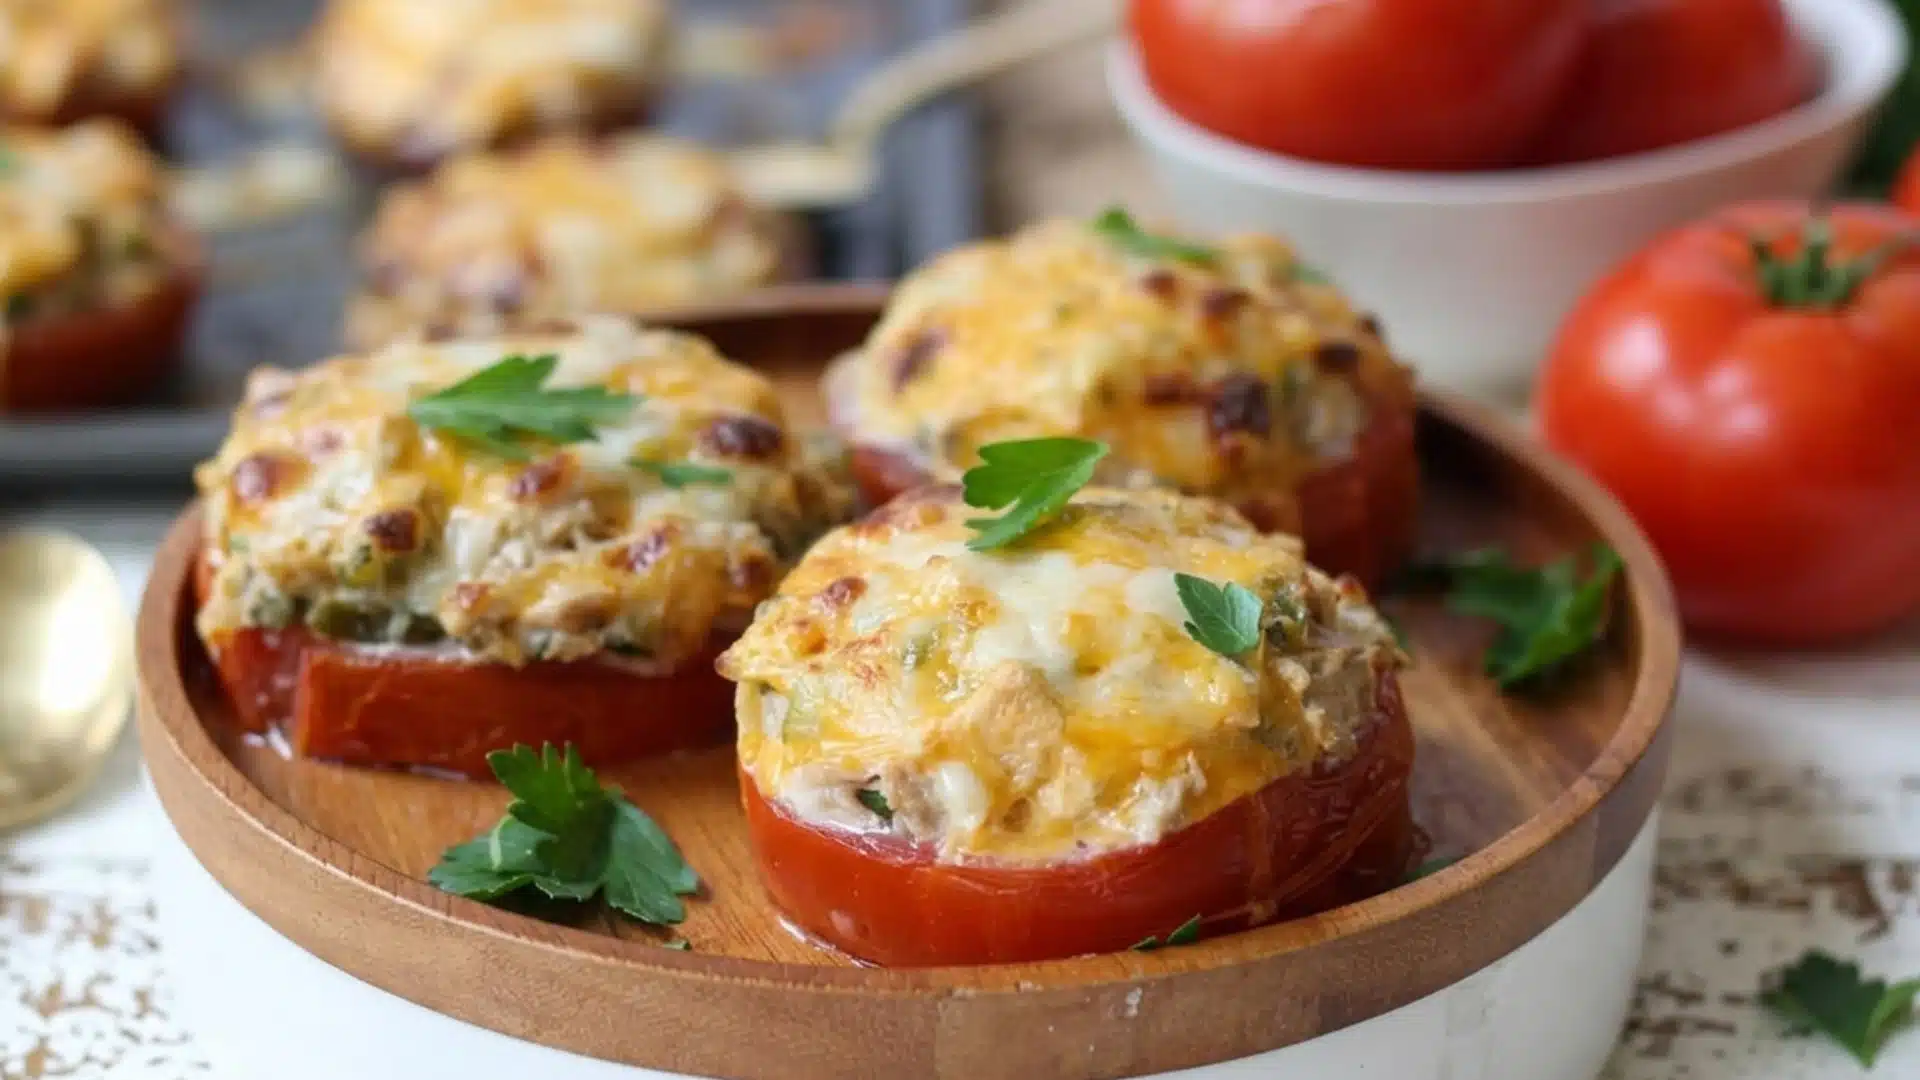
Build the sandwich as usual, with bread and the tuna mix as the base. Then layer fresh tomato slices right on top of the tuna mix.
Top with cheese and toast until melted and golden.
Make it Spicy
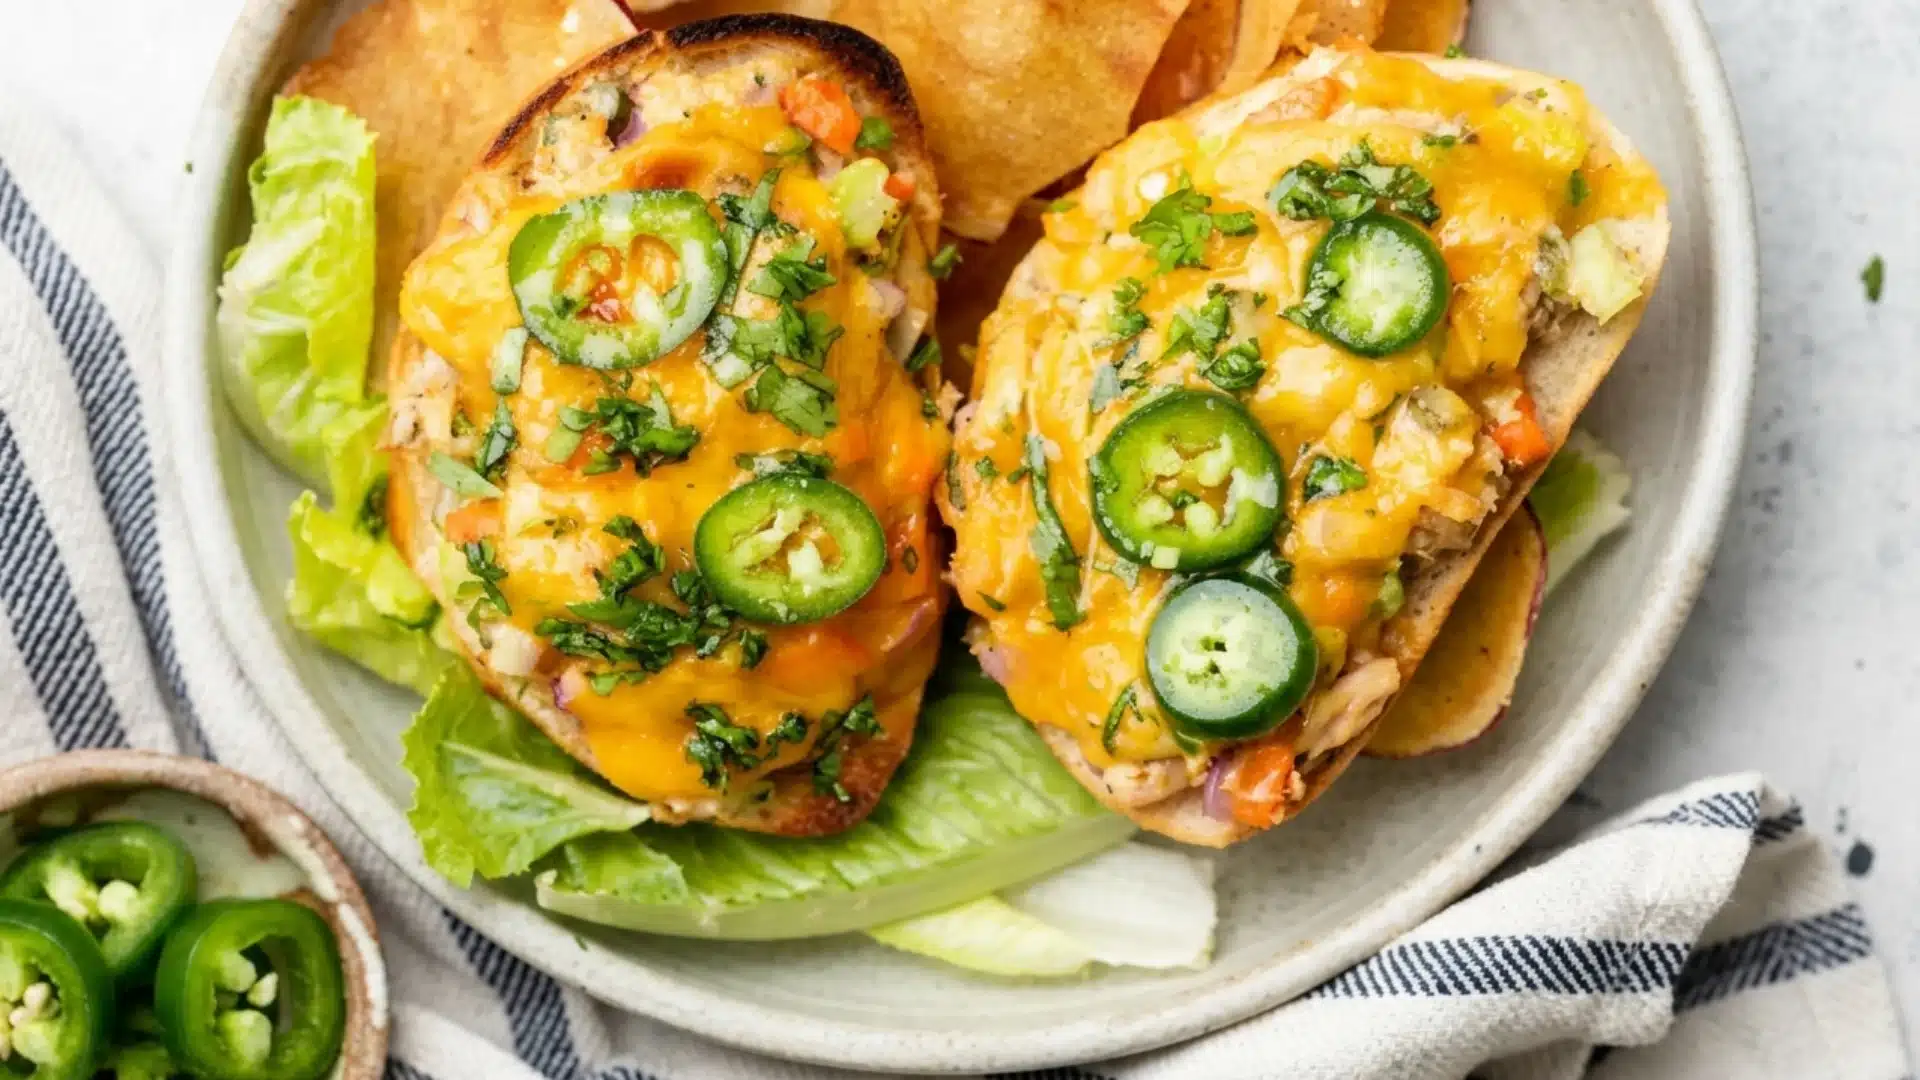
Add jalapeños, hot sauce, or pepper jack cheese.
Stir chopped jalapeños or a few dashes of hot sauce into the tuna mix, then swap in pepper jack for the usual cheese before toasting.
With Avocado
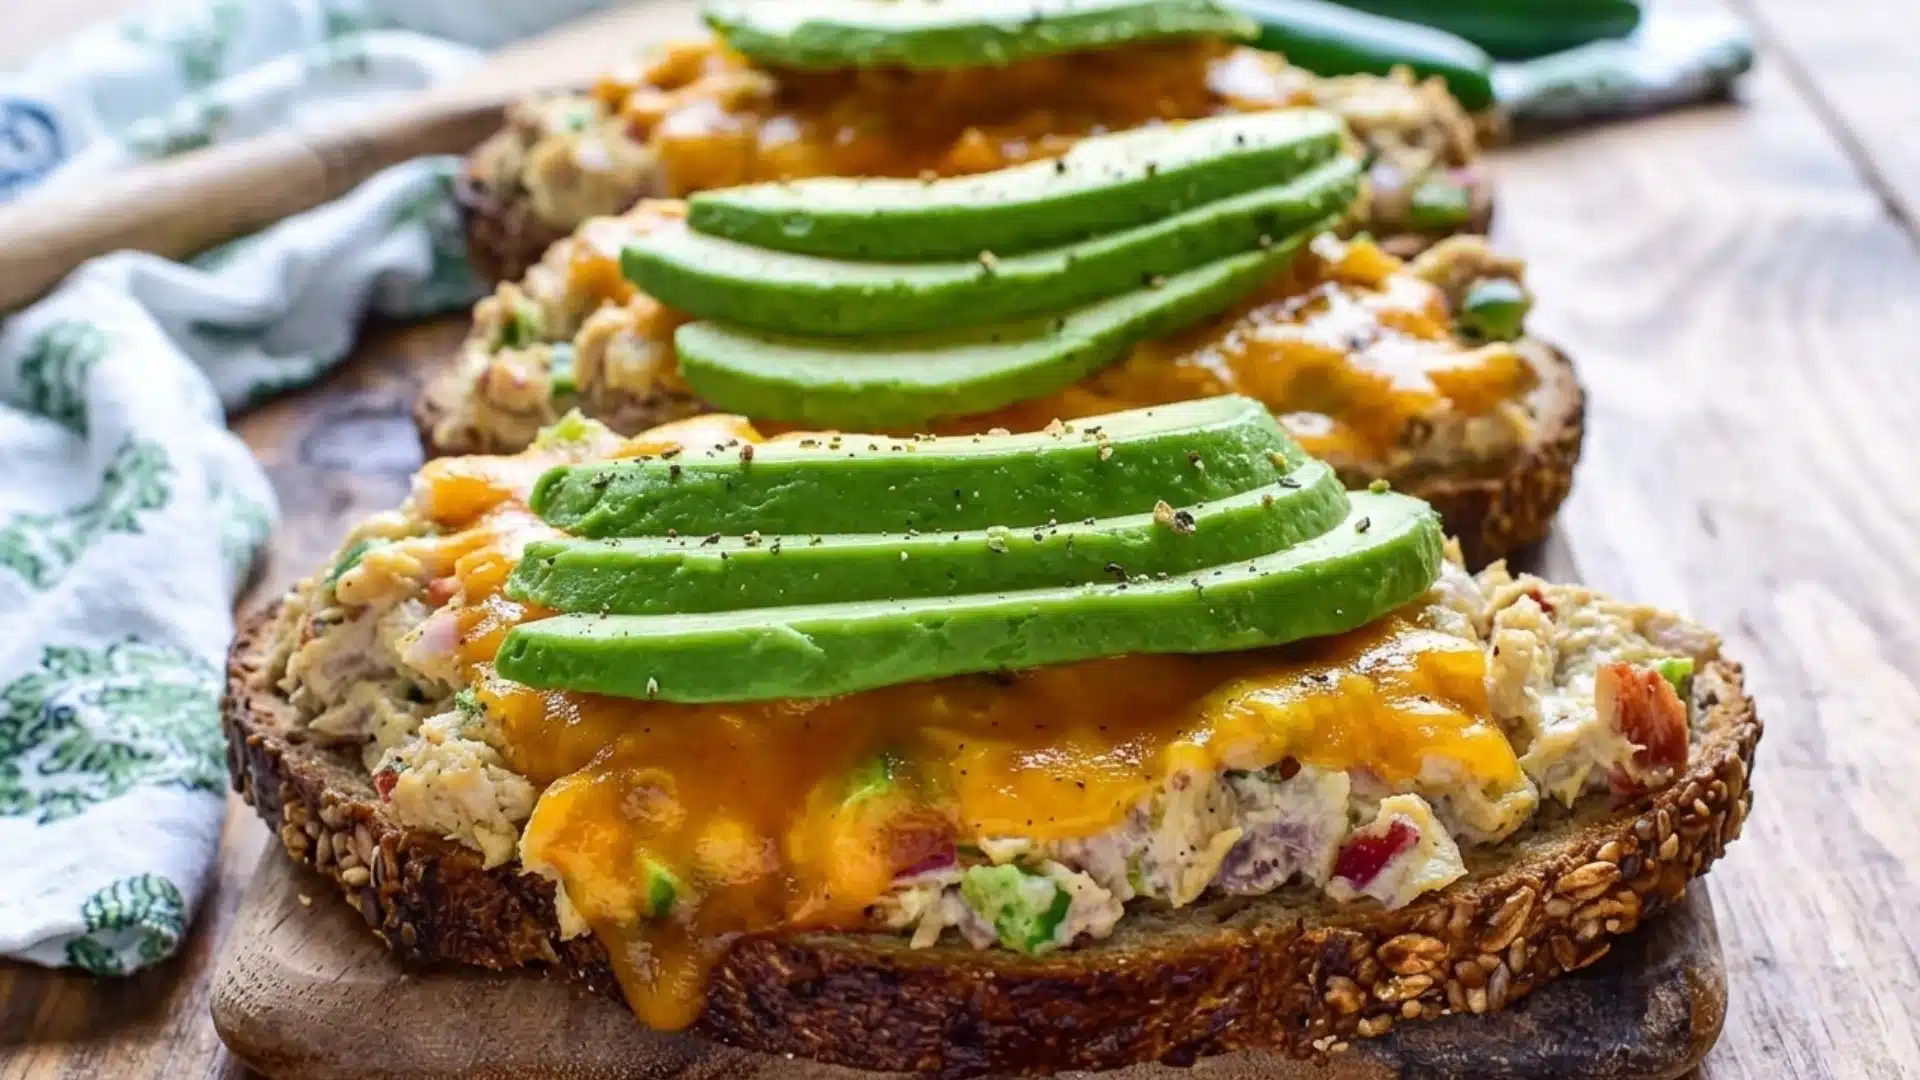
Use mashed avocado instead of some mayo.
Start by mashing half an avocado, then mix with tuna, using less mayo than usual, and then finally add cheese and toast as normal.
As a Quesadilla
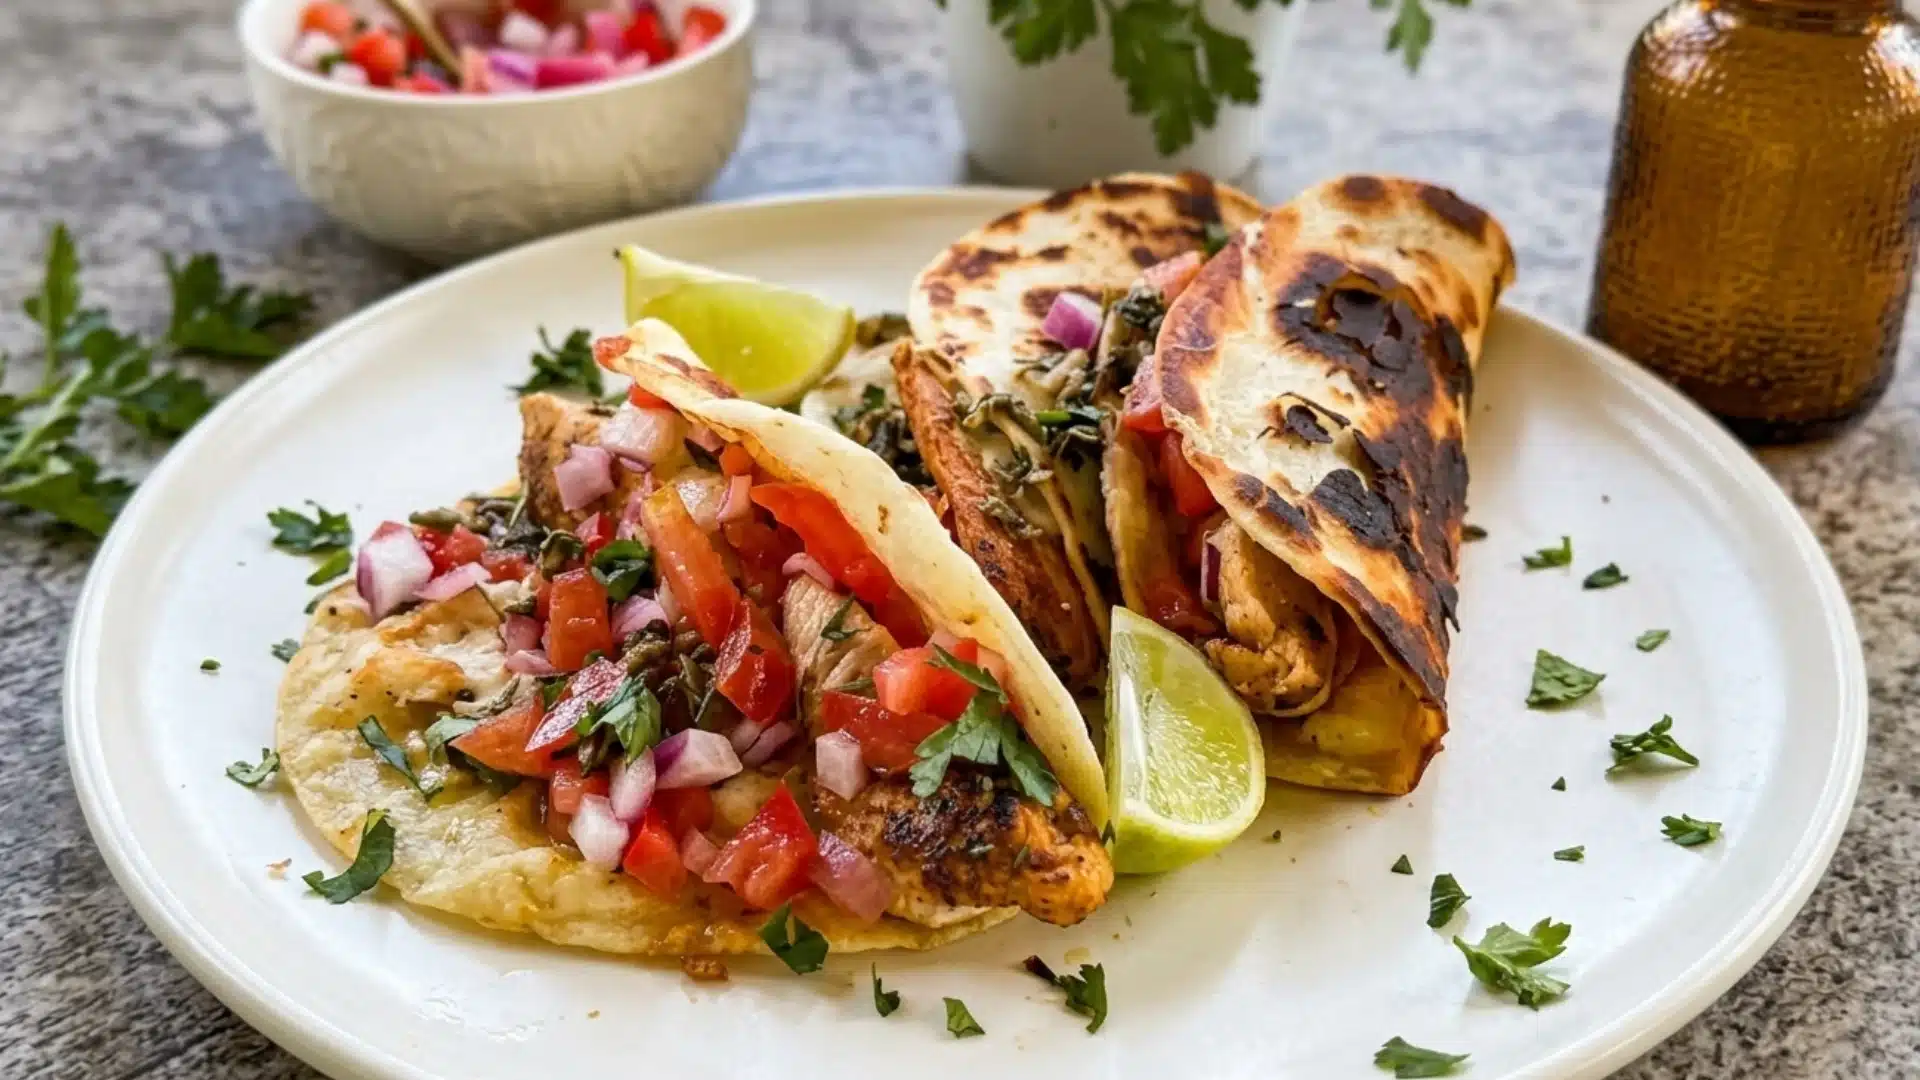
Spread the tuna mix on a tortilla instead of bread, top with cheese, fold in half, and crisp in a skillet for a couple of minutes per side.
Storing Leftovers
The tuna mix and the finished sandwich don’t hold up the same way, so they need different treatment.
Keep the tuna salad on its own in a sealed container in the fridge, where it stays fresh and ready to build into a sandwich whenever the craving hits.
A fully cooked tuna melt is a different story.
It turns soggy fast and really only tastes its best fresh off the heat, so it’s not one to save for later if you can help it.
Final Thoughts
This recipe comes together fast, uses ingredients most kitchens already have, and works just as well as a quick fix or a sandwich worth slowing down for.
Whether you go with the classic diner version or one of the lighter swaps, the basics stay the same.
Anyone wondering if a tuna melt is healthy now has the answer.
It depends on the bread, the cheese, and how heavy the mayo gets, but a few small changes go a long way.
Pick a method, build it the way it sounds best tonight, and the rest takes care of itself.
Frequently Asked Questions (FAQs)
1. What’s the Best Cheese for Melting?
American and Swiss cheeses melt the smoothest without turning rubbery.
2. Is Canned Salmon a Good Substitute?
It works well and brings a similar texture with a different flavor.
3. Can this be Made Without Bread?
A tortilla or even a lettuce wrap works as a lighter base.