

You brew your coffee, drink it, and toss the grounds in the trash. But what if that little routine could do so much more?
Your garden would love those leftovers just as much as you loved that cup.
Coffee grounds aren’t just soggy leftovers. They add nutrients to your soil, keep certain pests away, and even help some plants grow stronger.
Read on and learn how to use coffee grounds in the garden.
You’ll learn where to add them, how much to use, and which plants respond best. By the time you finish reading, your morning cup will feel a lot more useful.
What Are Coffee Grounds and Why Do Gardeners Save Them?
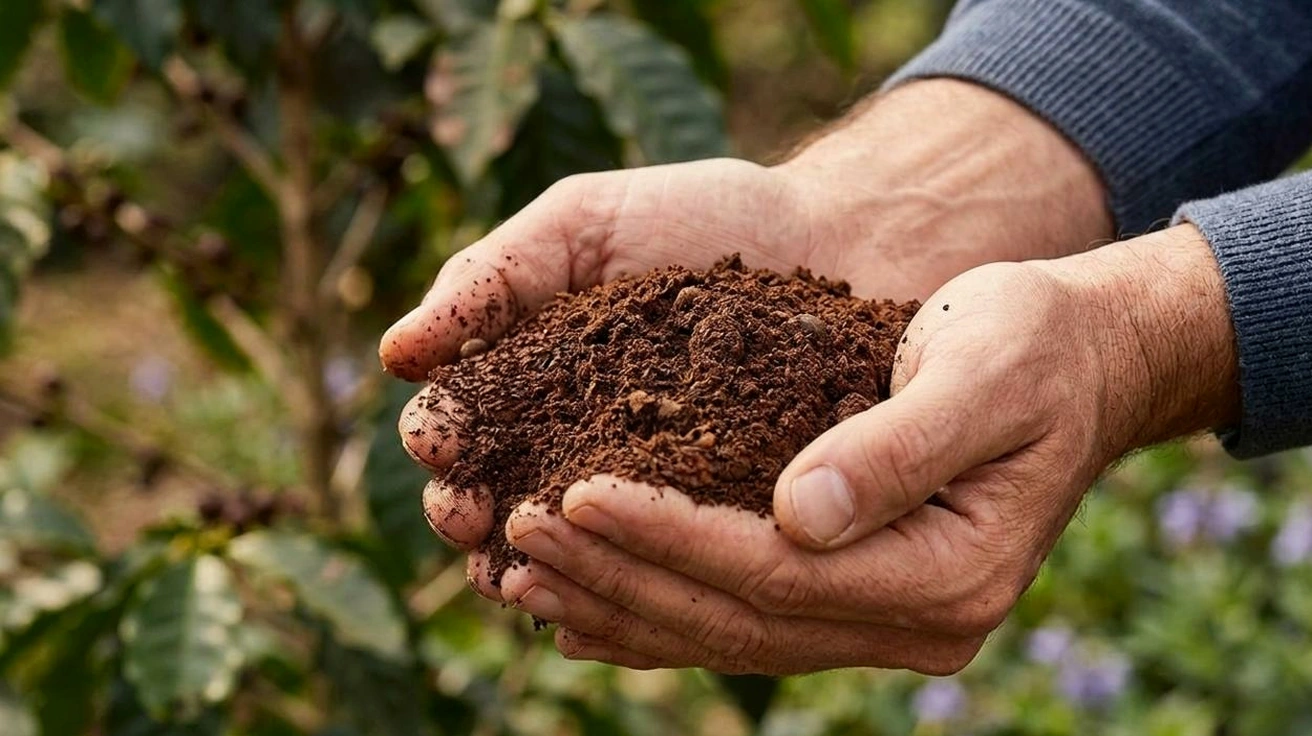
Coffee grounds are what’s left behind after you brew your coffee. Most people scoop them out and toss them without a second thought, but gardeners see things differently.
They know those damp, dark grounds still hold value long after the pot is empty.
They carry nutrients your plants can actually use, and they cost you nothing extra since you were going to brew that coffee anyway.
Some gardeners keep a small container by their coffee maker just for this reason. Others mix grounds straight into their compost pile.
A small pot on your balcony can benefit just as much as a full backyard bed. That’s what makes coffee grounds such an easy habit to pick up.
Are Coffee Grounds Good for the Garden?
Yes, coffee grounds can be good for your garden, but only when you use them the right way. Added in the right amount, they bring real benefits to your soil and your plants.
Benefits of Using Coffee Grounds
Coffee grounds offer more than just a feel-good reason to skip the trash.
- Improves soil structure: Loose, crumbly soil lets roots breathe and grow deeper, and coffee grounds help create that texture.
- Supports beneficial microbes: Coffee grounds feed the good microbes living in your soil, the ones that break down organic matter and keep your plants healthy.
- Adds organic matter: Coffee grounds add plenty of organic matter, which builds richer soil over time.
- Helps retain moisture: Coffee grounds hold onto moisture, so your soil dries out more slowly on hot days.
- Encourages earthworms: Research shows earthworms are drawn to coffee grounds, which is great news since earthworms do so much to keep soil aerated and fertile.
Drawbacks to Know Before Using Them
Coffee grounds aren’t perfect, and it helps to know the downsides before you start using them.
Can clump and form a crust
Used in large amounts, coffee grounds clump together and form a crust on top of your soil, blocking water from soaking through, leaving roots thirsty even after you water.
May stress young seedlings
Too much nitrogen at once can stress them rather than help them grow.
Slows growth in some plants
Some studies even suggest heavy amounts of fresh ground may slow certain plants down rather than speed them up.
Mold risk in damp piles
Damp piles of ground left sitting too long can grow mold, which isn’t great for your soil or your plants.
Can affect soil pH if overused
If you lean too hard on fresh grounds, you risk tipping your soil’s pH more acidic than most plants prefer.
How to Use Coffee Grounds in the Garden?
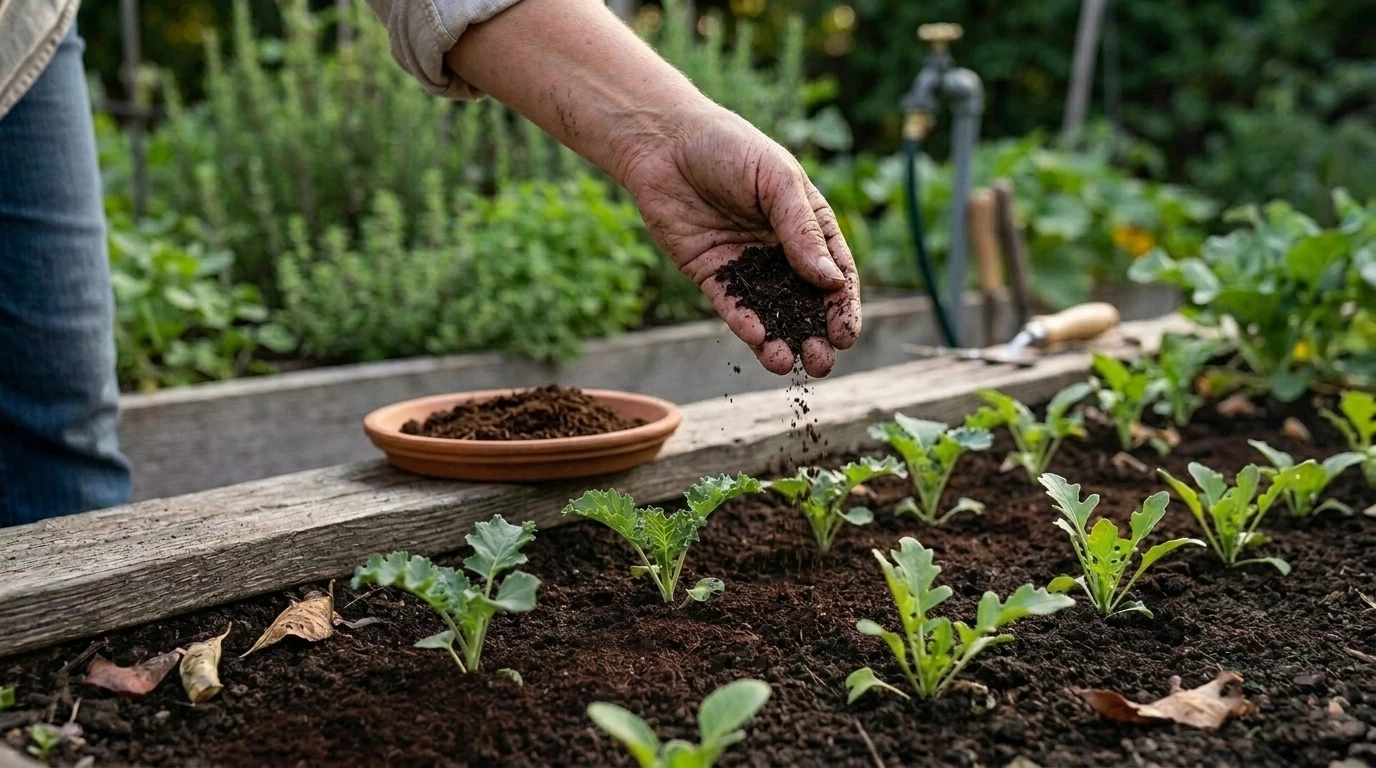
There are several ways to use them, and each one works a little differently depending on your setup. Pick the ones that fit your garden best.
1. Mix Coffee Grounds Into Compost
Compost is probably the safest place to start. Coffee grounds break down easily and add real value to your pile.
They count as a “green” ingredient, even though they’re brown, so pair them with plenty of dry leaves or shredded paper to keep the balance right.
Add small amounts a few times a week rather than dumping a big batch all at once. Over time, this gives you compost that’s richer in nutrients and holds moisture better once it’s ready to use.
2. Work Them Into Garden Soil
You can also mix coffee grounds straight into your soil, no compost bin required. A thin layer worked into the top few inches feeds your plants without overwhelming them.
This works well in vegetable beds, flower beds, raised beds, and even container gardens. Just keep the amount light, since containers and raised beds have less soil to buffer the extra nitrogen.
3. Use as Part of Mulch
Coffee grounds shouldn’t sit alone on top of your soil. They clump easily and can block water from getting through.
Mixing them with other materials, like dry leaves, wood chips, straw, or shredded bark, solves this problem.
These combinations create a mulch that breathes better, holds together longer, and breaks down at a steadier pace.
4. Make Coffee Ground Tea for Your Plants
If you’d rather skip solid grounds altogether, try turning them into a liquid feed instead. Soak a cup of used grounds in a bucket of water overnight, then strain out the solids.
What’s left is a mild, nutrient-rich liquid you can water your plants with. Leafy plants and acid-loving plants, like blueberries and azaleas, tend to respond best.
Once every two weeks is plenty, since watering too often can build up acidity faster than your plants can handle.
5. Feed Worm Bins (Vermicomposting)
Worms enjoy coffee grounds just as much as your garden does. Add a small handful to your worm bin each week.
It gives the worms extra material to break down, and the finished worm castings turn out even richer.
6. Add to Potting Mix in Small Amounts
A spoonful of used grounds mixed into potting soil can give your potted plants a gentle boost.
Stick to a small amount per pot, since too much in a confined space can throw off the balance faster than it would in open garden soil.
How Much Coffee Grounds Should You Use?
Getting the amount right matters. Too little won’t help your soil, and too much causes problems.
Recommended application rates
Keep coffee grounds to 10 to 20 percent of your total soil mix. For garden beds, use a thin layer into the top few inches of soil.
For potting mix, a spoonful or two per pot is enough. Stay light-handed even with a big batch on hand.
Seasonal frequency
Add grounds gradually through the growing season. Spring and early summer work best, since plants are actively growing.
Every few weeks is enough during this stretch. Ease off in fall as plants slow down.
Small gardens vs. large landscapes
Small gardens and containers are easy to manage, since you likely won’t generate more ground than your plants can use.
Larger landscapes need more supply, so teaming up with local coffee shops helps. Spread the same amount of light over a wider area instead of piling it thicker.
Replenishing compost with grounds
Add grounds to an active compost pile two or three times a week. If the pile feels too wet or smells sour, cut back and add more dry browns.
A healthy pile smells earthy, not sour.
Plants that Benefit from Coffee Grounds and Plants to Avoid
Not every plant reacts to coffee grounds the same way. Knowing the difference helps you avoid wasted effort and unhappy plants.
| Benefit from Coffee Grounds | Avoid Coffee Grounds |
|---|---|
| Roses | Tomatoes (young seedlings) |
| Blueberries | Lavender |
| Azaleas/Rhododendrons | Rosemary |
| Hydrangeas (blue acidity) | Asparagus fern |
| Camellias | Succulents/Cacti |
| Ferns | Orchids |
| Carrots | Chinese mustard |
Common Mistakes to Avoid
Even with good intentions, it’s easy to slip up when using coffee grounds in your garden. Small mistakes can undo all the benefits you’re hoping for.
- Applying thick layers: A thick layer of coffee grounds traps moisture and forms a hard crust, blocking air and water from reaching your soil, so stick to a thin layer instead.
- Using only coffee grounds as mulch: Coffee grounds alone clump together and dry into a solid mat that blocks rain, so always mix them with leaves, straw, or wood chips before using as mulch.
- Overfeeding plants: Adding too many grounds at once can overload your plants with nitrogen and stress them instead of helping them grow, especially young seedlings.
- Ignoring soil conditions: Adding grounds without checking your soil first can throw things off, especially if your soil is already acidic or heavy with clay.
- Applying fresh grounds excessively: Fresh grounds are more acidic than used ones, and too much of them can shift your soil’s pH more than most plants can handle.
- Expecting instant fertilizer results: Coffee grounds break down slowly, so they won’t act like a quick fertilizer fix, and the real benefits show up gradually over weeks and months.
To Wrap Up
Coffee grounds aren’t just something to rinse down the drain after your morning brew. They feed your soil, support helpful microbes, and give earthworms a reason to stick around.
The key is balance. A light hand goes a long way, whether you’re mixing grounds into compost, brewing coffee tea, or working them into your soil.
Skip the thick layers, watch your plant’s response, and adjust as you go.
Now that you know how to use coffee grounds in the garden, just save your used grounds instead of tossing them, and put them to work where they’ll actually help.
Frequently Asked Questions (FAQs)
1. Do Coffee Grounds Attract Pests to the Garden?
Coffee grounds don’t usually attract pests. In fact, many gardeners find they help keep slugs, snails, and ants away from garden beds.
2. How Long Do Coffee Grounds Take to Break Down in Soil?
Coffee grounds usually break down within a few weeks to a couple of months, depending on soil moisture, temperature, and how finely they’re ground.
3. Should I Dry Coffee Grounds Before Storing Them for Later Use?
Yes, drying grounds before storage prevents mold growth. Spread them on a tray, let them air dry fully, then store in a sealed container.