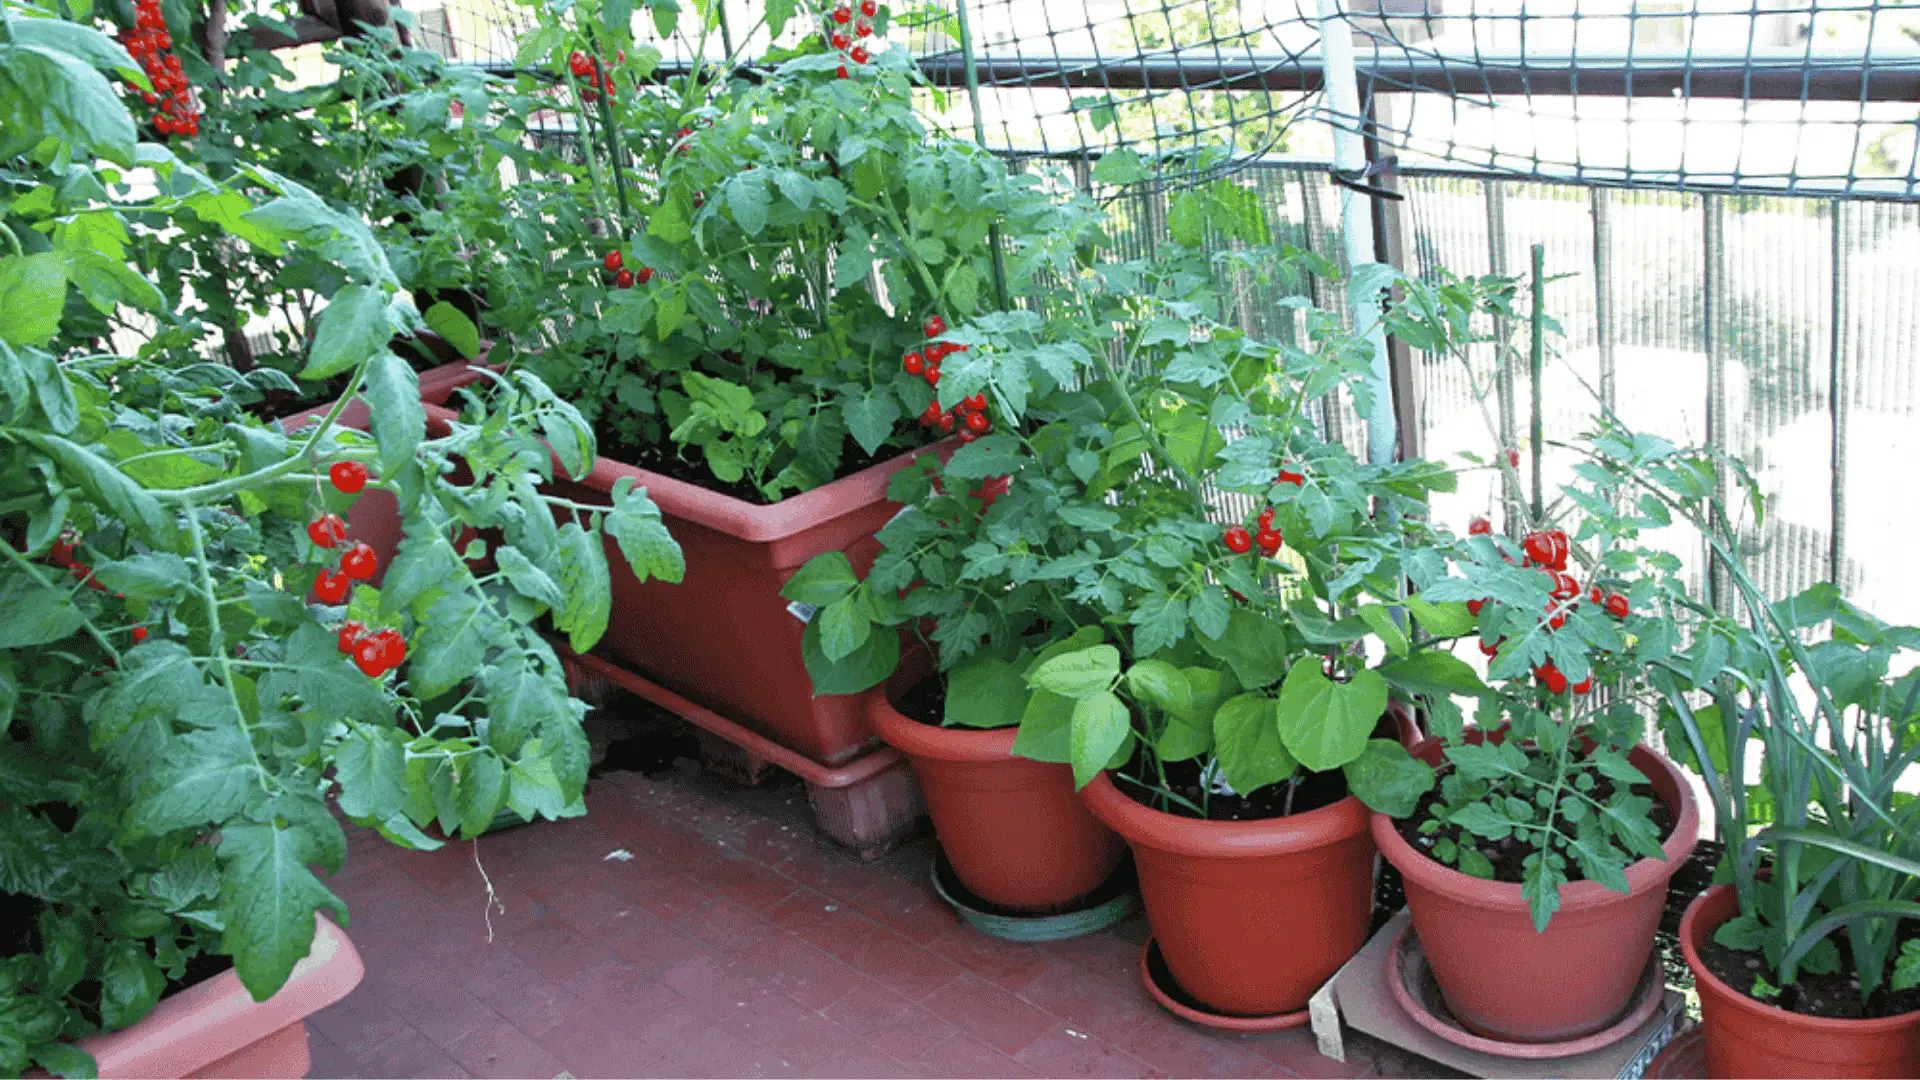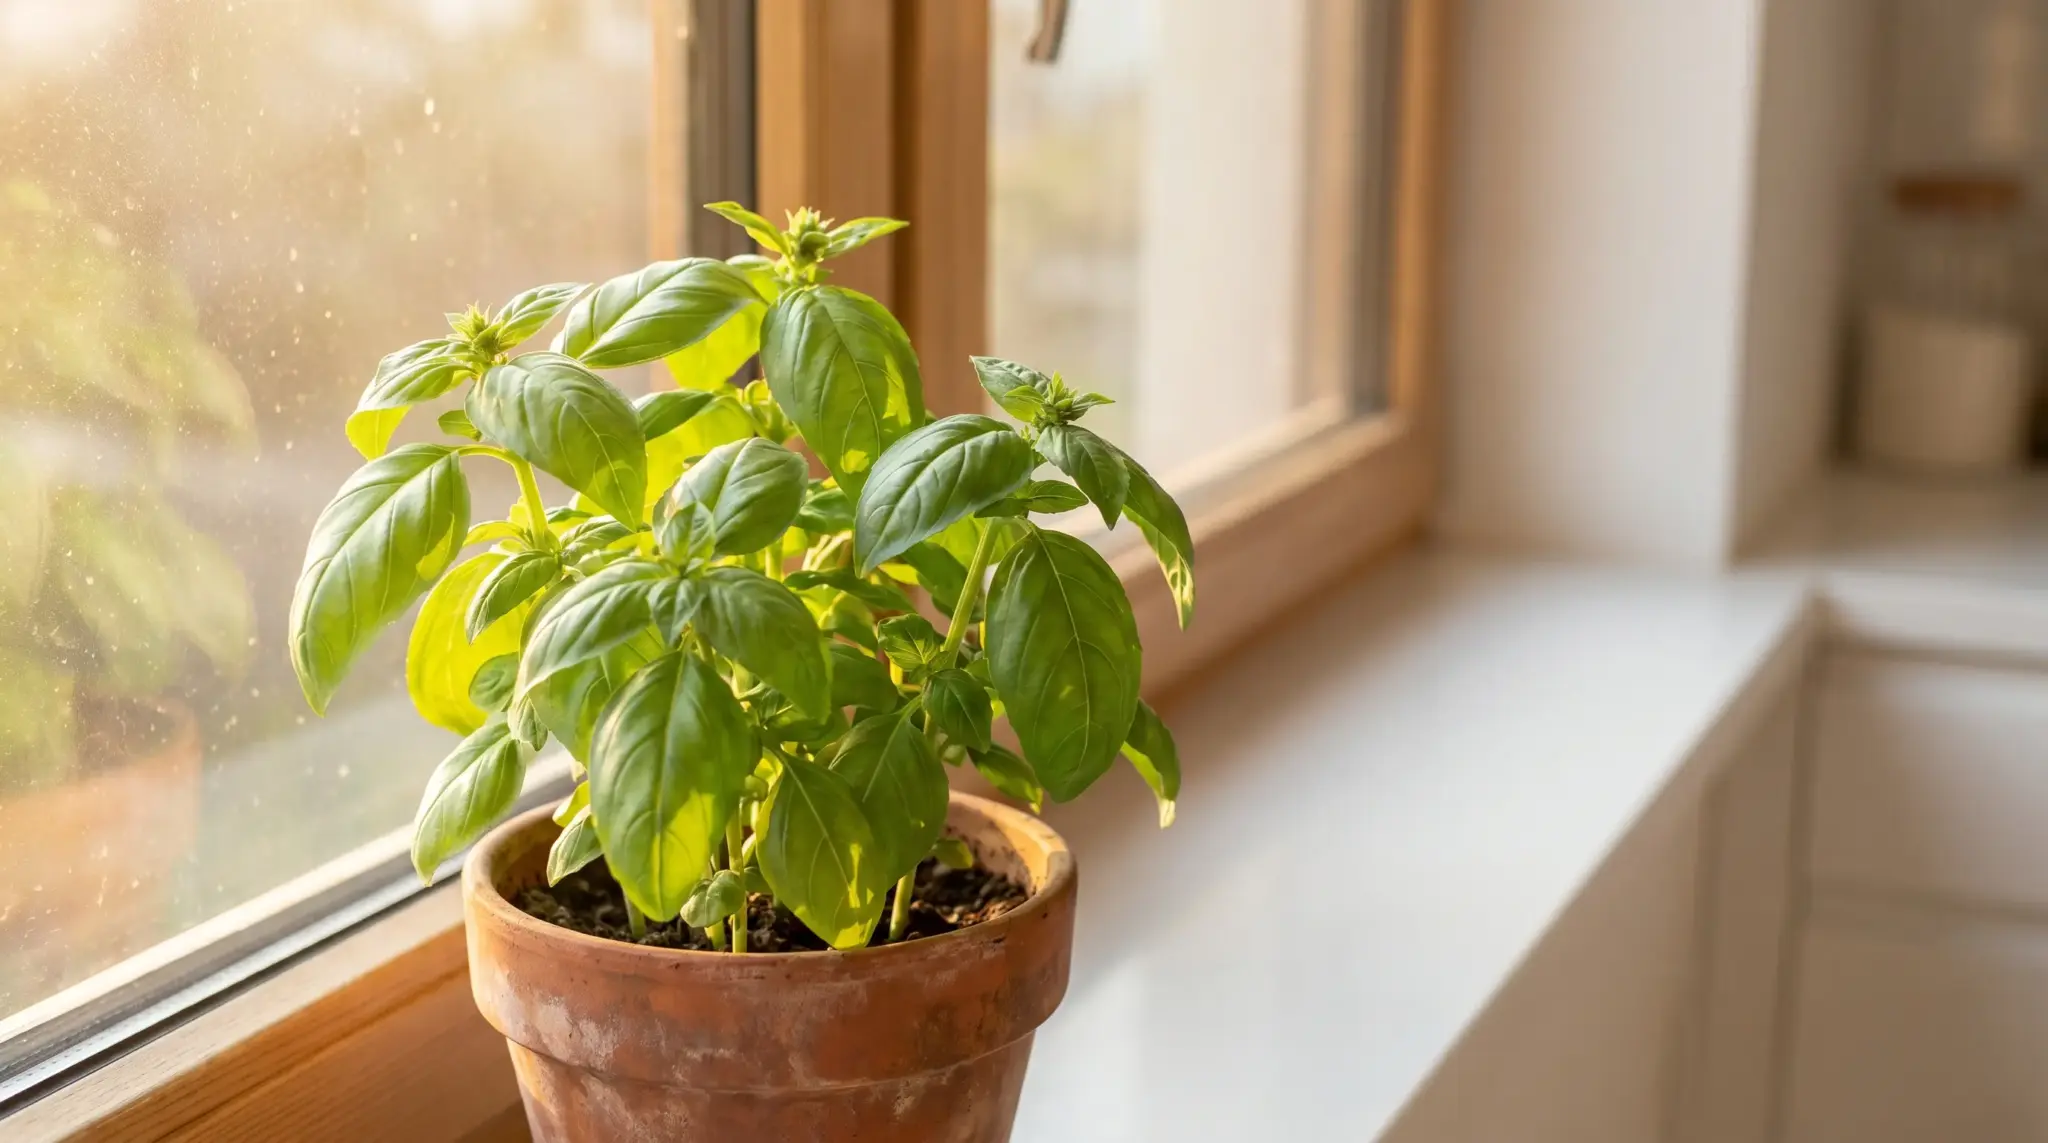


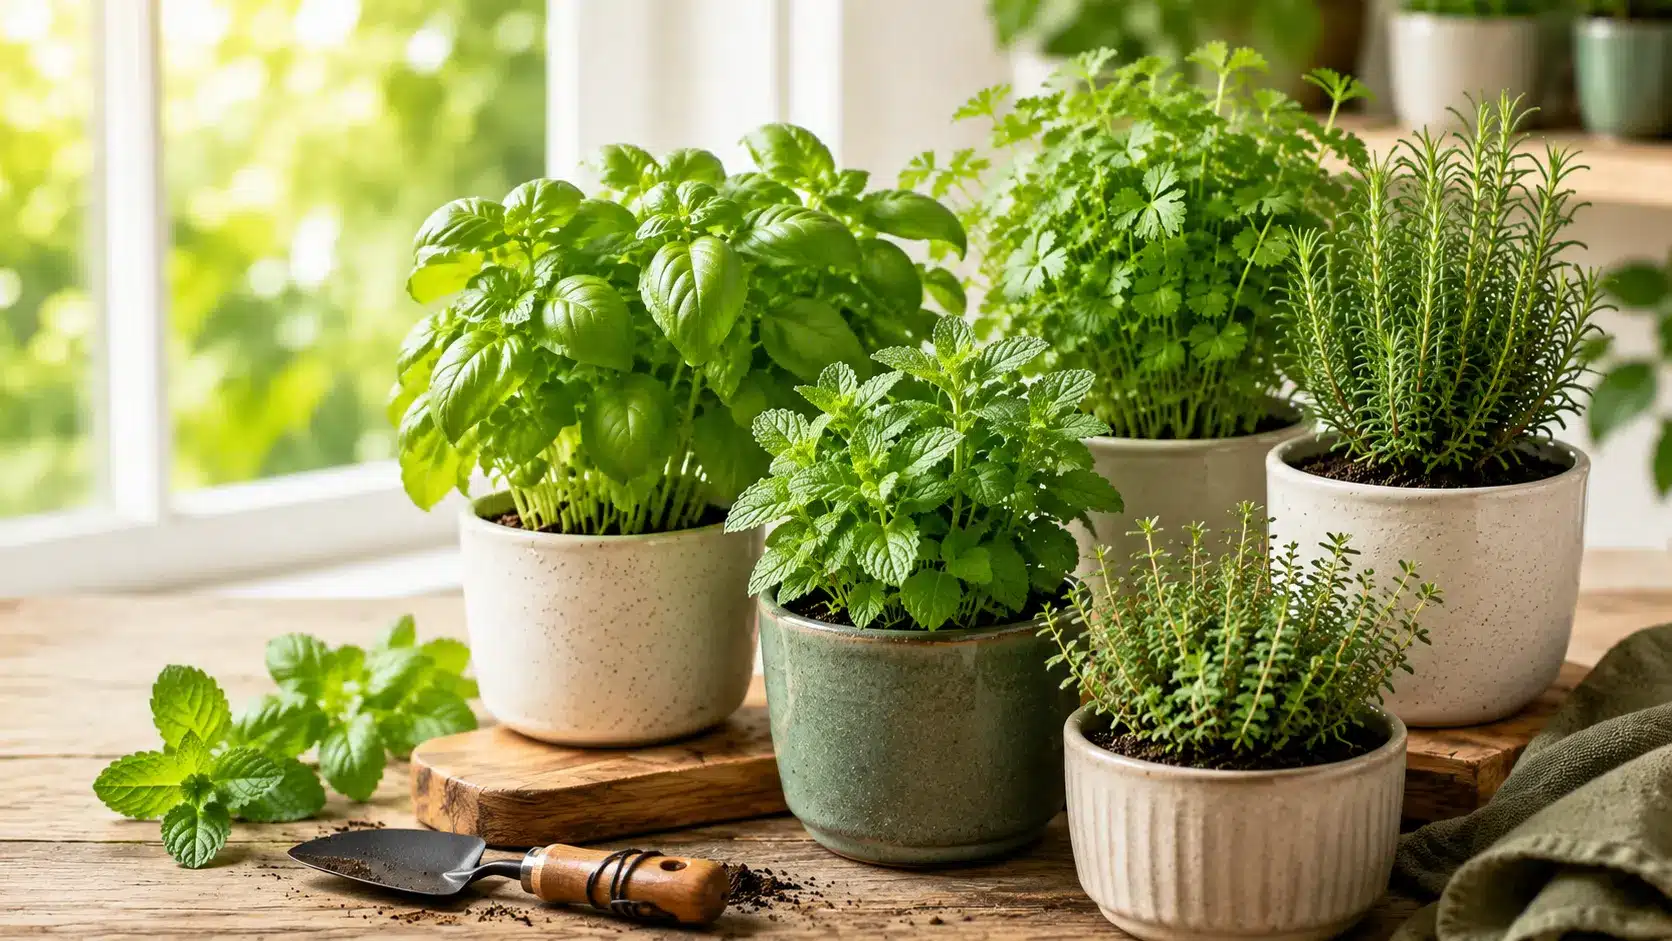
Growing herbs indoors can be tricky when they get too tall, suddenly start to wilt, or develop yellow leaves even if you care for them carefully.
It often happens that the herbs don’t get enough light, the water doesn’t drain well anymore, the pots are too tight, or you water all the herbs at the same time.
If you find ways to boost herbs, you can avoid those problems; you don’t need much space to grow herbs indoors. Even a small setup lets you grow a range of herbs to use all the time.
Benefits of Growing Herbs Indoors
Indoor herbs are cleaner to harvest in small amounts for eating rather than buying huge packaged bunches that can break down before consumption.
They also allow people to produce fresh components in their house without a garden, balcony, or yard.
The containers will provide additional management for first-class soils, drainage, watering, and pest control. This makes it easier to rotate individual plants and respond quickly when problems are perceived.
A small indoor herb garden serves as a first-class ingredient, while herbs are often used in cooking.
How to Grow Herbs at Home Indoors?
These steps will help you set up your garden from start to finish, such as finding the right light, planting, watering, and keeping your herbs healthy.
Step 1: Check the Location Where Your Herbs Will Grow
First, you’ll need to look at the nearest location where you’ll be placing your herbs. Look out the window. Check how many hours of sunlight you get each day.
Also, check whether there are any heating vents or drafts from the air conditioner that could be affecting your herbs.
Make sure the glass doesn’t get too hot in the summer or too cold in the winter.
You should also check whether there is an outlet nearby if you want to use grow lights. Measure the distance to make sure the herbs and lights fit properly.
Step 2: Choose Two or Three Herbs that Perform Well
Choose two or three herbs that you intend to grow in the light you have and that you will use regularly. Think about how big they get and what kind of water they want.
Some herbs, such as peppermint, prefer their own container because they spread quickly.
Do not plant with lots of water-loving herbs (basil, parsley) and drought-loving herbs (rosemary, thyme).
Step 3: Get the Right Containers
Get containers with holes in the bottom to allow water to drain out. Place an underlayment under each area to protect the base.
Choose a box that is really the right size for the herb you are planting. Some herbs need more water than others, so keep them in separate containers.
You can also use a hydroponic machine if you wish. Most herbs can be started in containers, but a few, like parsley and rosemary, need deep pots.
Step 4: Prepare the Soil
Use potting mix for indoor plants, not soil from outside the lawn. This mixture will not compact too much. It will drain nicely.
Add some perlite or pumice stone to help herbs like rosemary and thyme.
Fill the box with soil. Leave a little space at the top. This prevents water and soil leakage. Don’t pound the ground down firmly now.
Step 5: Plant Your Herbs
Follow the instructions on the seed packet and plant your herbs at the depth. If using a plant, water it first and control it by the roots.
If it forms a circle, loosen the roots and plant with the same intensity as before.
If you’re using herbs from the supermarket, instead of separating each stem, you can divide them into clumps.
Step 6: Water and Place Your Herbs
Water your herbs after planting, making sure excess water drains out. Empty the saucer so the roots don’t take up space in the water.
Place the herbs and move some of the areas between them to allow air circulation. Now do not place them directly against the glass until they have settled.
Step 7: Care for Your Herbs
You don’t want to try your herbs every day anymore. You have to do a lot of testing on them before they get caught up in a case, before it goes to extremes.
Check the herbs daily for wilting and insects.
Check the herbs every week to see if the soil is dry and rotate the pots. Remove damaged paper. Get some mature herbs and fruits.
Check the herbs every month to see if the roots are good, and clean the light fixtures. Check whether your herbs need fertilizer or are becoming overcrowded.
Once you have your indoor lawn established, you need to decide what herbs to plant.
Signs Your Indoor Herbs Are Growing Well
Healthy herbs show several visible signs that the light, watering routine, and container setup are working properly.
- New leaves appear regularly
- Stems remain compact rather than stretched
- Water drains freely from the pots
- Leaves retain their normal color and aroma
- New growth appears after harvesting
- The soil surface remains free from mold
Best Herbs to Grow Indoors
Herbs have different needs when it comes to light, water, growth, and harvesting. The following are practical options for growing in containers, harvesting regularly, and using in cooking.
1. Basil
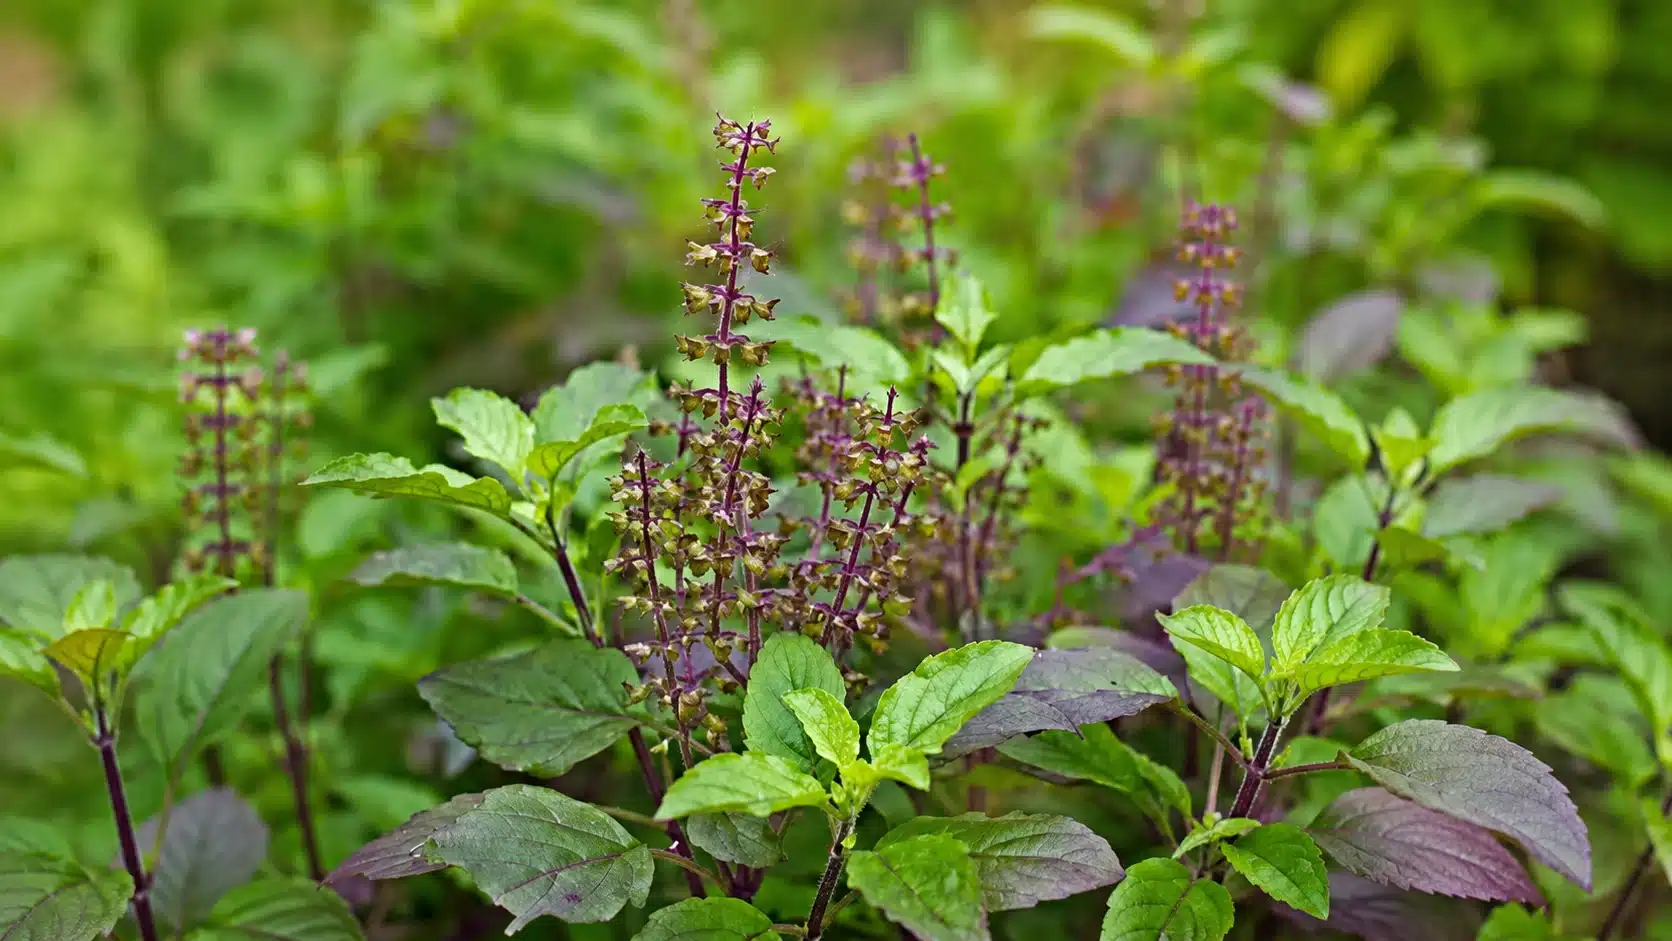
Basil plants like warmth, bright light, and steady moisture. Pinch the stem above the leaf pairs to help it grow fuller, and remove flower buds to encourage leaf growth.
- Light needs: At least six hours of strong light
- Soil preference: Lightly moist potting mix that drains well
- Approximate first small harvest: 4 to 6 weeks from seed
- Harvest: Cut above a leaf pair and take no more than one-third of the plant at once.
- Kitchen uses: Pesto, pasta, pizza, salads, sandwiches, and sauces.
2. Mint
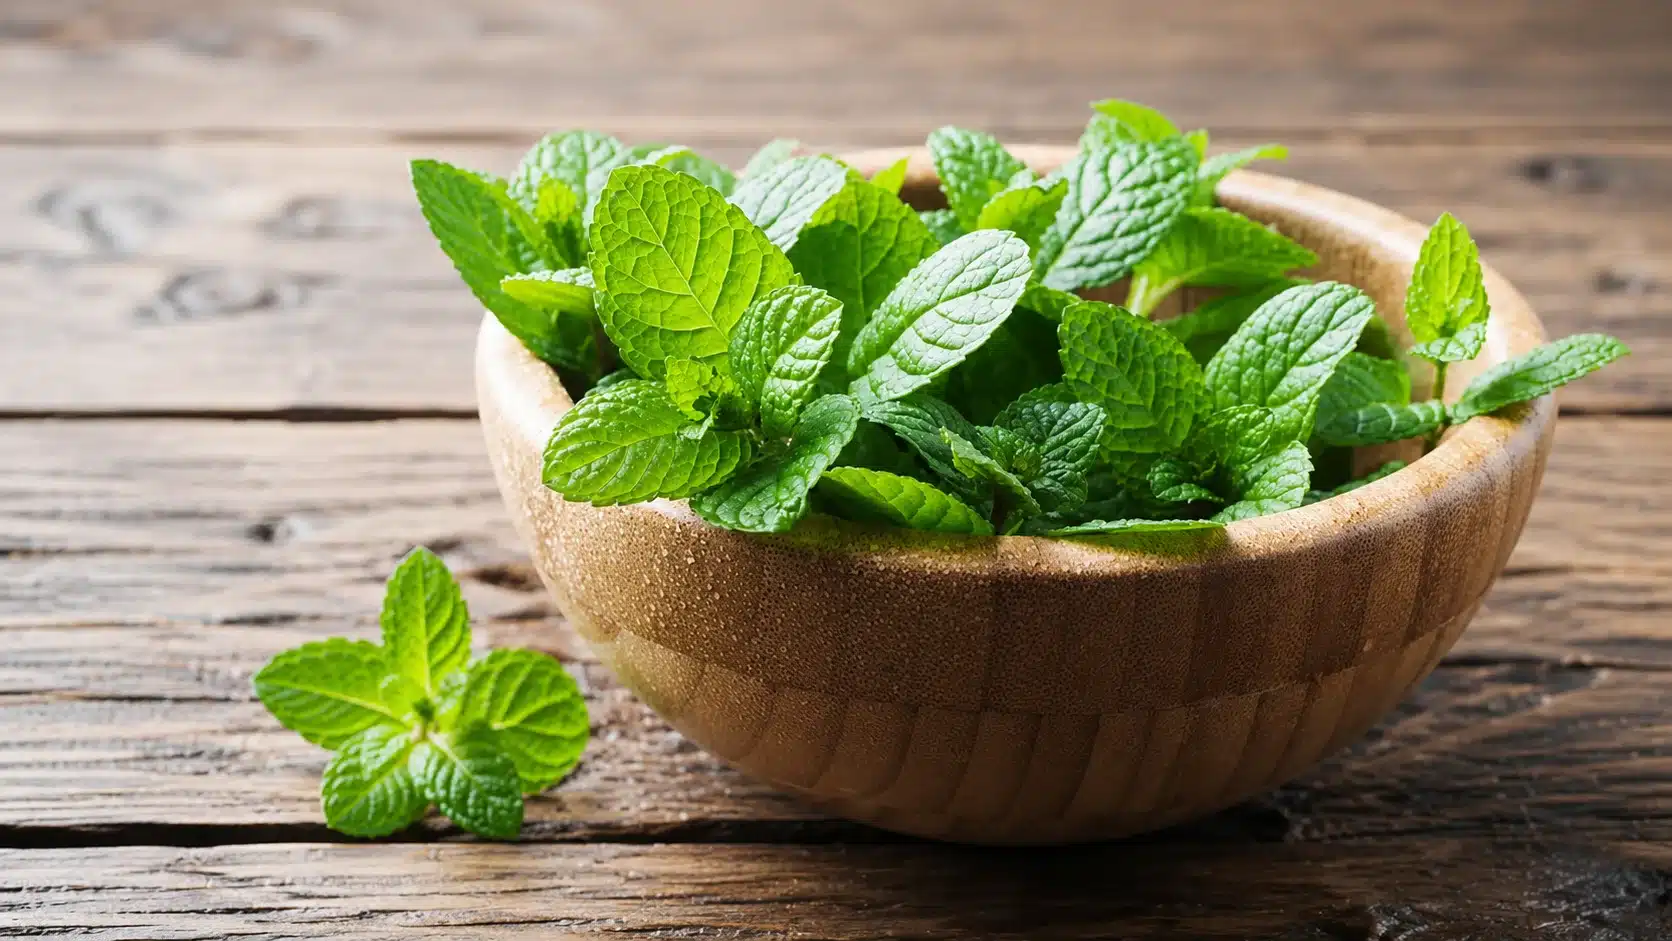
Mint grows fast. It can tolerate lower light than some other herbs. Keep it in its pot because its roots and stems can crowd out other plants.
- Light needs: Moderate to light
- Soil preference: Evenly moist soil that drains well
- Approximate first small harvest: 6 to 8 weeks from seed
- Harvest: Cut stems above a leaf node to encourage new growth.
- Kitchen uses: Tea, lemonade, yogurt, fruit, desserts, and sauces.
3. Chives
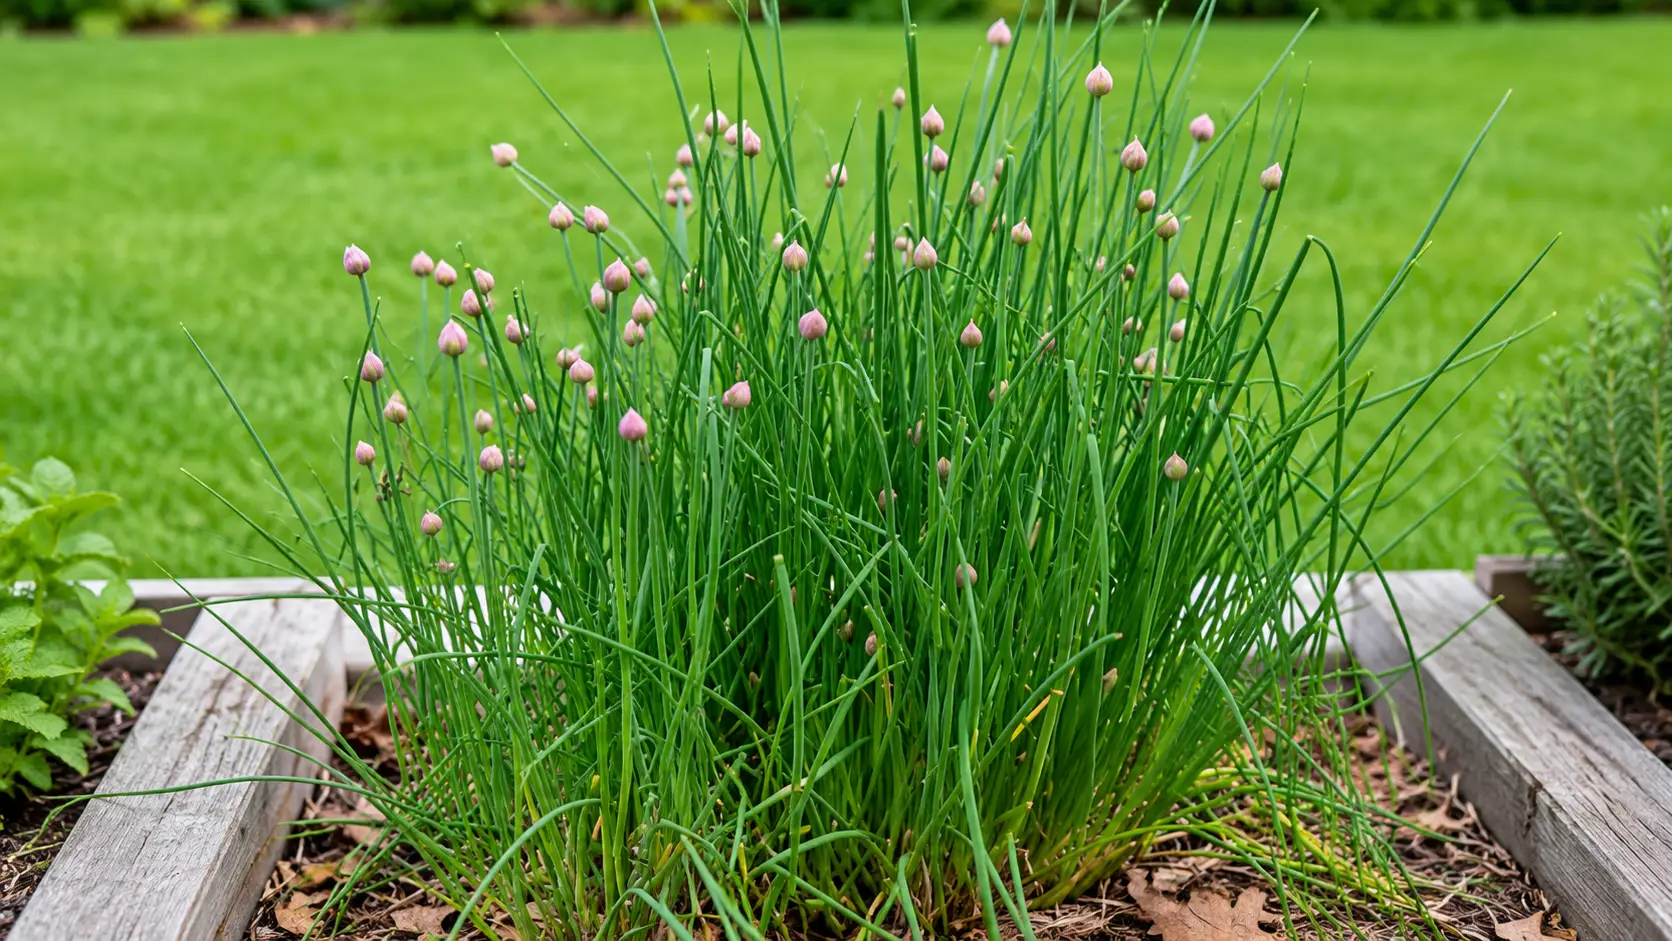
Chives remain compact and quickly produce fresh leaves after cutting. Keep the soil lightly moist, since prolonged dryness can slow growth and weaken regrowth.
- Light needs: Moderate to light
- Soil preference: Lightly moist soil with good drainage
- Approximate first small harvest: 6 to 8 weeks from seed
- Harvest: Snip the leaves a few inches above the soil line rather than pulling them from the base.
- Kitchen uses: Eggs, potatoes, soups, dips, salads, and savory spreads.
4. Parsley
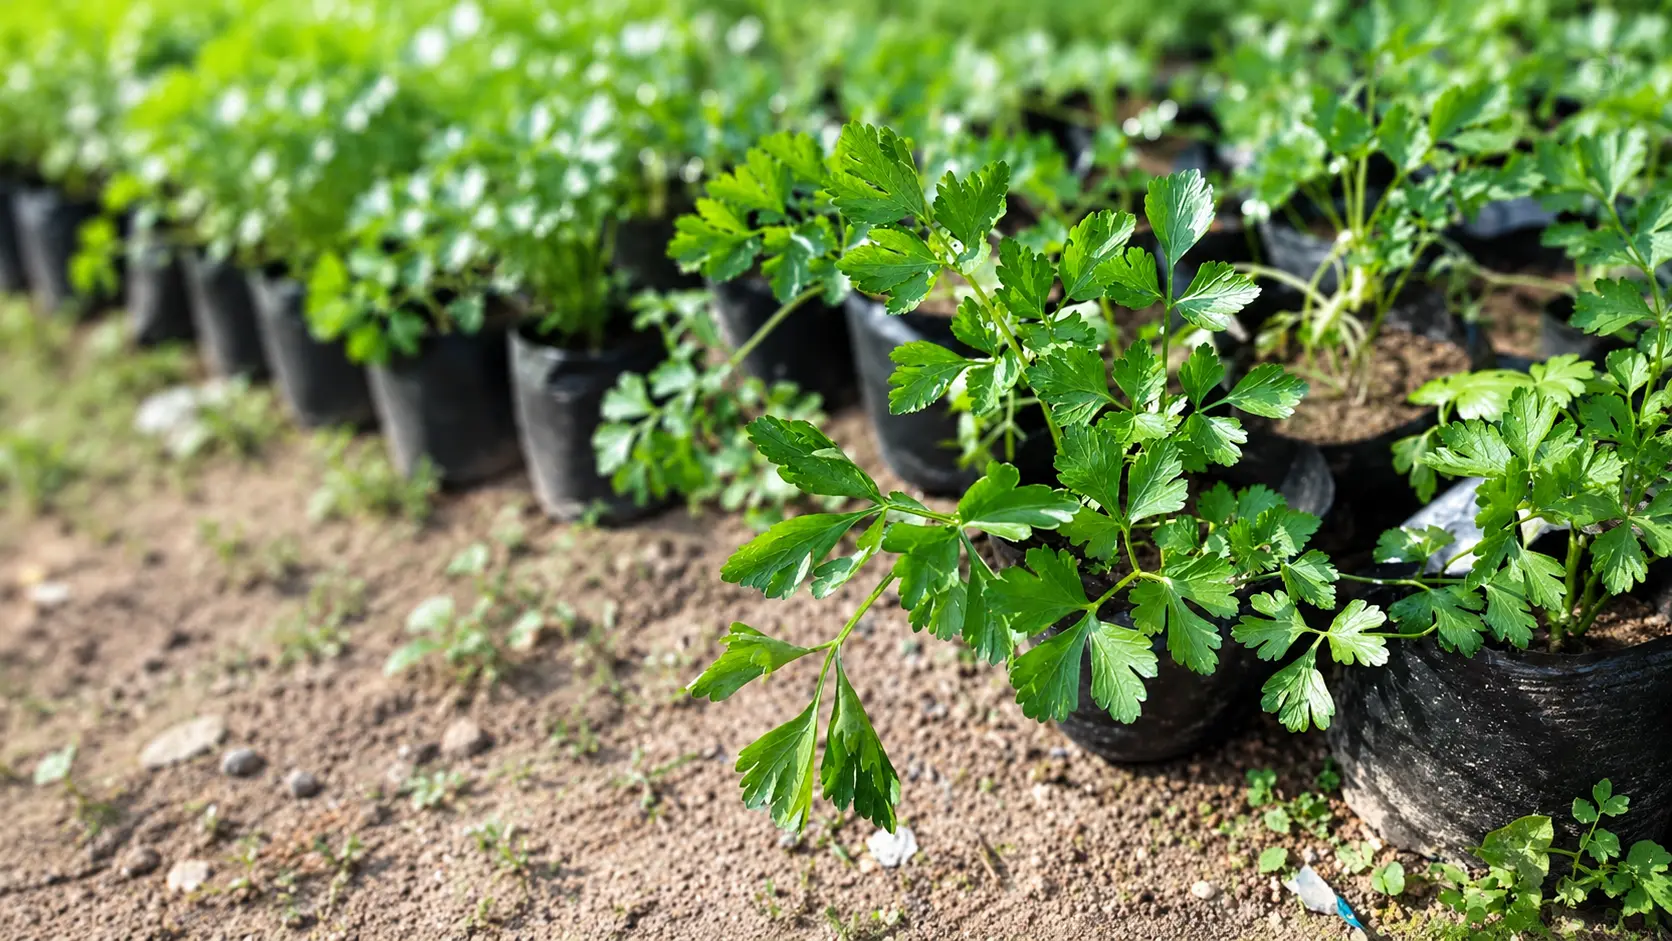
Parsley germinates slowly but can remain productive for several months. Keep the potting mix evenly moist without allowing the roots to sit in water.
- Light needs: Light
- Soil preference: Evenly moist, loose potting mix
- Approximate first small harvest: 8 to 12 weeks from seed
- Harvest: Remove the outer stems first so new leaves can grow from the center.
- Kitchen uses: Sauces, soups, grains, salads, pasta, and garnishes.
5. Cilantro
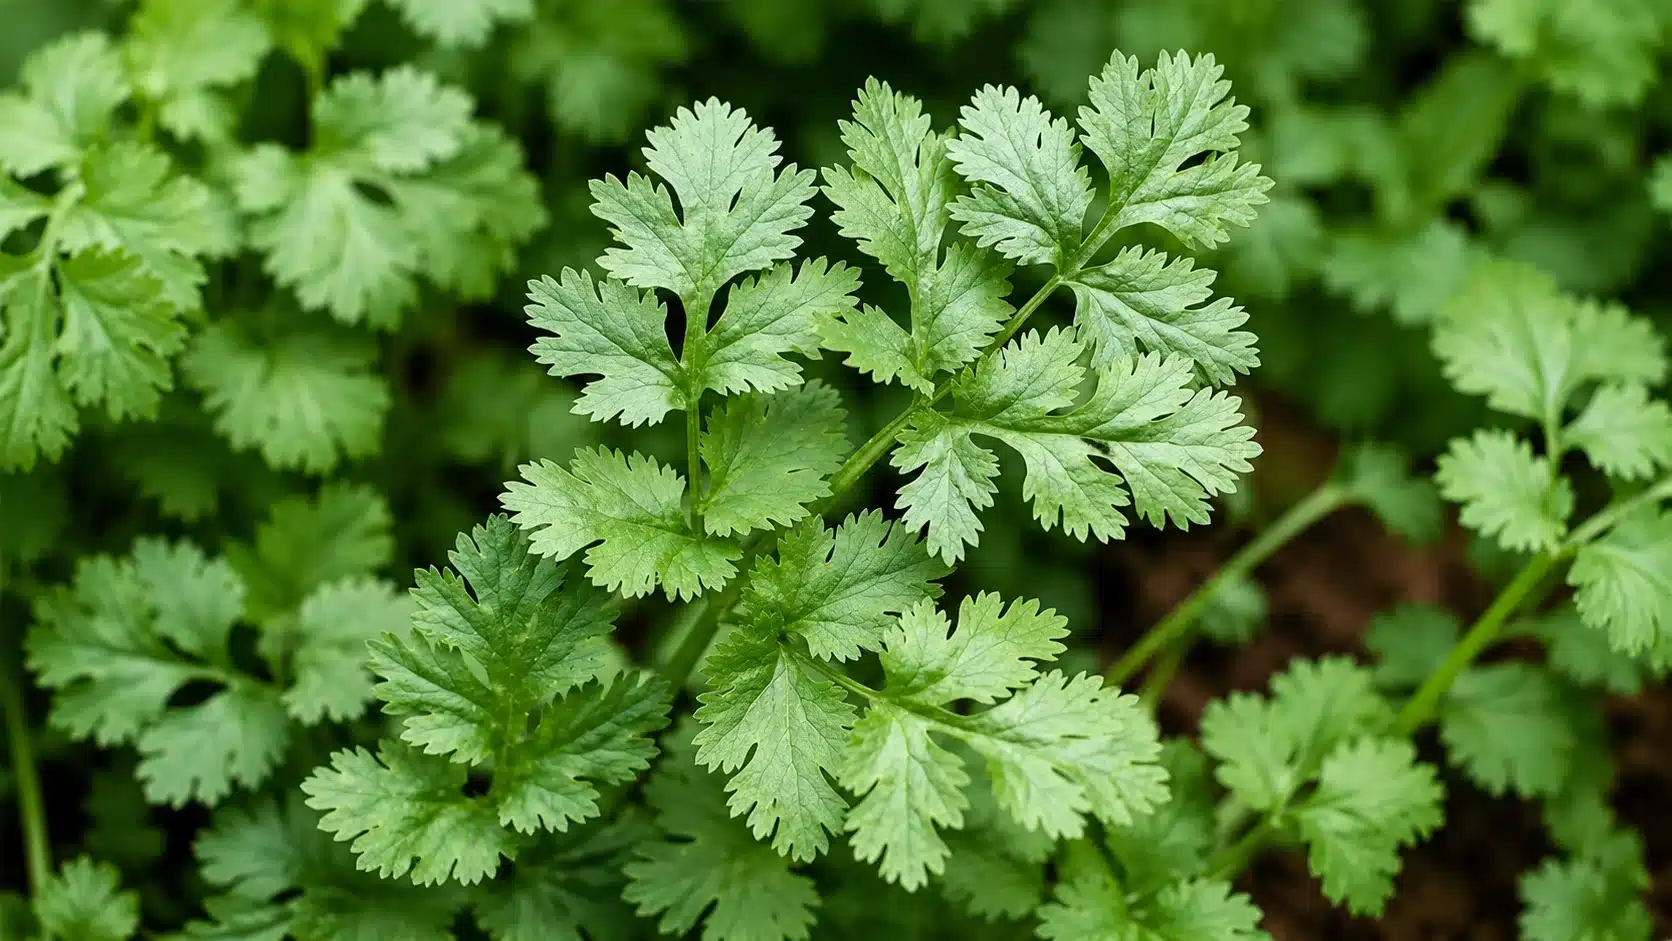
Cilantro grows quickly but tends to flower early. Sow small batches every few weeks to maintain a steady supply of fresh leaves.
- Light needs: Light
- Soil preference: Evenly moist, well-draining soil
- Approximate first small harvest: 4 to 6 weeks from seed
- Harvest: Cut the outer stems once the plant has enough healthy leaves.
- Kitchen uses: Salsa, tacos, chutneys, rice dishes, curries, and salads.
6. Thyme
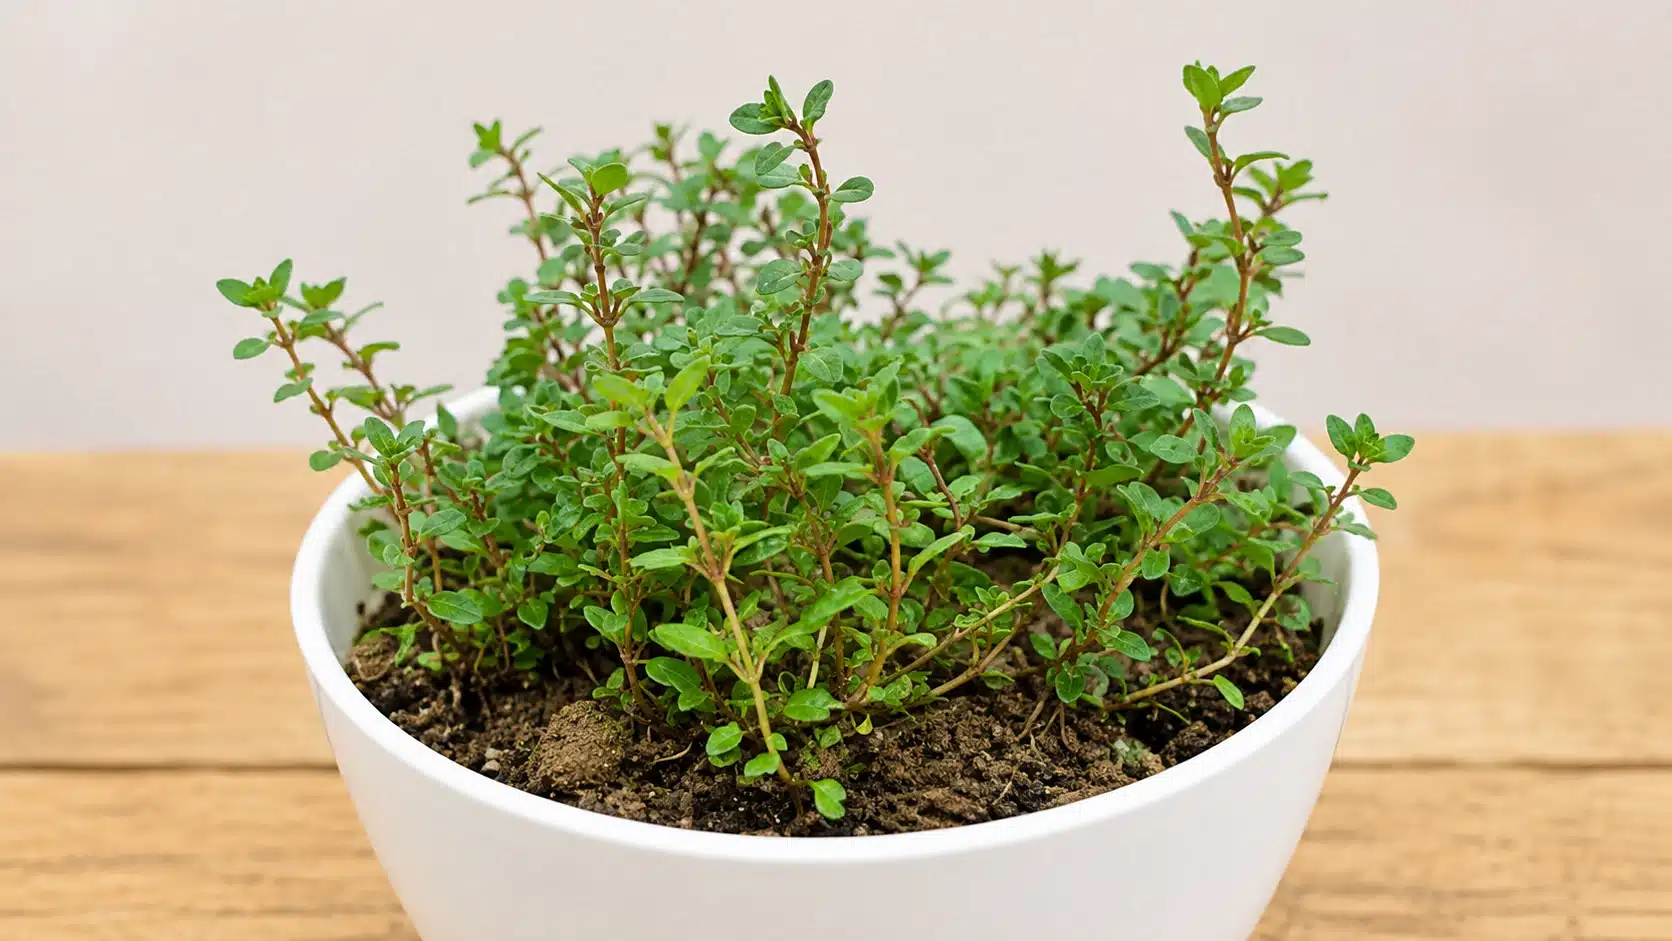
Thyme needs light and fast-draining soil. Let the soil dry slightly between waterings and trim the tips regularly to keep growth compact.
- Light needs: Light
- Soil preference: Fast-draining soil that partially dries
- Approximate first small harvest: 10 to 12 weeks from seed
- Harvest: Cut young sprigs without removing too much woody growth.
- Kitchen uses: Vegetables, poultry, soups, sauces, beans, and roasted dishes.
7. Oregano
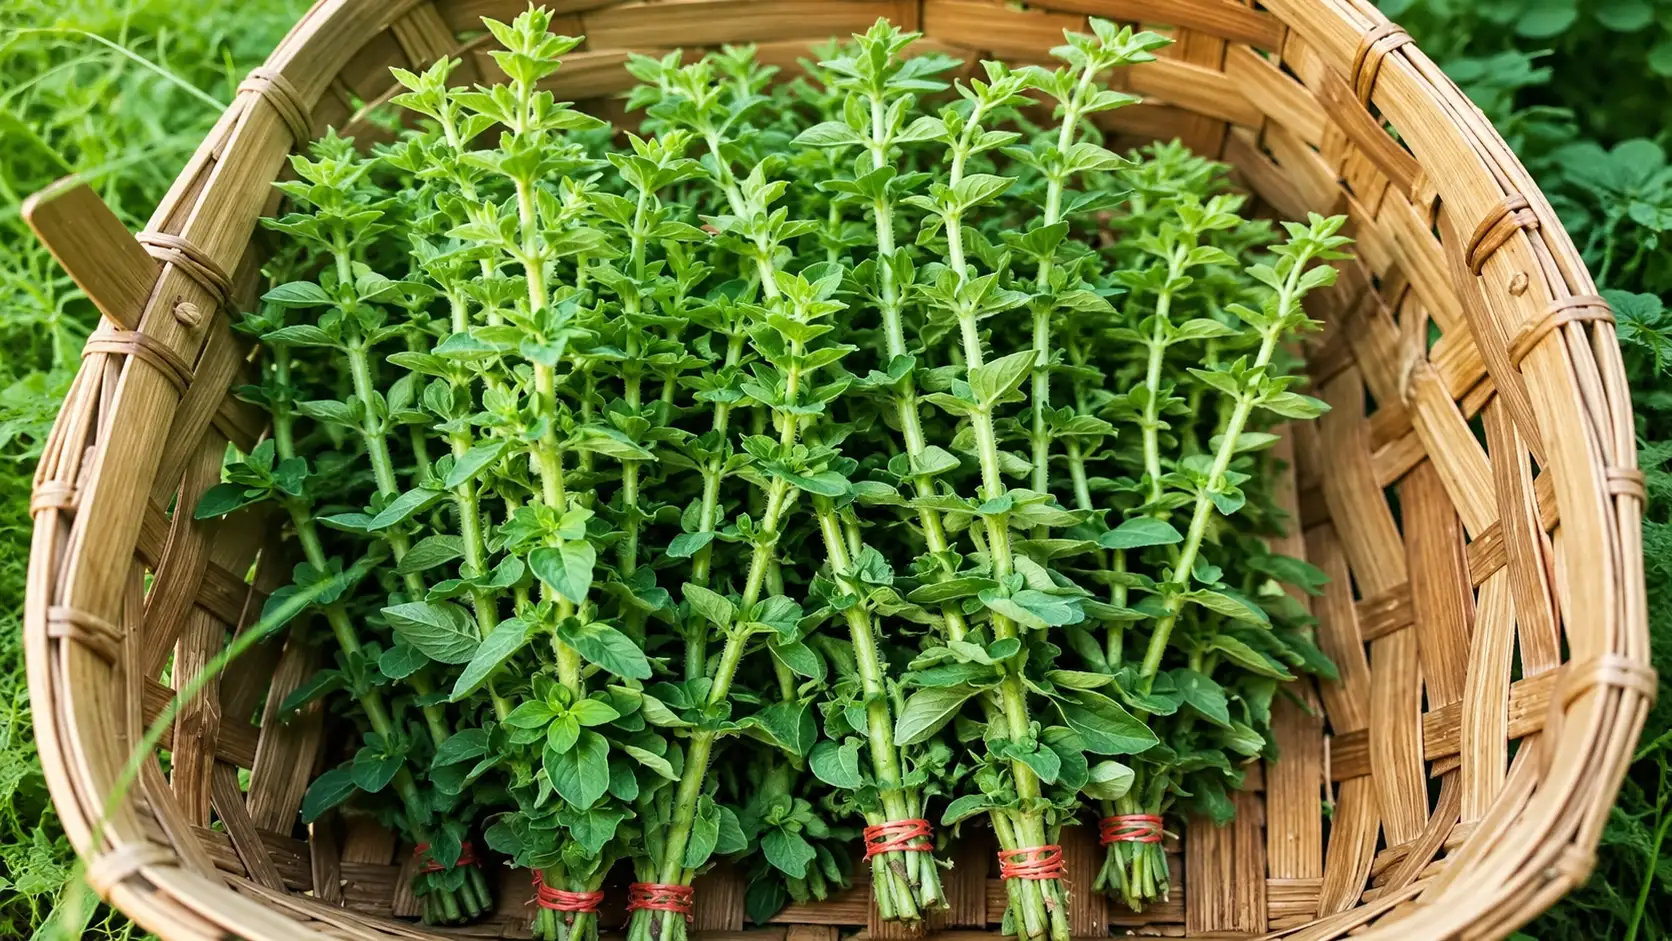
Oregano grows best in bright light with careful watering. Trim the tips regularly to encourage leafy growth and prevent the stems from becoming overly woody.
- Light needs: Light
- Soil preference: Well-draining soil that dries slightly
- Approximate first small harvest: 8 to 10 weeks from seed
- Harvest: Cut stems above a leaf node and leave enough leaves for recovery.
- Kitchen uses: Pasta sauce, pizza, roasted vegetables, marinades, and soups.
8. Rosemary
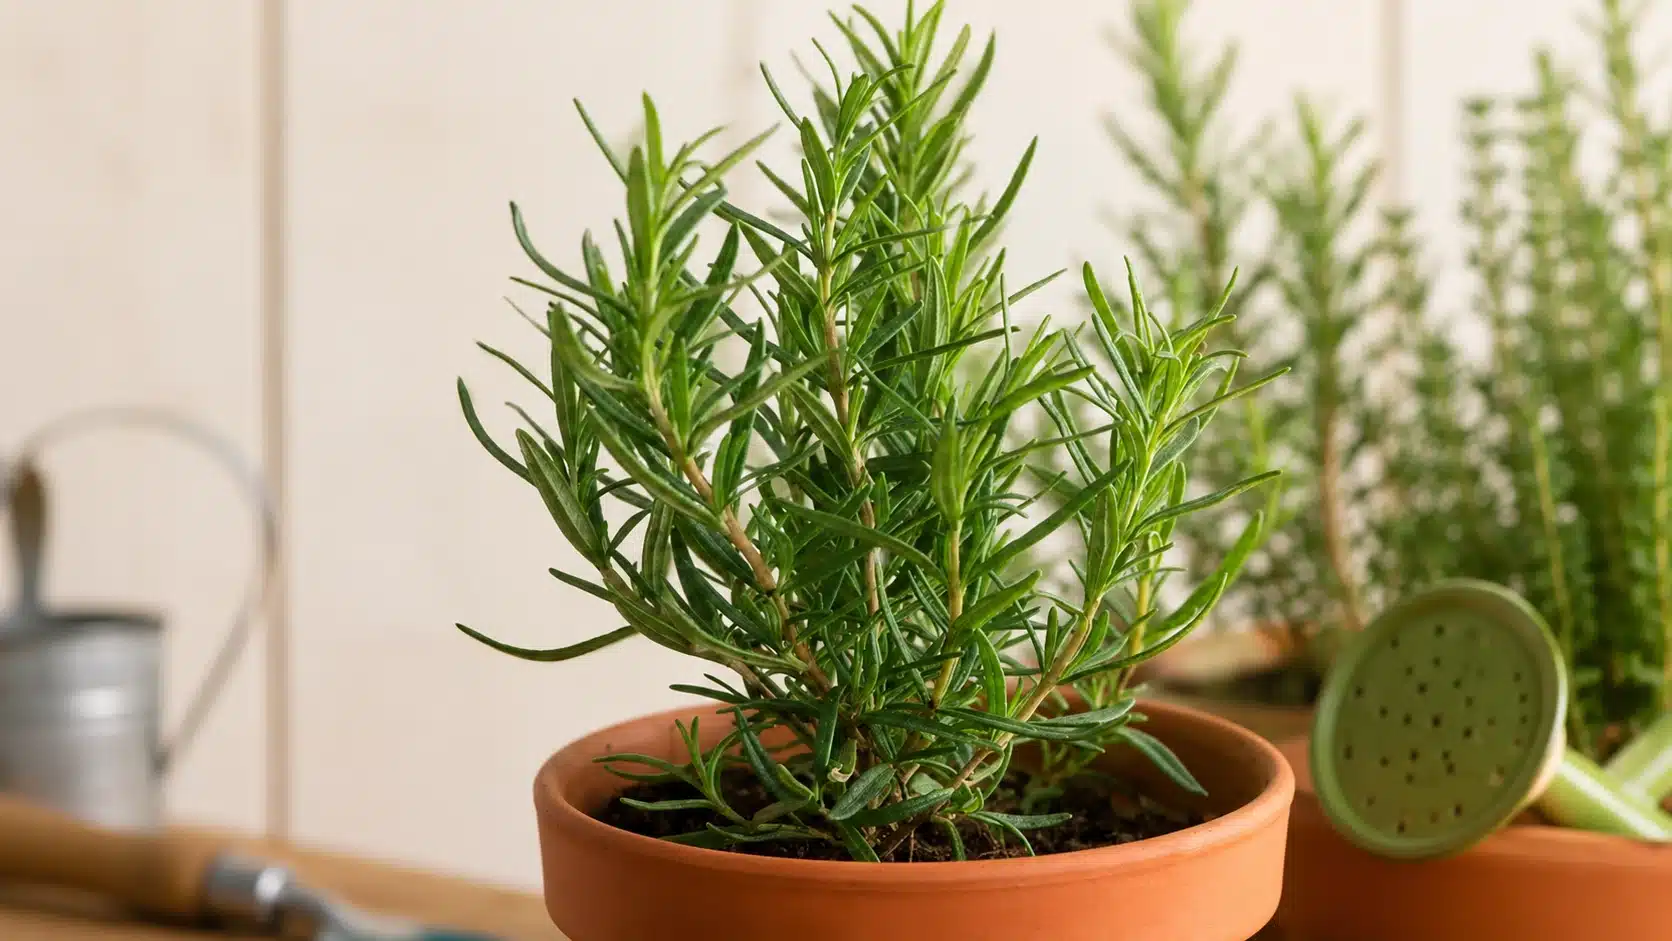
Rosemary needs light, steady airflow, and careful watering. Avoid pots and constantly damp soil, which can damage its roots. Rosemary is usually faster and easier to grow from a plant or cutting than from seed.
- Light needs: Bright light
- Soil preference: Fast-draining soil with partial drying
- Approximate first small harvest: several months from seed
- Harvest: Trim soft stem tips without cutting deeply into old woody growth.
- Kitchen uses: Bread, potatoes, poultry, roasted vegetables, and marinades.
Storing Extra Herbs
Store extra herbs according to their texture and how soon they will be used.
Wrap soft herbs, such as cilantro, parsley, mint, and basil, loosely in a damp paper towel. Place them inside a sealed container or reusable bag and refrigerate.
Cut herbs can also be kept upright in a jar with a small amount of water, similar to fresh flowers. Change the water every few days to maintain freshness.
Freeze tender herbs in chopped portions, water, oil, or butter for soups, sauces, and cooked dishes.
When the harvest is larger than needed, dry woody herbs such as thyme, oregano, rosemary, and sage. Store fully dried leaves in airtight containers away from heat and sunlight.
Where to Find Healthy Indoor Herbs?
A healthy indoor garden can start with seeds, nursery plants, divided grocery store pots, or root cuttings. The best choice depends on the price range, length of stay, types of goods, and how quickly you need new leaves.
- Starter seeds: While seed costs are low and access to more varieties is available, they take longer to reach crop size.
- Purchase of nursery plant: An initial plant shortens the waiting period but should be checked for insects, mold, damaged leaves, and tightly twisted roots.
- Divide supermarket pots: Numerous basil, parsley, and cilantro can be separated into smaller populations and transferred to a new potting mix.
- Root Herb Cuttings: Basil, mint, oregano, lemon balm, and rosemary can be propagated from fresh stems.
Regardless of the starting technique, carefully inspect new plants and allow grafted herbs to get well before further harvesting.
Final Takeaway
Learning how to grow herbs indoors is simpler when each plant is handled according to its own preferences. Start with some herbs that are available, mild, suitable for space, and appropriate for normal cooking.
Use pots with drainage holes, loose potting mix, and suitable windows.
Check the soil before watering, prune crooked flowers regularly, and look ahead for early signs of sensitive light, excessive moisture, or pests
One failed seed or plant does not mean the entire setup is a failure. Small adjustments make a big difference. Start by estimating the brightest inner zone, then choose two or three herbs that can only develop there.
Frequently Asked Questions (FAQs)
1. Should Indoor Herbs Be Misted?
Most indoor herbs do not need misting. Wet leaves encourage fungal growth, while airflow or a humidifier can safely improve humidity.
2. Can Self-Watering Pots Be Used for Indoor Herbs?
Self-watering pots suit basil, mint, parsley, chives, and cilantro, but Mediterranean herbs need reservoirs that let the soil dry slightly.
3. Why Do Herbs Lose Their Flavor Indoors?
Indoor herbs lose flavor from weak light, excessive fertilizer, overwatering, or delayed harvesting. Provide brighter light, lighter feeding, and trimming.
4. Can You Grow Herbs Near a Kitchen Stove?
Avoid placing herbs beside the stove, where heat, steam, grease, and temperature swings can damage leaves and dry soil unevenly.
5. Should Flower Buds Be Removed From Each Herb?
Remove flower buds from basil and similar leafy herbs to extend harvesting, but leave them when collecting seeds or flowers.