

I bought my first salad spinner because it was on sale. That’s the whole story!
No health kick, no meal prep obsession.
But then I used it wrong for months. Packed it too full, spun it once, and wondered why my lettuce still felt like it just came out of a swimming pool.
The dressing never stuck. The salad went soggy in ten minutes. I kept blaming the lettuce.
It wasn’t the lettuce!
Turns out, learning how to use a salad spinner correctly is actually a thing!
And once I got it right, my salads stopped being a disappointment and started being something I actually wanted to eat.
What is a Salad Spinner?
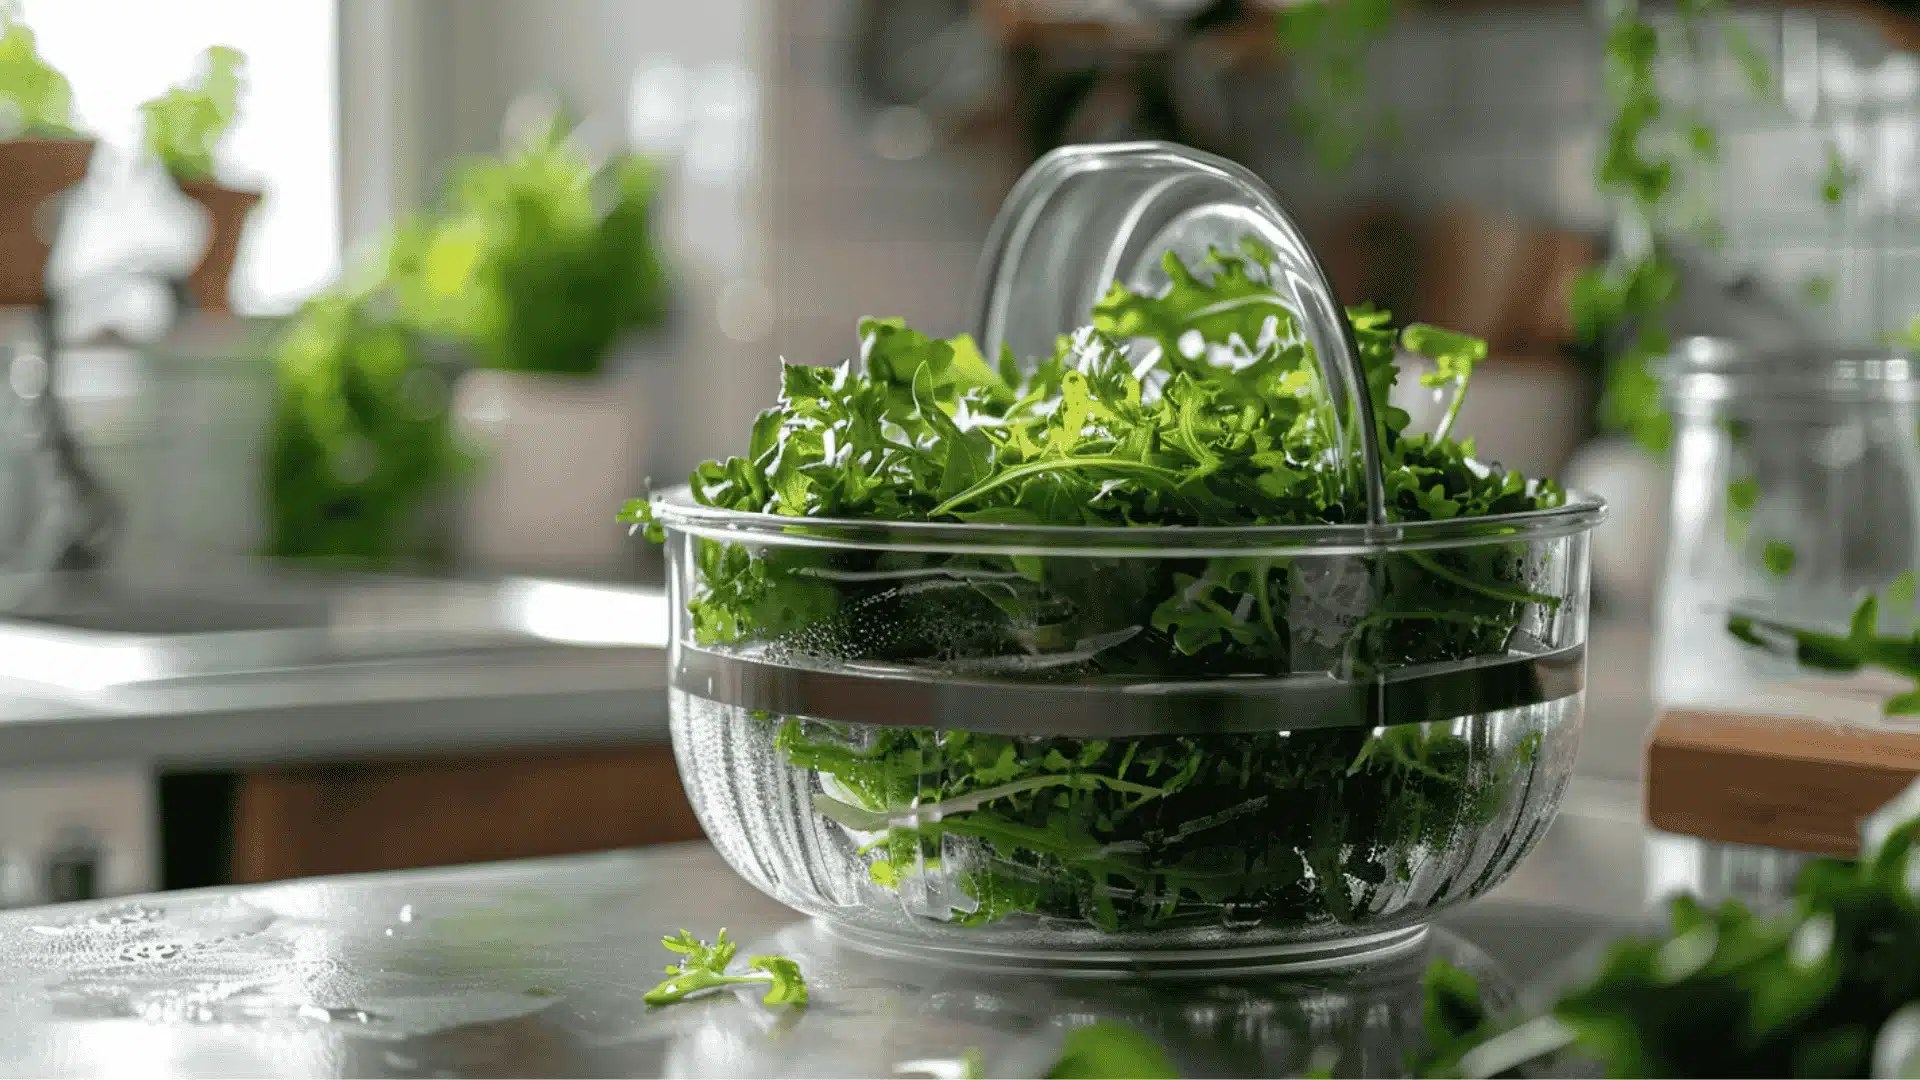
A salad spinner dries your greens after washing.
Wet greens go in the basket, you spin the lid, and the water flies off. No electricity, no complicated setup.
Spinners come with a pull cord, push button, or hand crank. Same result, different mechanism.
The outer bowl also doubles as a serving or storage bowl.
Why You Need a Salad Spinner?
Wet greens ruin everything!
A salad spinner dries greens properly in under two minutes. Dressing sticks, leaves stay crisp, salads last days without turning soggy.
Once you use one, paper towels feel like a step backward!
How to Use a Salad Spinner
Most people assume they already know how to use a salad spinner.
But there’s a bit more to it, and skipping even one step is usually why greens end up still wet.
Step 1: Rinse Your Greens First
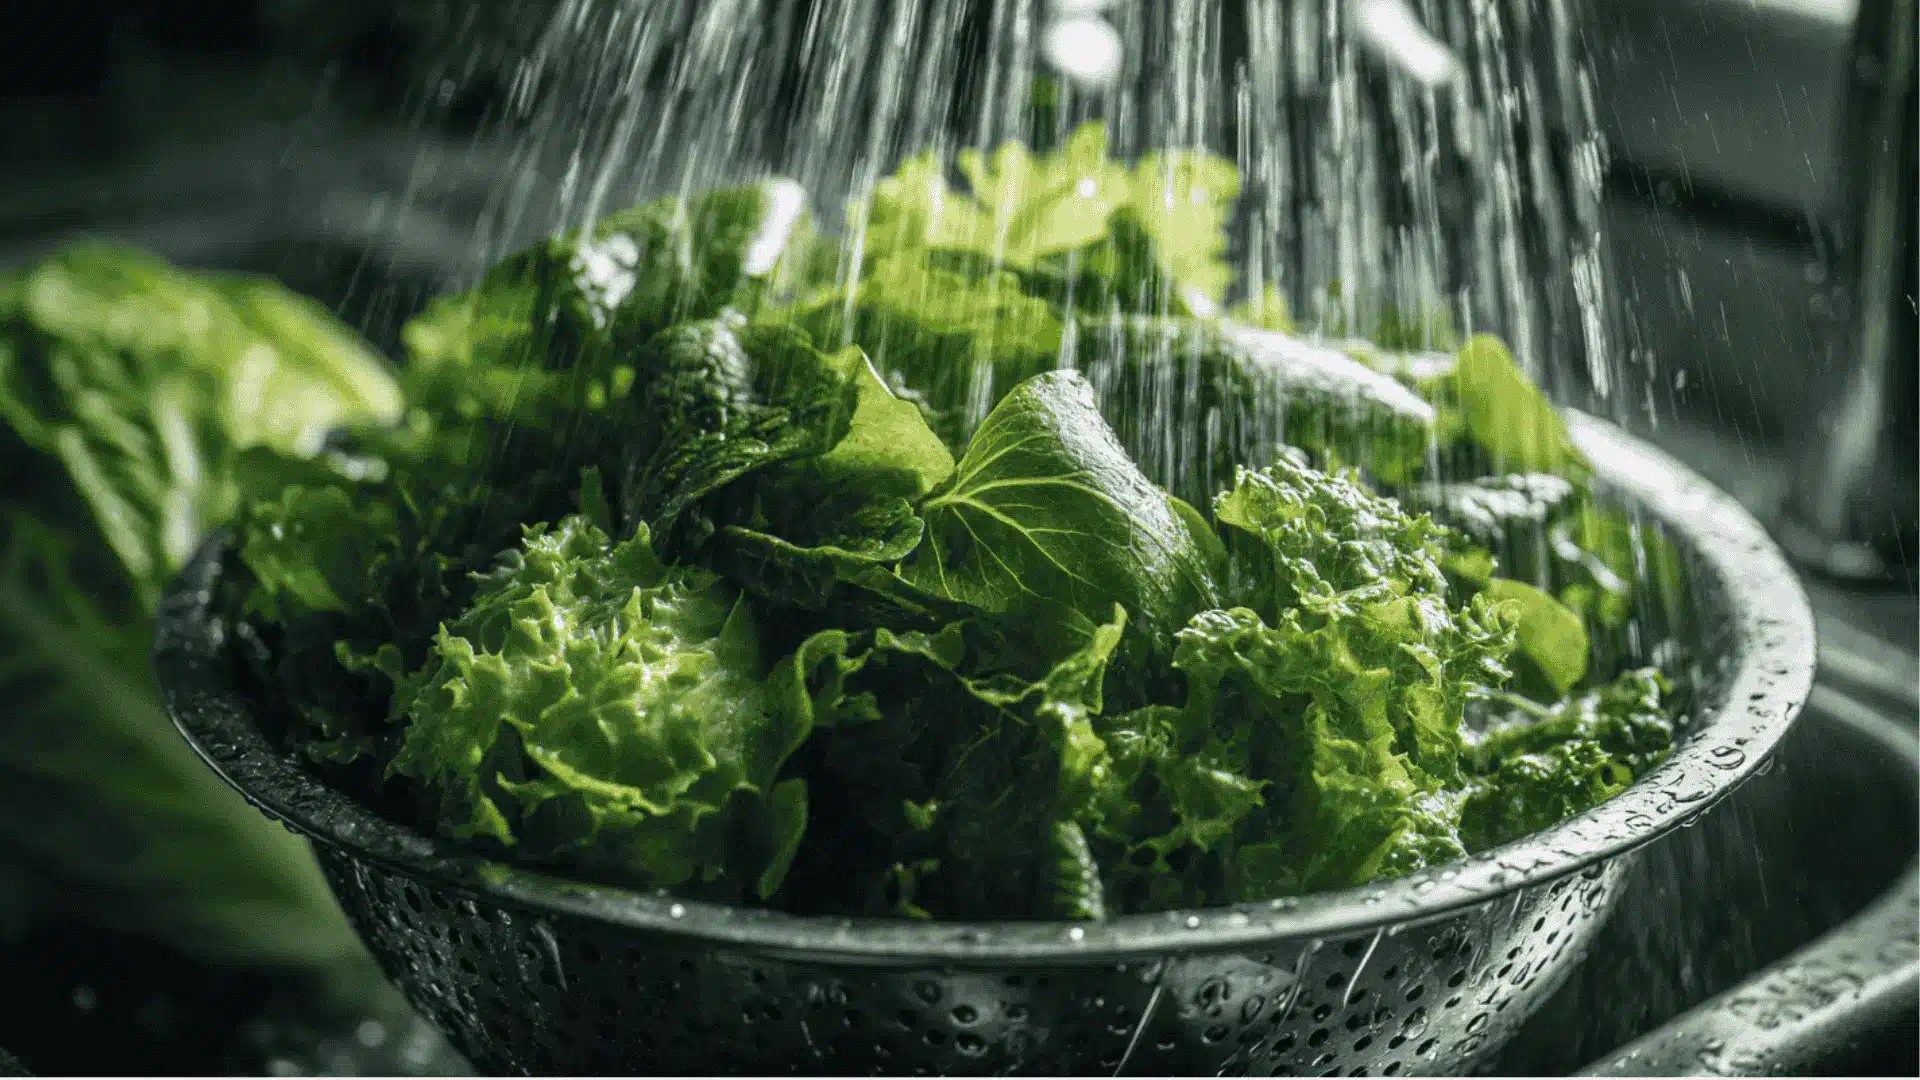
Before anything goes into the spinner, the greens need a proper rinse.
Lettuce, spinach, arugula, and herbs all carry grit, dirt, and store residue that you genuinely cannot see.
Cold water works best and keeps the leaves firm.
Step 2: Load the Basket the Right Way
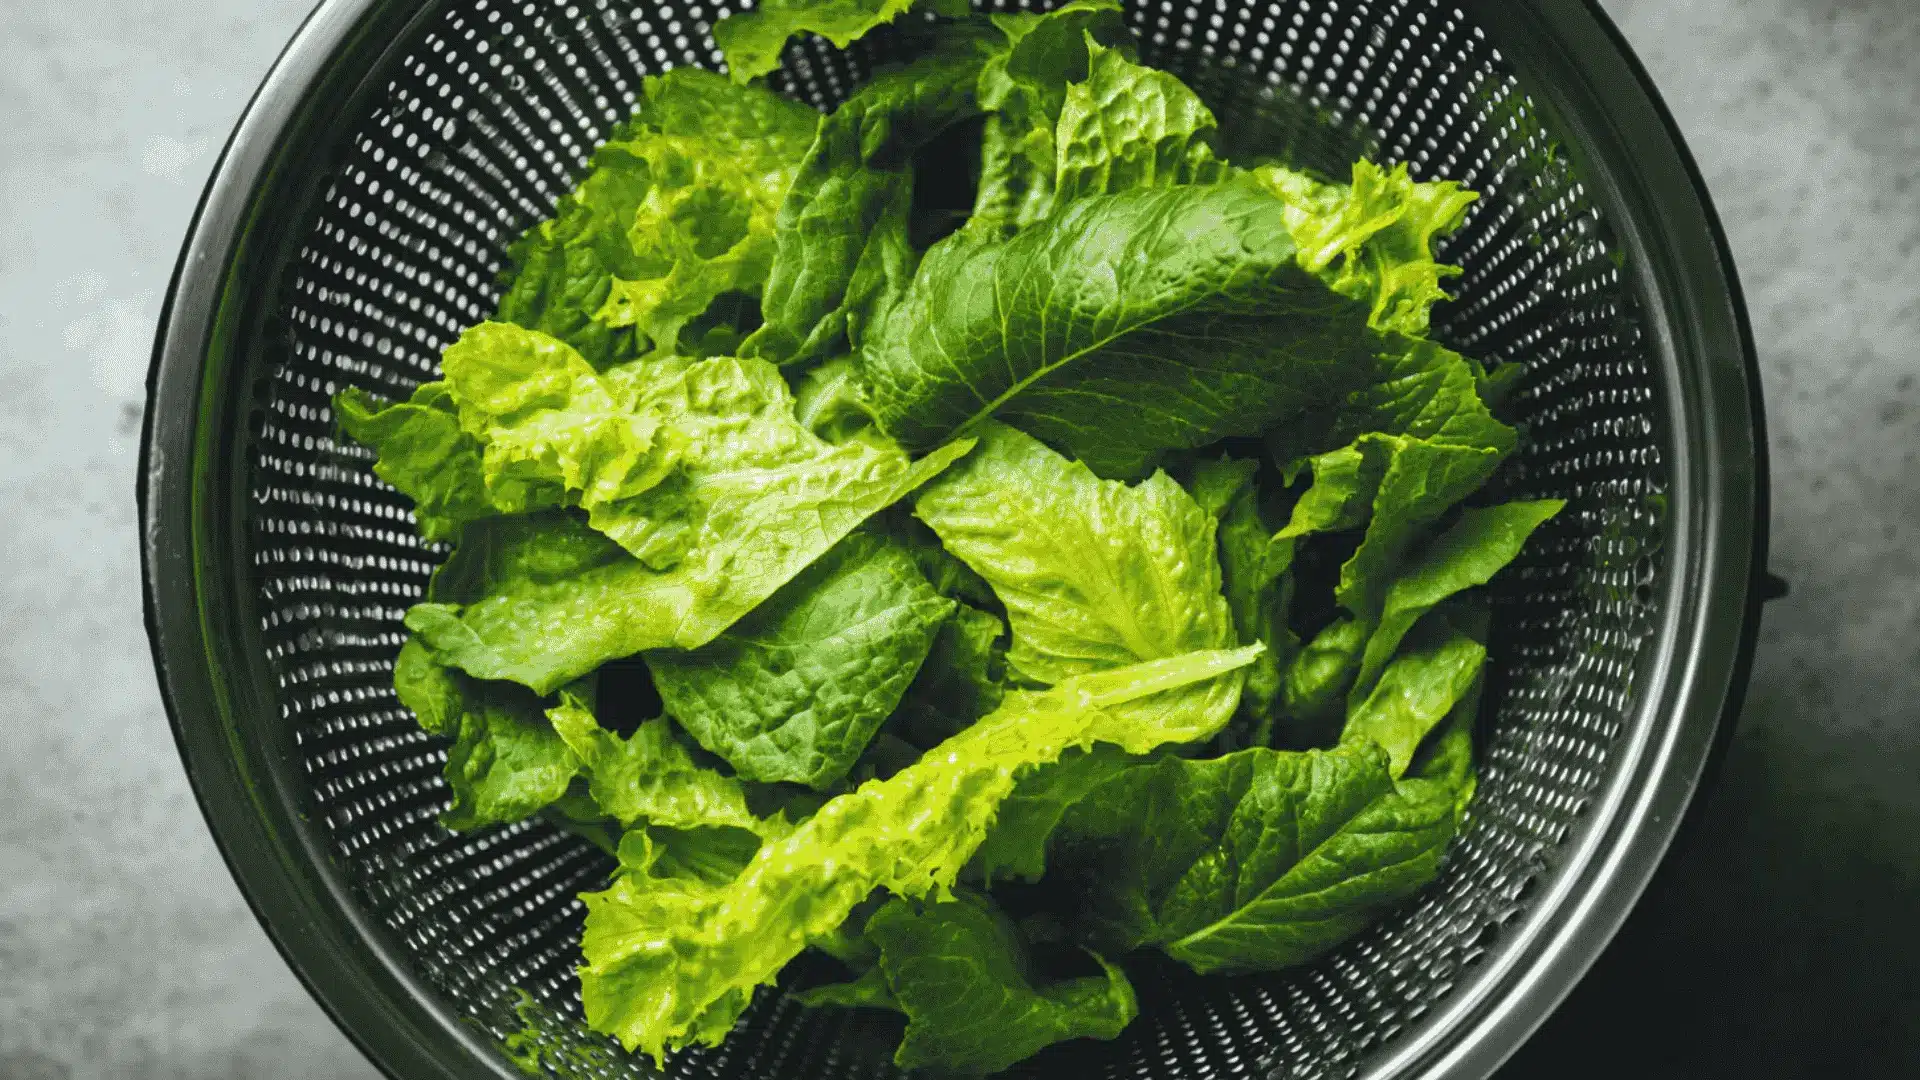
Do not pack the basket tightly. Greens need room to move, or the spinning is useless.
Tear large lettuce leaves into smaller pieces before loading and fill the basket about two thirds of the way.
Quick tip: Overloading is the most common mistake. When in doubt, do two smaller batches instead of trying to fit everything in at once.
Step 3: Lock the Lid Properly
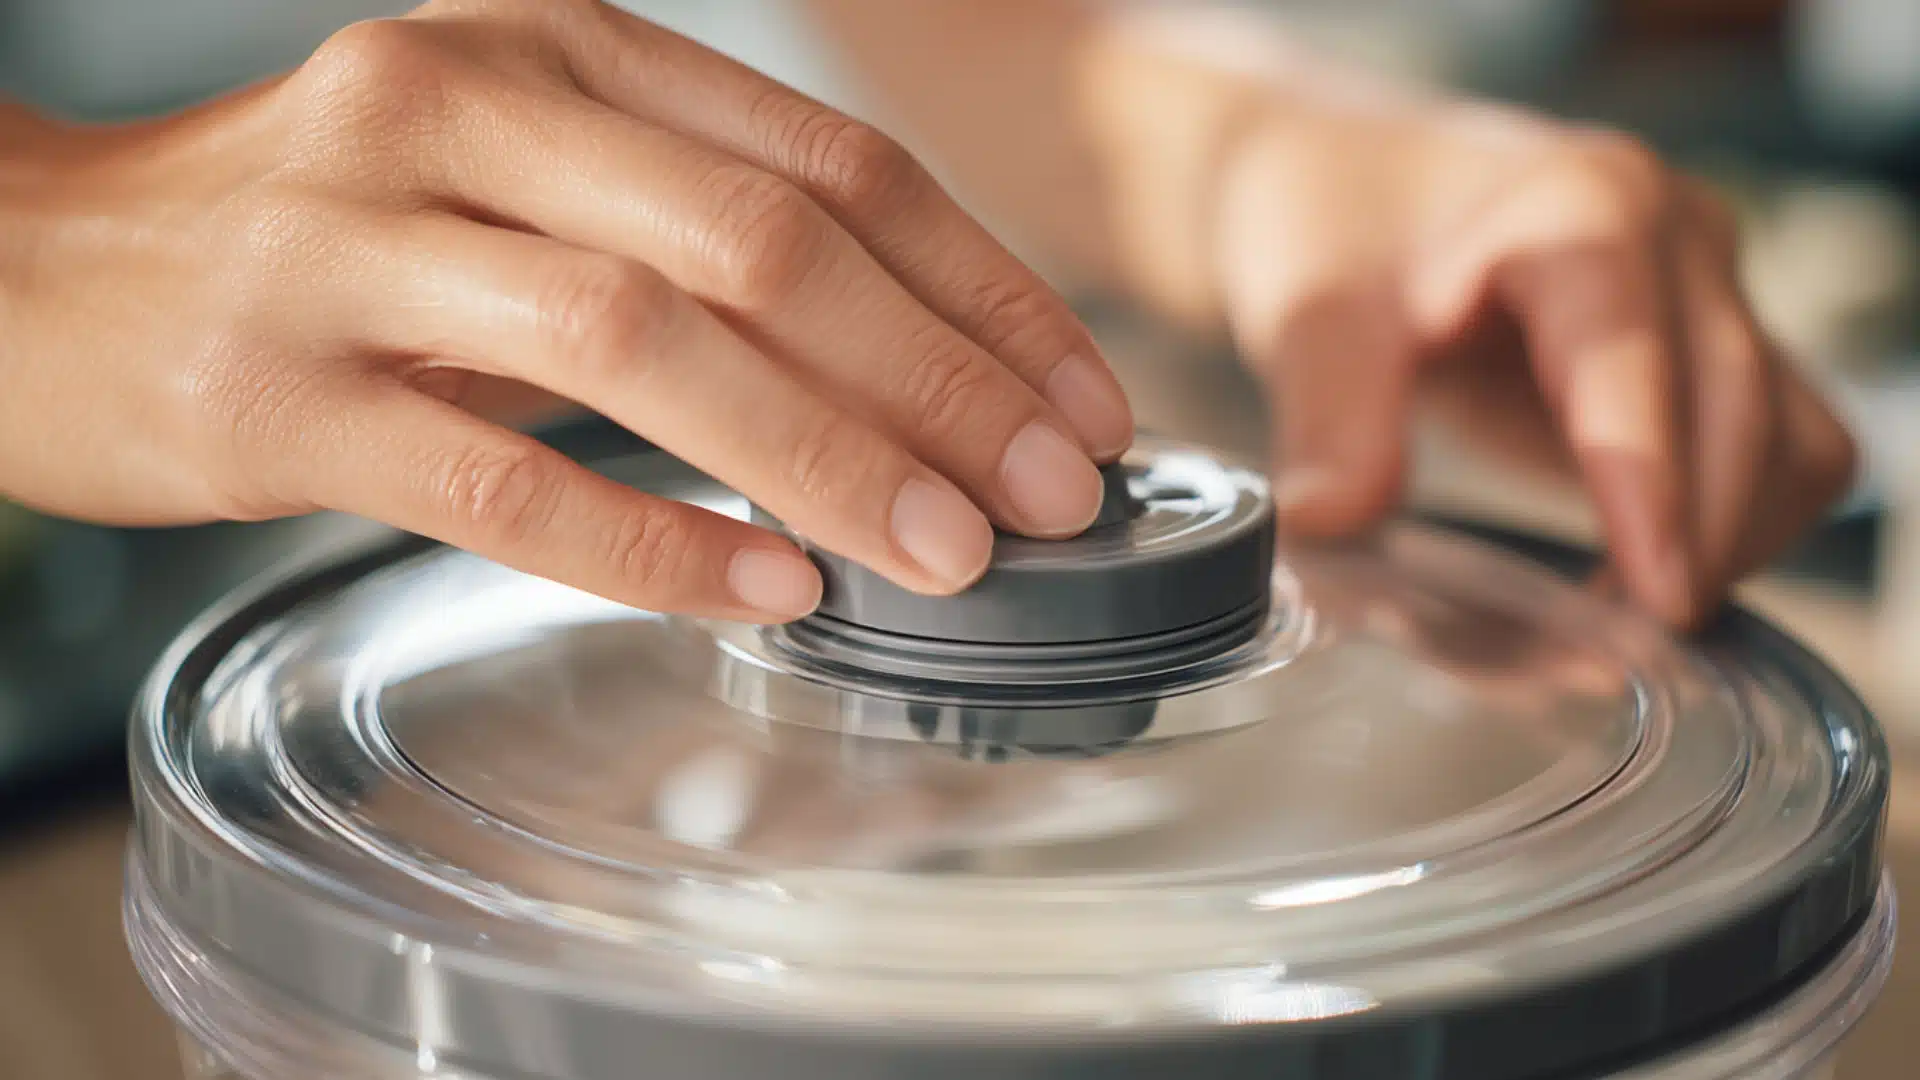
A loose lid causes wobbling, leaking, and weak spinning.
Press or lock the lid down firmly before you start.
It takes two seconds and makes a real difference in how well the spinner actually works.
This is the point where how to use a salad spinner properly really starts to matter.
Step 4: Spin in Short Bursts
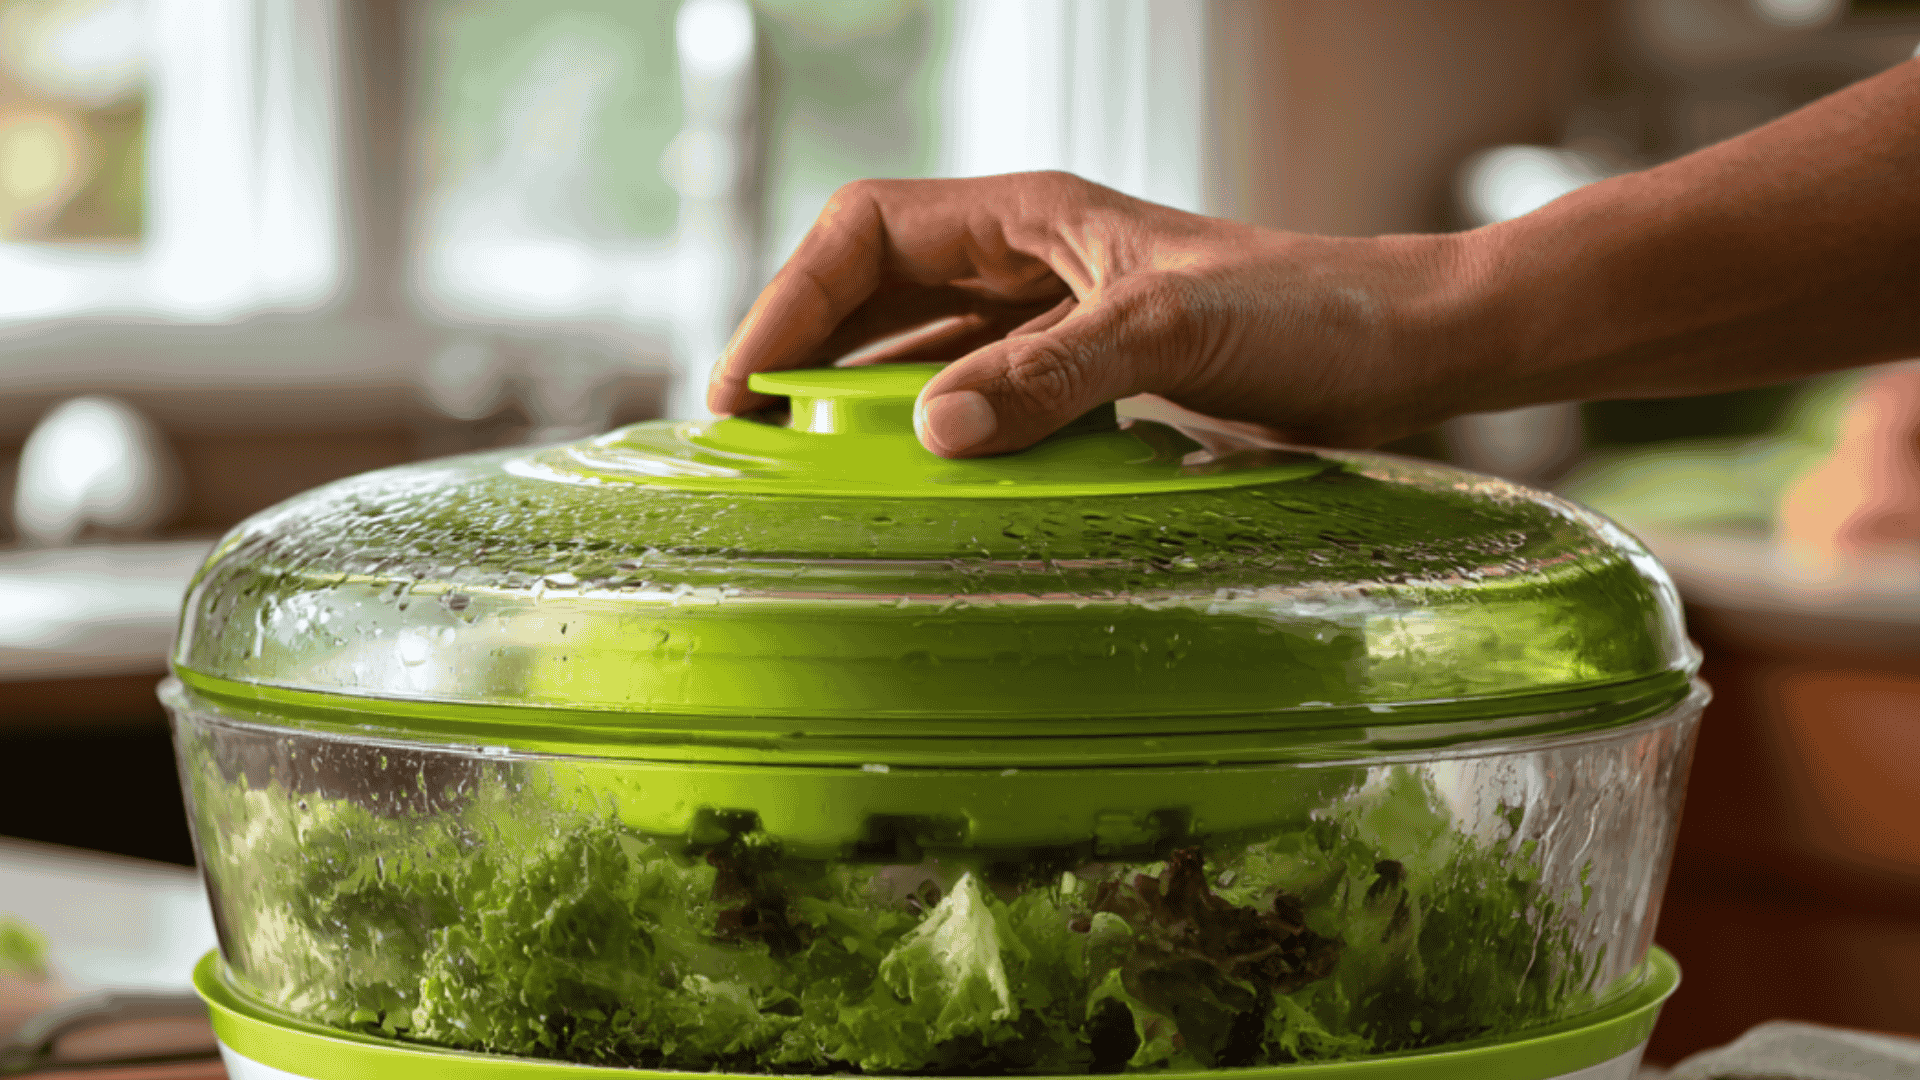
Spin for 10 to 15 seconds, pause, then spin again.
Short bursts work better than a single long spin because water is thrown to the outer bowl, and the greens are repositioned between rounds.
- The first burst loosens most of the water
- The second burst catches what the first missed
- The third burst gets you properly dry greens
Step 5: Pour Out the Water Every Single Time
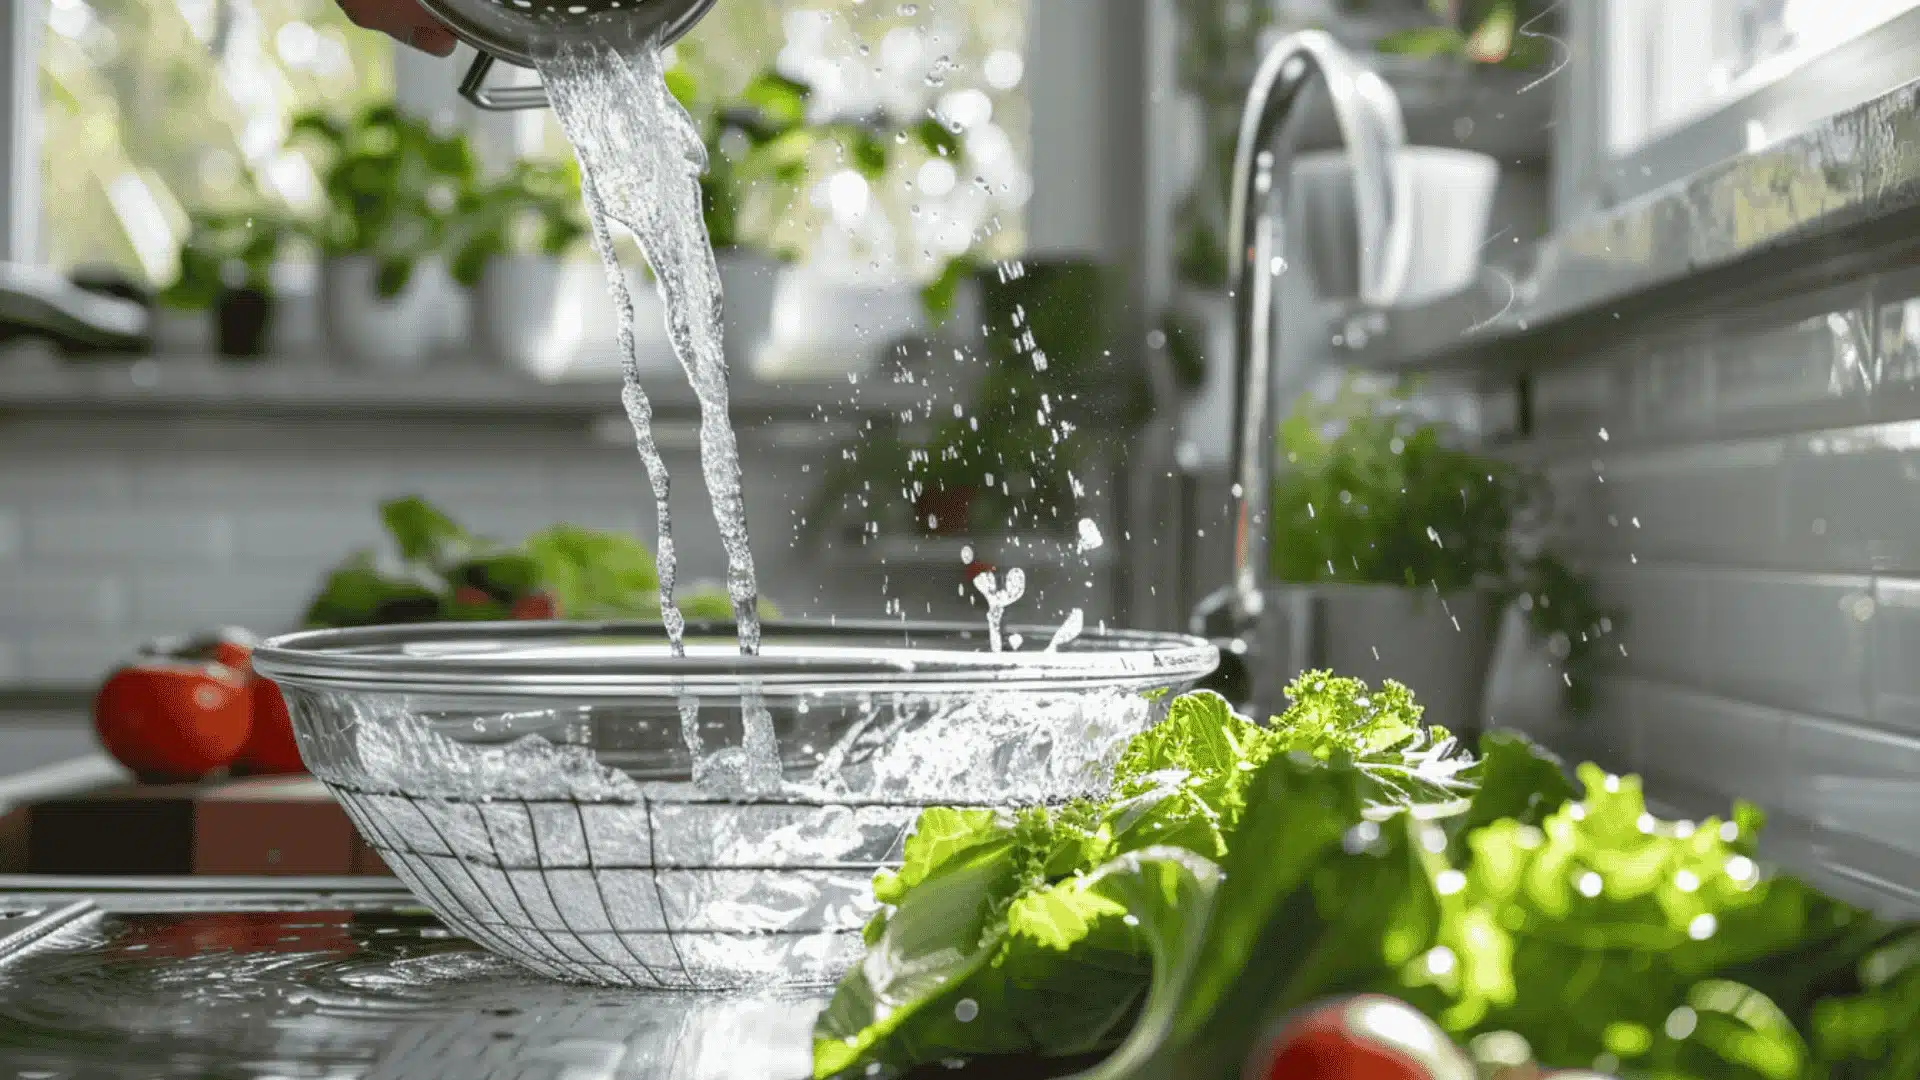
This is where most people go wrong.
Water collects fast in the outer bowl, and if you leave it sitting there, the greens slowly get damp again.
After each round of spinning, lift out the basket and pour out the water.
Pro tip: Get into the habit of draining between every spin, not just at the end.
Step 6: Spin Again Until the Greens Feel Dry
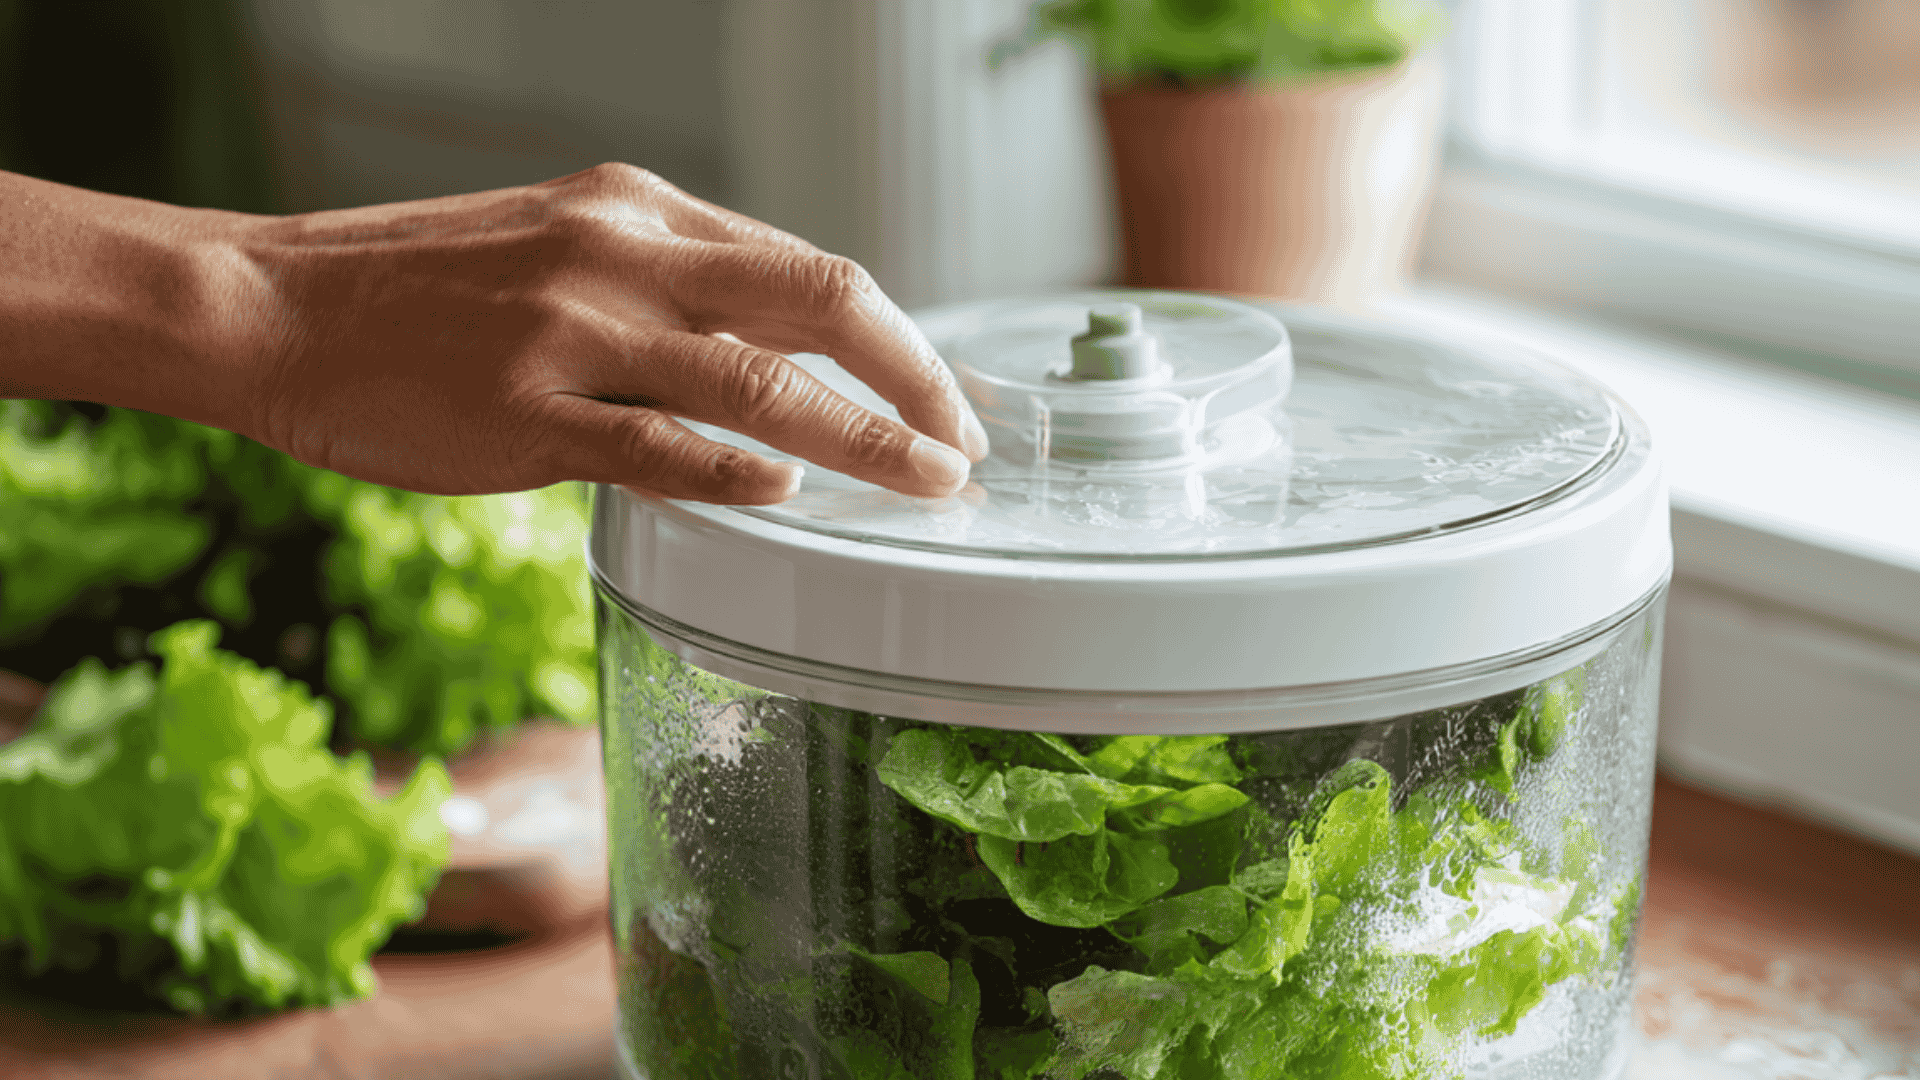
Run your fingers across the leaves. Dry greens feel light and slightly cool.
If the leaves are sticking together or feel slippery, they still have water on them. Spin one more round, drain again, and check once more.
It sounds tedious, but it takes about 30 extra seconds total.
Step 7: Transfer to a Bowl or Storage Right Away
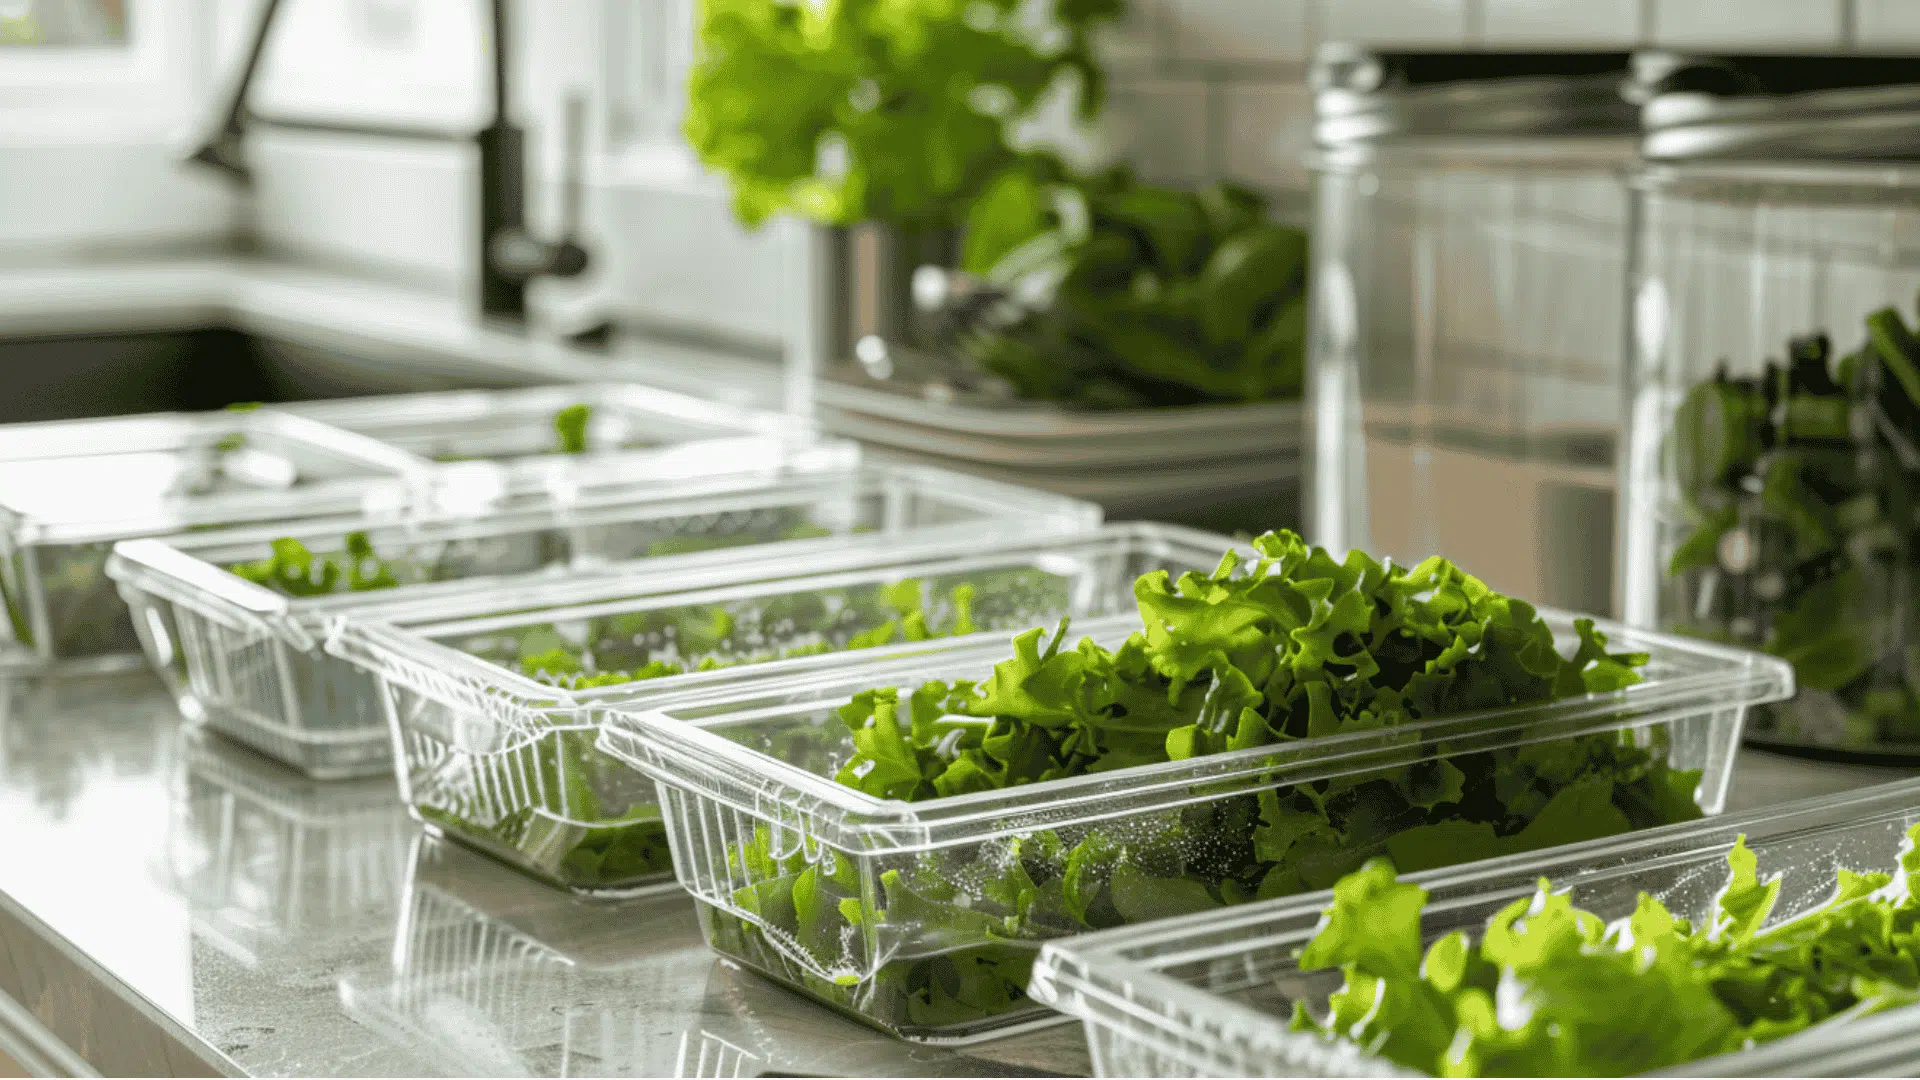
Do not leave the greens sitting in the spinner!
Leaving them in the spinner lets condensation build up, and you are basically back to square one.
Once they are dry, move them immediately to:
- A salad bowl if you are eating right away
- A container lined with paper towels for fridge storage
- A meal prep box, if you are planning ahead for the week
Salad Spinner Tips for Different Types of Greens
Not all greens spin the same way.
Some need full force, some need a gentle touch, and some will turn into a bruised mess if you’re not careful.
1. Leafy Lettuce
Not all lettuce spins the same way.
- Romaine: Sturdy and easy. Spin normally, no special treatment needed.
- Butter Lettuce: Softer and bruises fast. Go with shorter, gentler spins.
- Iceberg: Tear into chunks before loading. The whole head traps water in the middle, and spinning never fully reaches it.
2. Spinach and Spring Mix
Smaller leaves trap water between them, which means one spin rarely does the job.
Keep the loads light and go for multiple gentle rounds instead of one aggressive spin.
I learned this the hard way after wondering why my spinach salad always felt slightly wet even after spinning.
3. Herbs
Herbs need a little more care than regular greens.
The goal is just to remove surface water, not to completely dry them out.
- Cilantro and Parsley: Rinse, gently shake over the sink, then spin lightly.
- Dill: Fragile stems, so keep spins very short and soft.
- Mint: Bruises fast under too much force. Bruised mint turns dark and bitter almost immediately, so go as gently as possible.
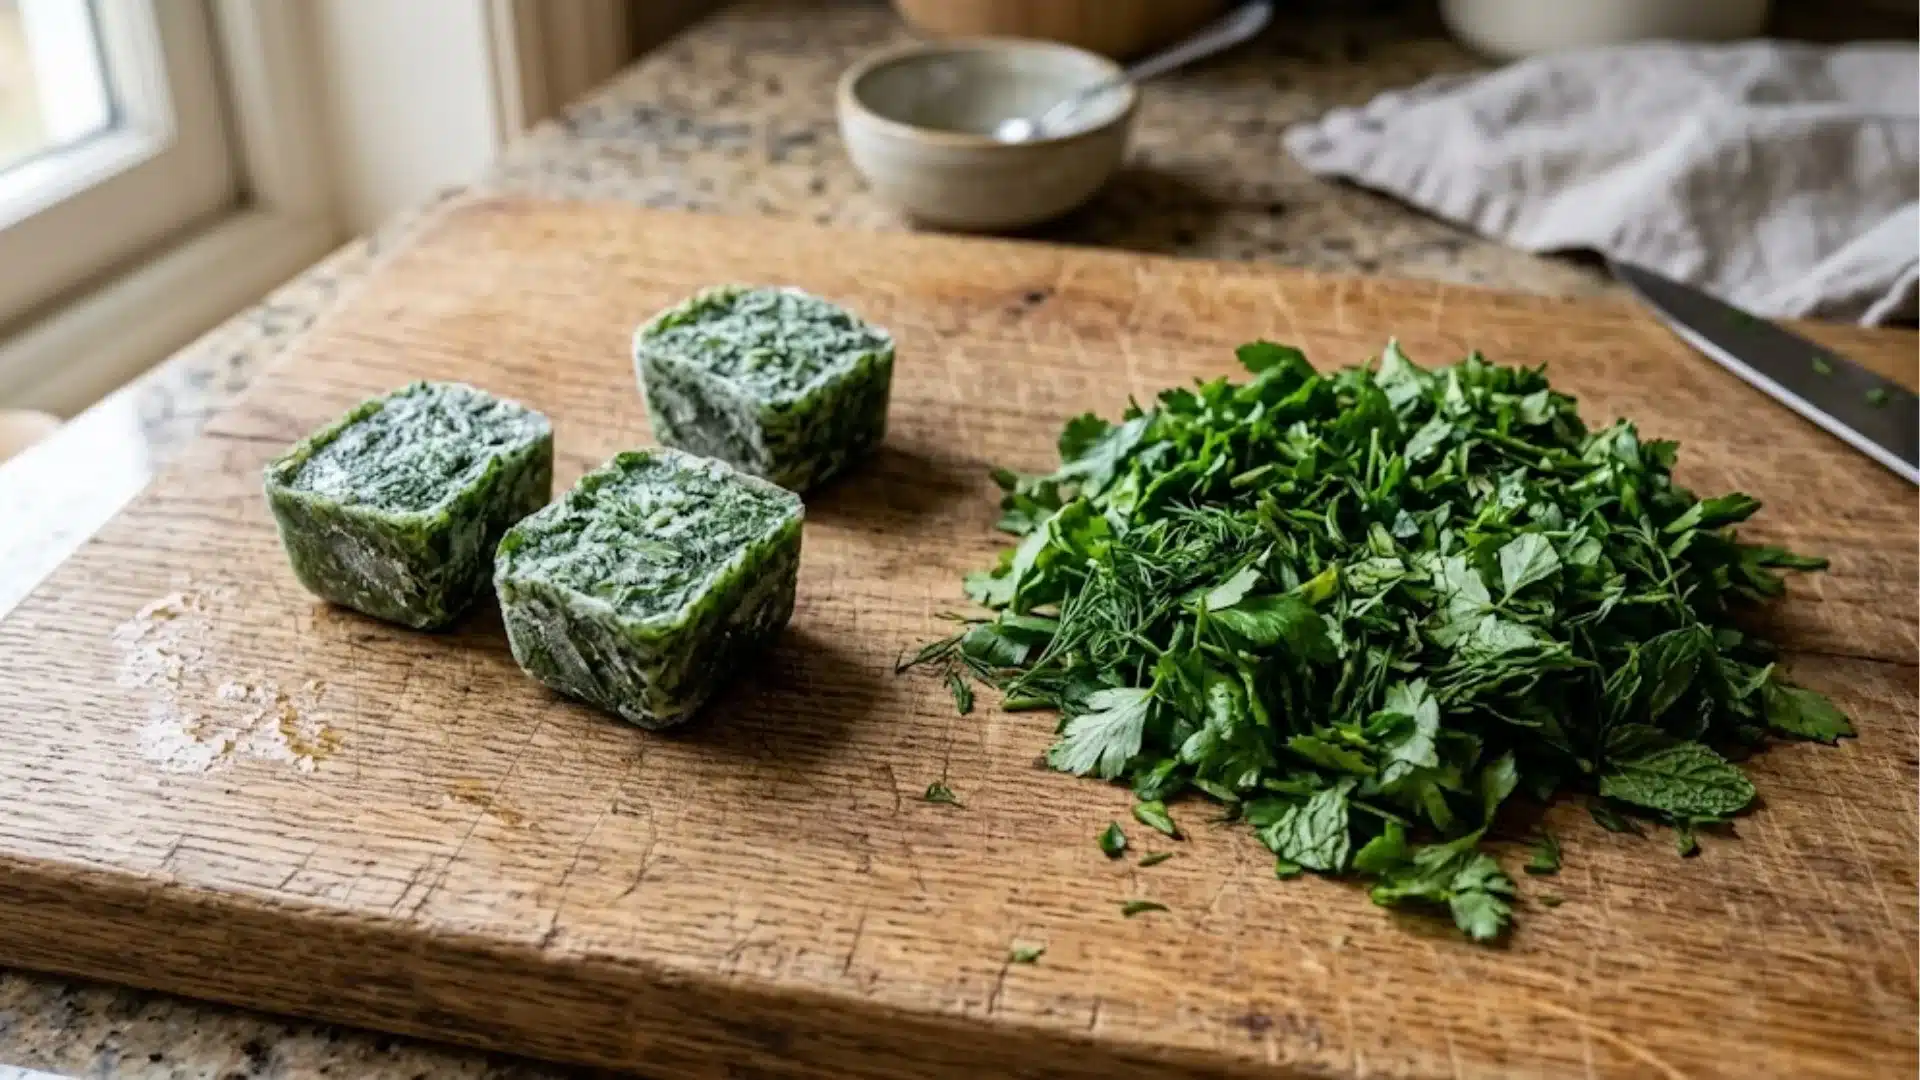
Pro tip: Wrap spun herbs loosely in a dry paper towel before storing. They stay fresh for days longer.
4. Fruits
This one surprised me!
A salad spinner actually works really well for rinsing and drying berries and grapes without crushing them.
Spin very gently and only for a few seconds. If the berries feel too fragile, line the basket with a clean kitchen towel first for extra cushioning.
It is not what the spinner was made for, but it is a genuinely useful bonus trick.
Common Mistakes to Avoid With a Salad Spinner
Using a salad spinner seems straightforward until your greens come out still wet or smell weird after a week.
Most problems people have with soggy greens come down to missing one part of how to use a salad spinner correctly.
- Overfilling the basket: too many greens lead to uneven drying and crushed leaves. Do two smaller batches instead.
- Spinning once and calling it done: one spin rarely removes all the water. Drain and spin at least two to three rounds.
- Skipping the drain step: water sitting in the outer bowl quickly re-wets your greens. Drain after every round, not just at the end.
- Use full force on small leaves: spinach and spring mix need lighter spins and more rounds, not a single aggressive spin.
- Leaving it wet after use: a damp spinner, left closed, starts smelling quickly. Rinse it and leave it to air dry.
- Ignoring the slippery residue: it builds up in the mesh basket over time. A quick scrub after each use keeps things clean.
Best Salad Spinners Worth Buying
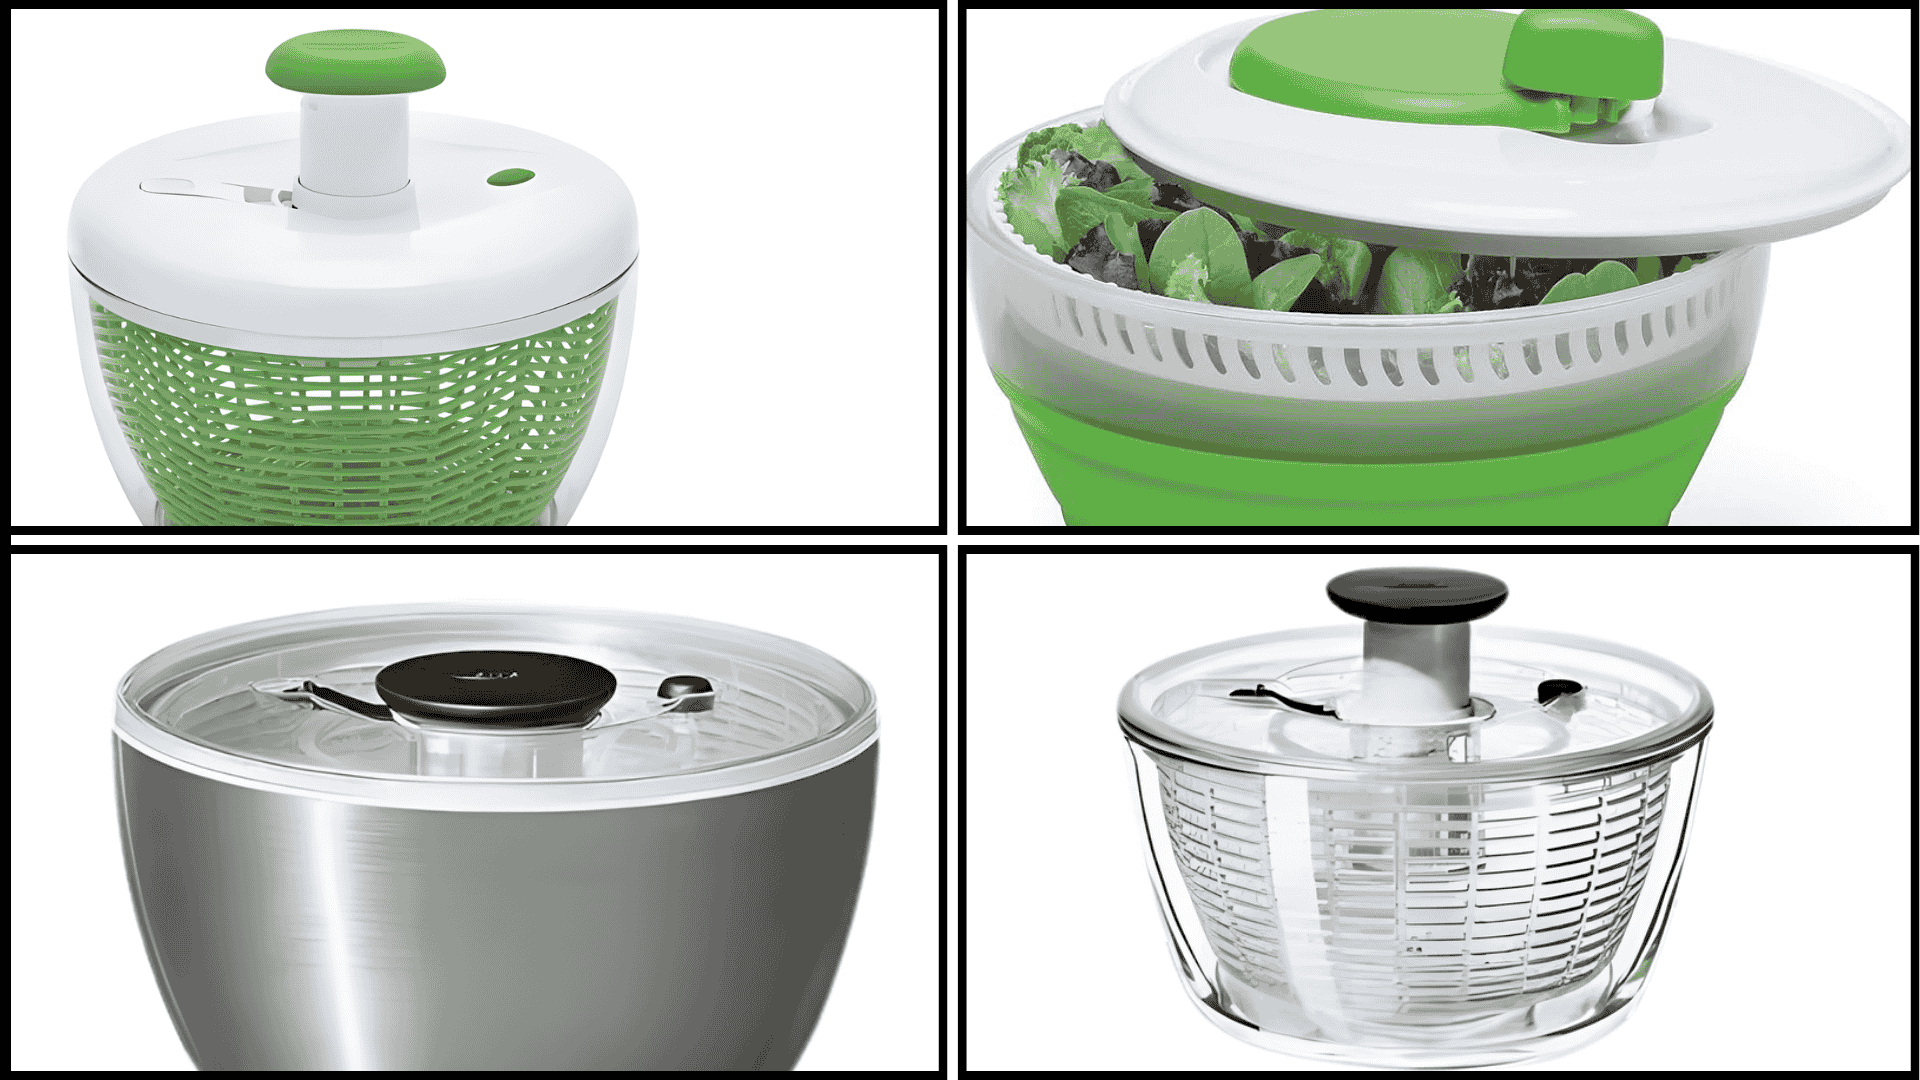
There are a lot of salad spinners out there, and most of them look the same.
These four actually hold up well and are worth the money depending on what you need.
1. OXO Good Grips Large Salad Spinner
OXO Good Grips Large Salad Spinner comes up every time someone asks for a recommendation, and for good reason.
The one handed pump mechanism is easy to use, the base does not slip, and the basket doubles as a colander.
Capacity is 6.22 quarts, which is plenty for a family sized salad.
2. Farberware Pro Pump Salad Spinner
Farberware Pro Pump Salad Spinner is a solid pick if you want something that works without breaking the bank.
Simple pump, reliable drying, and easy to put together.
Capacity at 6.6 quarts, it is actually larger than the OXO and handles big batches without any trouble.
3. Progressive Prepworks Collapsible Salad Spinner
Progressive Prepworksx Collapsible Salad Spinner is worth considering if cabinet space is tight.
It folds down flat after use, making storage genuinely easy.
Capacity is around 4 quarts, so it works better for one or two people than for a full family meal.
4. OXO Good Grips Stainless Steel Salad Spinner
OXO Good Grips Stainless Steel Salad Spinner is the upgraded version of the classic OXO.
The stainless steel bowl is dishwasher safe, extra sturdy, and holds up far longer than plastic versions.
It costs more, but if you use a salad spinner regularly, it is the kind of thing you buy once and never replace.
Capacity of about 6.34 quarts, which is roomy enough for large heads of lettuce, spinach, mixed greens, herbs, and even larger batches of fruit.
Is a Salad Spinner Worth It?
Honestly, yes!
It is one of those kitchen tools that sounds optional until you actually use it regularly.
Dry greens mean better tasting salads, dressing that sticks, and meal prepped greens that stay fresh for days.
Paper towels and air drying just do not get there the same way.
It is not expensive, it does not take up much space, and it pulls double duty as a serving or storage bowl.
If you eat salads even twice a week, it pays for itself pretty quickly, without factoring in the savings on ingredients.
Final Thoughts
Rinse, load without overfilling, spin in short bursts, and transfer immediately.
That’s really all there is to it. The difference is real, though!
Crisp greens, dressing that actually sticks, and salads that stay fresh for days instead of turning soggy by morning.
If you have been skipping the drain step or packing the basket too tightly, just try it the right way once.
And if your spinner has been collecting dust, pull it out.
Once you get the hang of how to use a salad spinner, salads stop feeling like a chore.
Frequently Asked Questions
1. Can I Use a Salad Spinner for Wet Pasta or Noodles?
Yes, a salad spinner works well for draining and drying freshly rinsed pasta or noodles. Just make sure not to overload the basket and spin gently.
2. How do I Stop My Salad Spinner from Sliding Around on The Counter?
Place a damp kitchen towel underneath the spinner before you start. It keeps the base from moving around while you spin.
3. Can I Put My Salad Spinner in the Dishwasher?
It depends on the model. Most plastic spinners are top-rack dishwasher safe, but always check the manufacturer’s instructions before tossing them in.
4. How Long do Spun Greens Stay Fresh in the Fridge?
Properly dried greens stored in a container lined with paper towels stay fresh for up to five days in the fridge.
5. How do I Clean a Salad Spinner?
Take it apart completely, separate the bowl, basket, and lid. Wash each piece with warm, soapy water and a soft brush to get into the mesh.